
I have been meaning to post about this little piece I saw on Youtube for ages! It is composed of 178 matchboxes, designed by Prague based designer Pavel Fuksa. I think it is pretty neat! You can watch the video below:
I have been meaning to post about this little piece I saw on Youtube for ages! It is composed of 178 matchboxes, designed by Prague based designer Pavel Fuksa. I think it is pretty neat! You can watch the video below:
I was perusing the lovely Danielle’s site: Thompson Family Blog the other day, when I spotted this:


Now, if this colourful retro Halloween set-up doesn’t make you smile, I don’t know what will! It is deliciously kitsch!
(Images copyright Thompson Family Blog)

We are so close to Halloween I can taste it! I will be tasting it tomorrow, if all goes well and my parcel is delivered, I will have a box full of Halloween goodies from my Mom. Candy corn, here I come!
I thought I would share this little Halloween project with you, I found on Martha Stewart. Wouldn’t these look fun hung in tree branches that are strung with lights for a bobbing for apples party? Again, a wonderful use of paper, such a simple item, but it can be made to form the most beautiful things.
Floating, spinning, spooky visages will draw extra attention to a table of goodies.
1. Fold PapersFor each decoration, you’ll need to accordion-fold 8 1/2-by-11-inch sheets of colored paper, making 1/2- or 3/4-inch folds. For small faces, accordion-fold 3 sheets of paper vertically, then bend each in half to make a fan. For medium, accordion-fold 6 sheets horizontally. For large, accordion-fold 11 sheets vertically.
2. Form CirclesFor small faces, cut 6 strips of paper equal to length of fan’s fold and twice its width; fold in half lengthwise. Use a glue stick to attach strips to fans (see below), and fans to one another, forming a circle. For larger faces, glue 1 edge of folded paper to next until you form a circle. Hot-glue center to secure.
3. Add FeaturesPrint templates (get the pumpkin, cat, and owl templates), enlarging or reducing to desired size. Trace shapes onto colored paper twice; cut out. Attach shapes to each side of decoration with hot glue. Hole-punch top; hang using ribbon.
A few months ago while reading the lovely Hillary Lang’s site Wee Wonderfuls, I saw this picture:

I was in love. I commented along with many others who were all hoping she would share this adorable pattern with us. She wrote back to tell us, that she would and it would be so much better than just a pattern it was going to be a book:
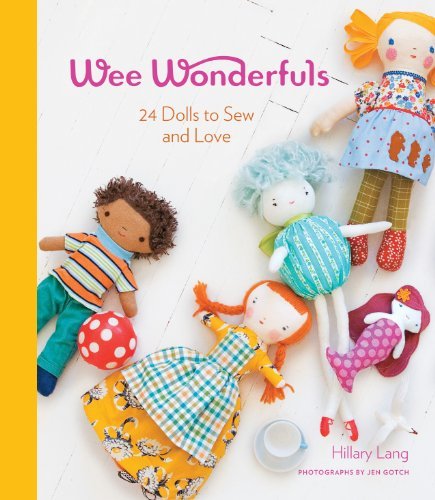
I was ecstatic and rushed to Amazon UK to see if I would be able to pre-order. I didn’t think I could wait to get it into my hands, after seeing some samples of the absolute cutest, sweetest, vintagey-est, lovely little things that are held within those pages. There is a nice old-fashioned feeling to these dolls, like the dolls you played with when you were little. Look at this lady for example:

I see her in my future, sitting on a shelf or a desk, smiling as she watches what I am getting up to. On Friday, Martha Stewart’s Craft site did a small feature on Mrs. Lang and with her permission was kind enough to share a pattern from her book. The pattern is: The Mermaiden.

And, I can’t wait to try her, I have the perfect fabric in mind for her little tail. Never having tried my hand at free-motion quilting, I am looking forward to giving this project a go.
This is the only pattern I have yet to see in full, unfortunately Amazon UK has not yet received shipment of this wonderful book and so my patience must win out, because it will be another 2-3 weeks before this wee lady has her wee book! In the meantime I can just dream about all the wonderful things held within those pages…
*Click on The Mermaiden image to be taken to the pattern
(All images copyright Hillary Lang, Wee Wonderfuls)

In lieu of the traditional shirt and tie for Father’s Day, I thought this card was quite cute and could hold tickets to a Summer concert or coupons, good for a day out with Dad.
One more day to go, so if you haven’t gotten something yet, this was just too cute not to share. I am loving the Japanese origami techniques…
Directions:
1. Place paper facedown. Fold in half vertically; unfold. Line up left edge with centerline fold, and crease; repeat with right edge. Unfold, and lay flat.
2. Fold top-left corner in to line up with outermost crease, forming a triangle; repeat on top-right corner. Using index fingers and thumbs, pinch together outside points of each triangle so they meet, and crease.
3. While still pinching triangles, fold down top edge (this will make sleeves).
4. Turn paper upside down, and flip it over. Fold down top edge 3/4 inch.
5. Flip paper over. Fold top left and right corners so tips meet at centerline.
6. Tuck bottom edge under collar, and flatten by creasing. For the tie, cut out an 8-by-1/2-inch strip of decorative paper. Knot paper. Snip close to knot on one side; trim other to a point. Glue to shirt.

(Images and directions copyright Martha Stewart)
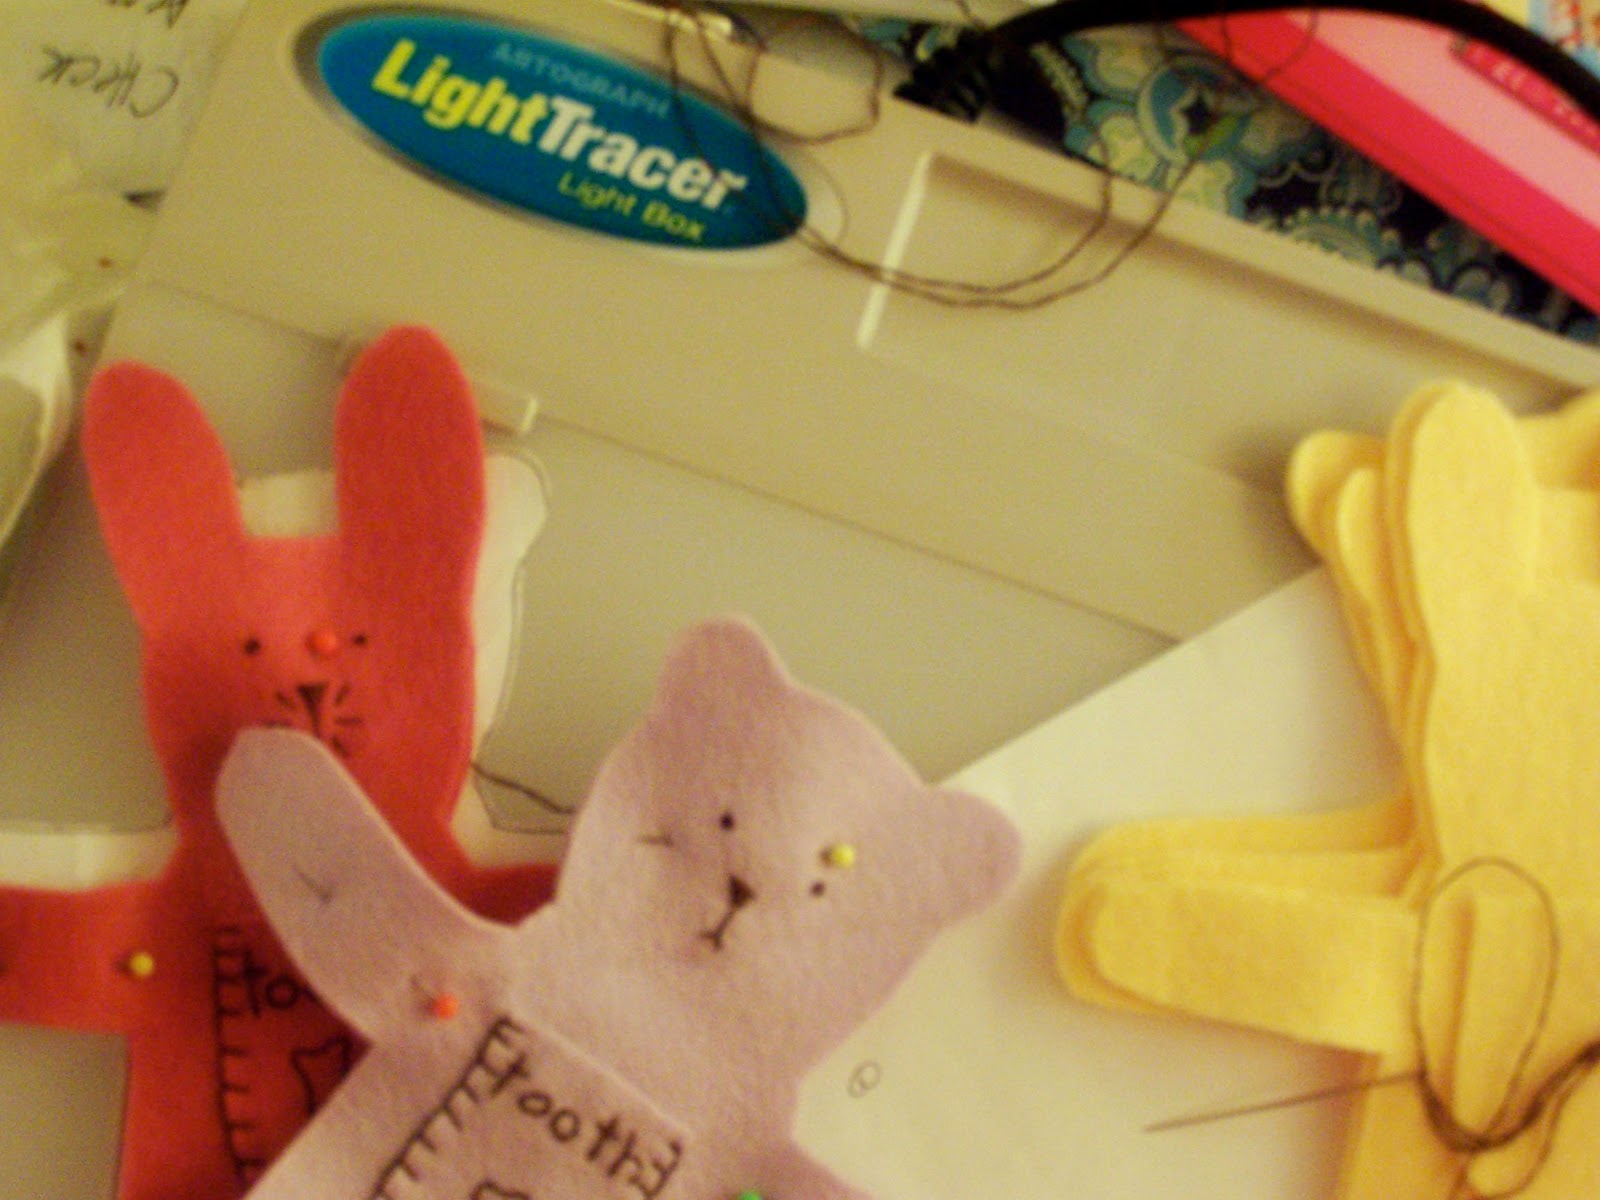 I am covered in little pieces of felt at the moment and busy sewing away. I have another bear and bunny order.
So I have steadily been cutting and sewing and marking on little bunny whiskers and bear faces and this process has been made all the more easier by my new light box.
My adorable ginger was tired of seeing me use the lamp as my light box and one evening I came home and sitting on the table was a shiny new light box just for me! Now that, to me, is l♥ve! It has made my life a million-bajillion times easier! I am now, quite happily nestled in my little corner of the room I’ve carved out as my studio space, working away and listening to music.
This is what I have playing in my ears at the moment from the Away We Go soundtrack. I really liked this movie. It is just about being, about finding who you are and where you belong and who you belong with, its story was sweet.
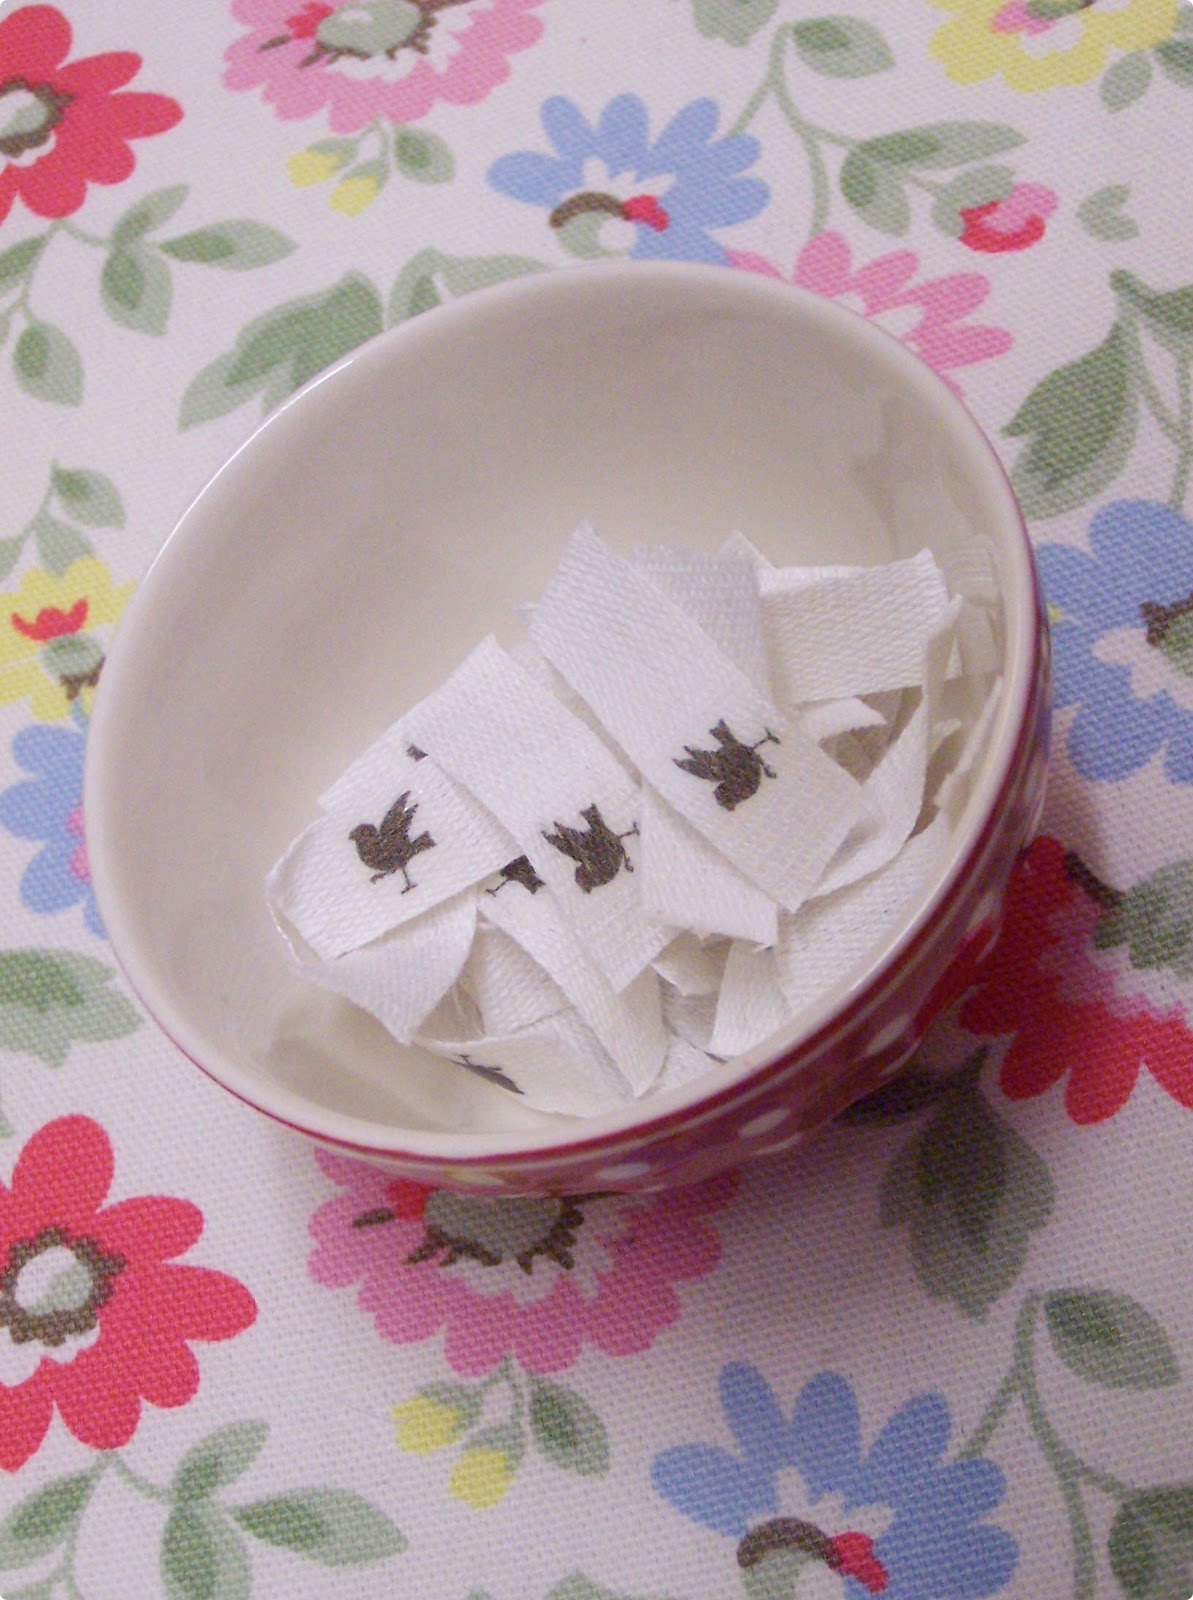
I have also been busy ironing away this morning, making more Jenny Wren labels to be sewn into little bear and bunny legs, so now, I am going back to stitching on fluffy bunny tales and putting teddy bear ears together….
 This elfin sized Pom-Pom Bunny, by the very lovely Jennifer Murphy has been in my little project file for awhile now. I don’t think she is going to be made this Easter, with all the other projects I have on the go at the moment…
But, her vintage sweetness would look very cute on my kitchen table or next to my Easter egg tree. I need the rain to hold off on Saturday so we can go on our twig hunt. Easter is almost here and I haven’t collected twigs yet for my tree, once that is done we can get the eggs out to hang up and really feel like Spring is here.
To make your own Pom-Pom Bunny Girl follow the directions below:

Pom-Pom Bunny How-To

We worked hard over the weekend, planting a few more flowers in the pots and cleaning up our little garden. It is amazing how many leaves and things get tucked between a planter and a wall over the winter, so the planters were moved and the leaves were swept out!
I also got to finish the project I started on Friday, living in a little cottage things can get dusty fast and there is not always enough space to keep everything tucked away, so with the inspiration of a Martha Stewart How-To I saw ages ago, I devised a plan.
With a simple tea towel, I reworked the pattern to fit my doll house sized treasure, creating almost origami styled folds, but making sure to leave enough room to get around all the parts:
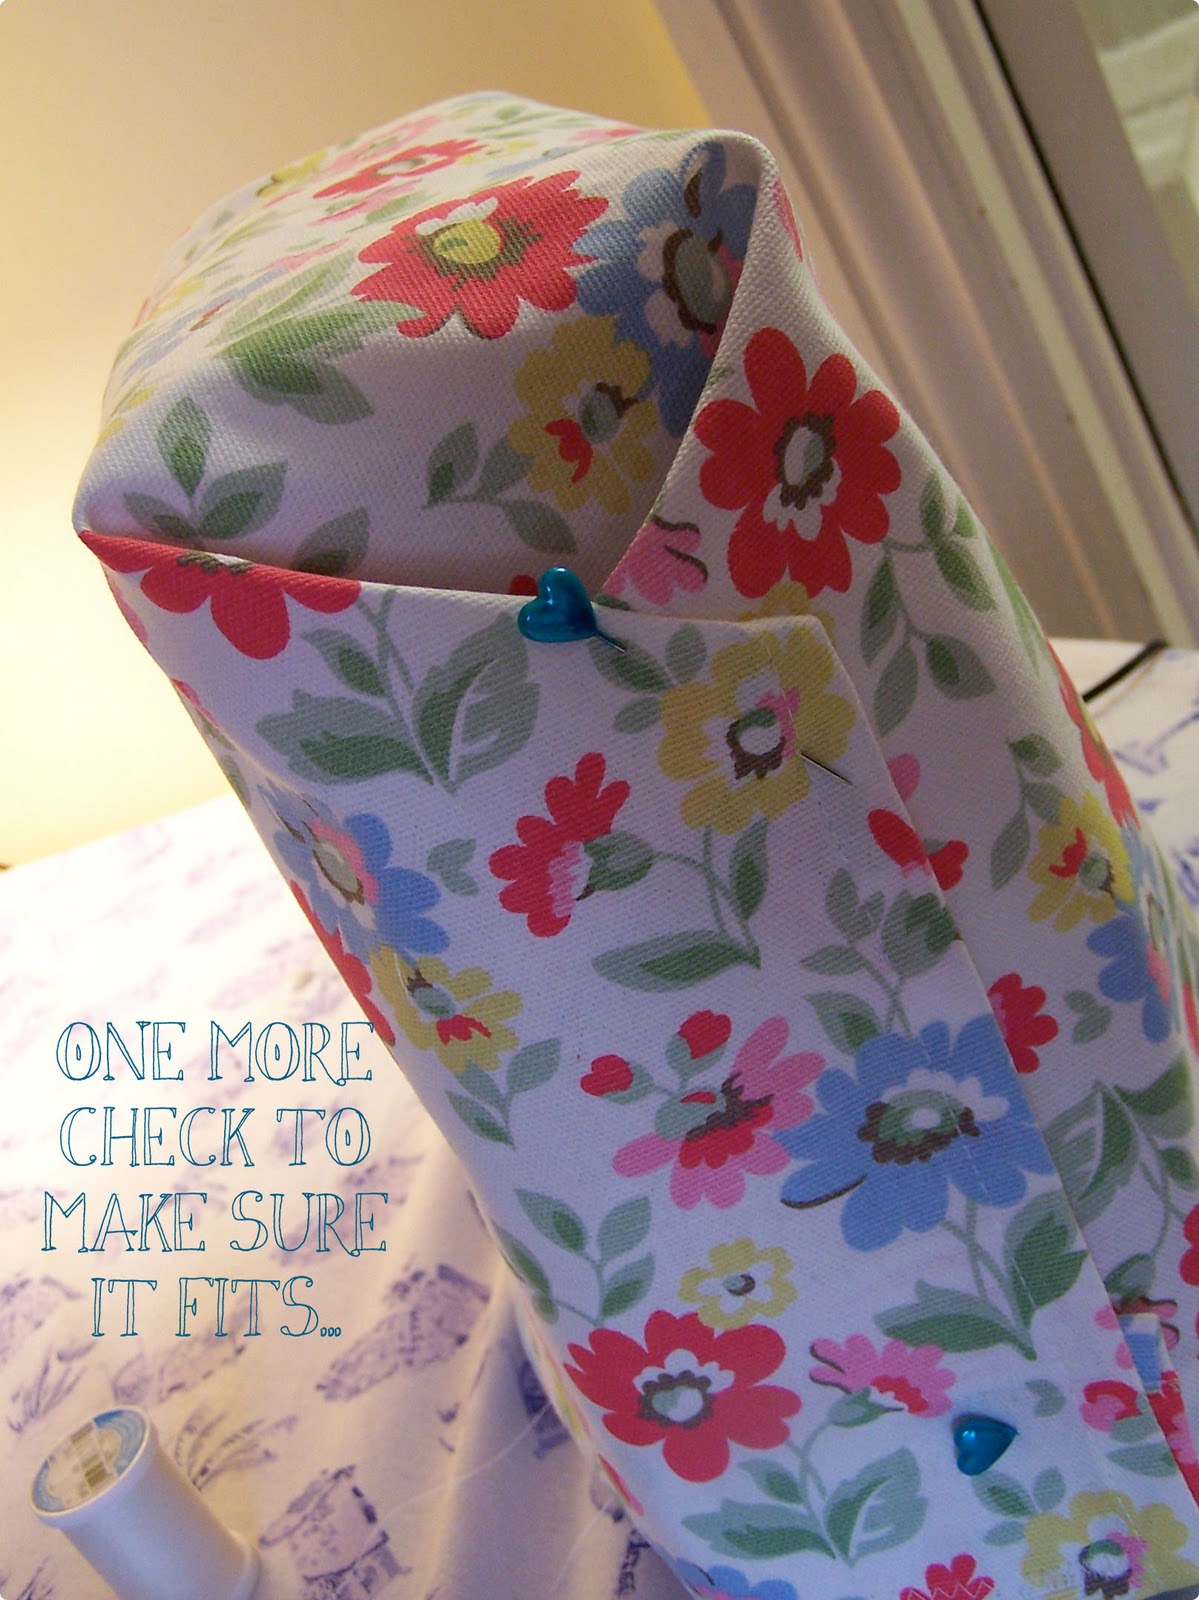
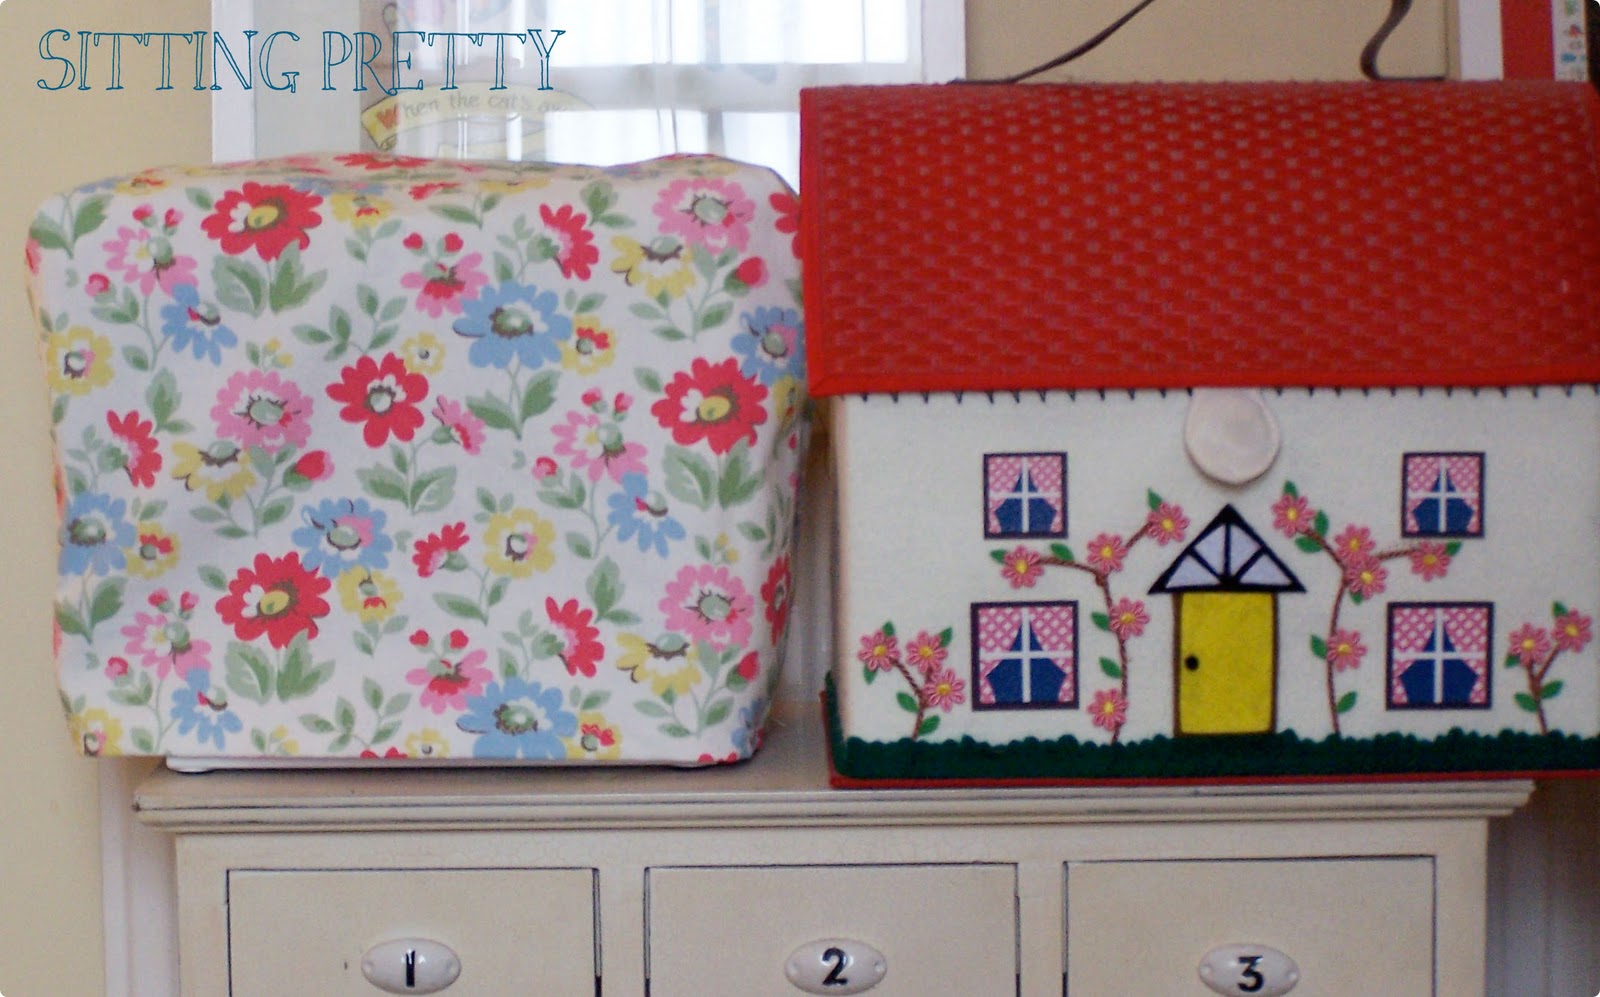
Did you guess what it is? Your right, a new sewing machine cover to keep it dust free and sitting pretty!
(Vintage circus image from the Circus ABC by Kathryn Jackson, found on the Golden Gems Blogspot, embellished by Jennifer Michie)

St. Patrick’s Day is tomorrow and in case you need to make some last minute St. Patty’s Day crafts these sweet boutonnieres are on the Martha Stewart website.
They are absolutely adorable and would work well as something cute on your lapel to take you through Spring. You could even add a little ladybug on a leaf for extra luck, if you can find one tiny enough.
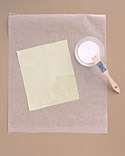
1. On waxed paper, use a paintbrush to coat both sides of a cotton swatch with liquid starch. Let it dry. Iron the fabric to flatten it.
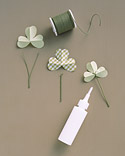
2. Photocopy shamrock templates to desired sizes. Cut them out, and trace them on fabric; then cut out fabric shamrocks. Crease each leaf in half lengthwise.

3. To make a stem, cut a 4-inch piece of floral wire; fold it in half, and twist it until the ends form a tiny V. Bend the V forward slightly and attach it to the back of each shamrock with a small dab of craft glue. Tie a bow around one stem or a bunch of shamrocks. Use a corsage pin to fasten to your clothing.
Click here to get the full set of directions from the Martha Stewart website.
(All images and direction text, copyright Martha Stewart Living)
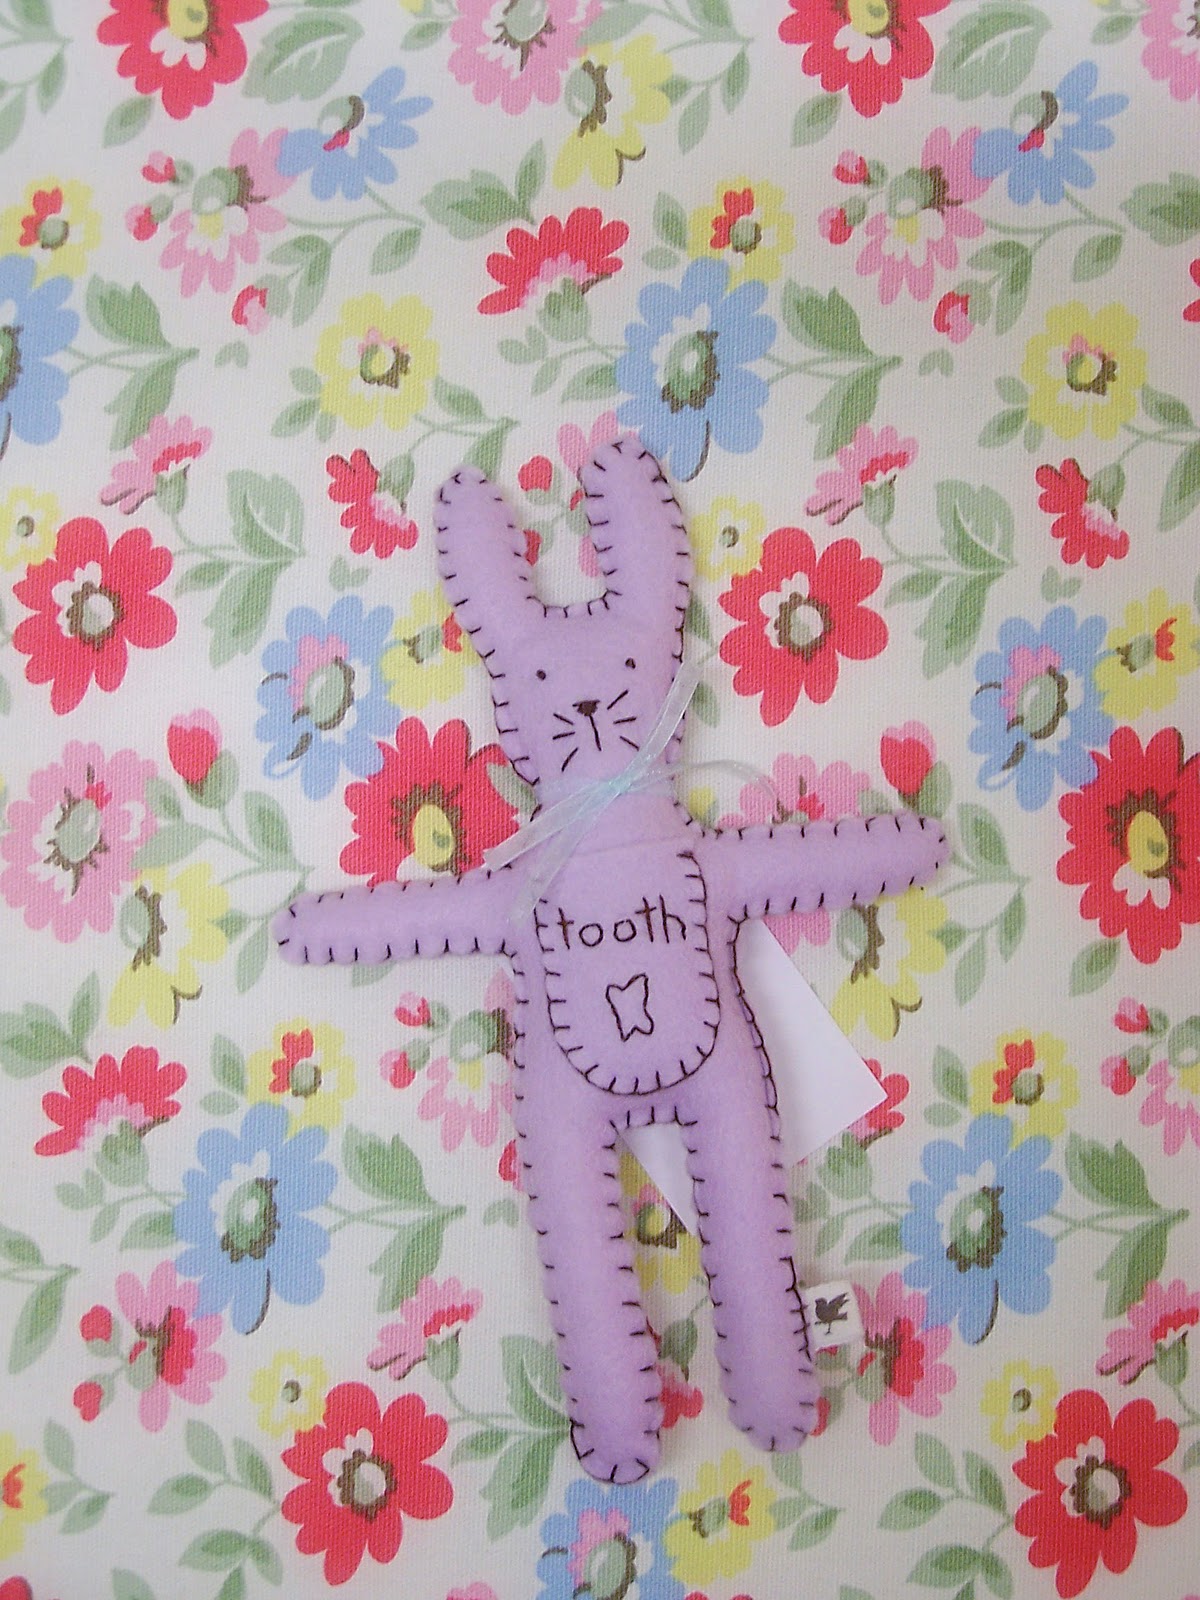
This wee ditty played in my head this morning as I tucked some little lavender colored bunnies into pink striped tissue paper to mail to RosaBlue.
I am sure they would have rather hopped, but with the help of the post they should get there faster and their paws will not be tired, there will be plenty of space to hop around the shop…