Category: Crafting (page 4 of 6)

Oilcloth Lunch Bags

I love oilcloth. I love the feel of it. Especially the really nice oilcloth, that is like waxed fabric, I used to work in an interior design store and we had the most scrumptious Swedish oilcloth that had that lovely “waxed fabric” feel.

I adore the vintage oilcloth that is available now, reflecting the quaintness of 1940’s/50’s kitchens. I can just see June Cleaver now with her adorable cherry and polka dot oilcloth or her summer fruits oilcloth with its vibrant blue background laid out on her kitchen table, can’t you?

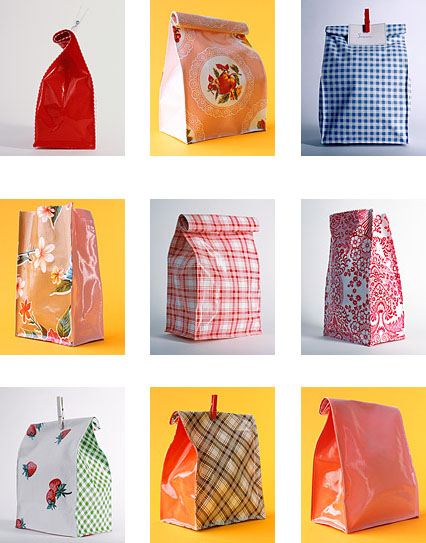
In honour of going “back-to-school” and to pay homage to oilcloth I am doing a feature today on “Oilcloth Lunch Bags” I found on the Martha Stewart site. So, gather your materials from my class “handout” and get ready to just have fun:

You will need:

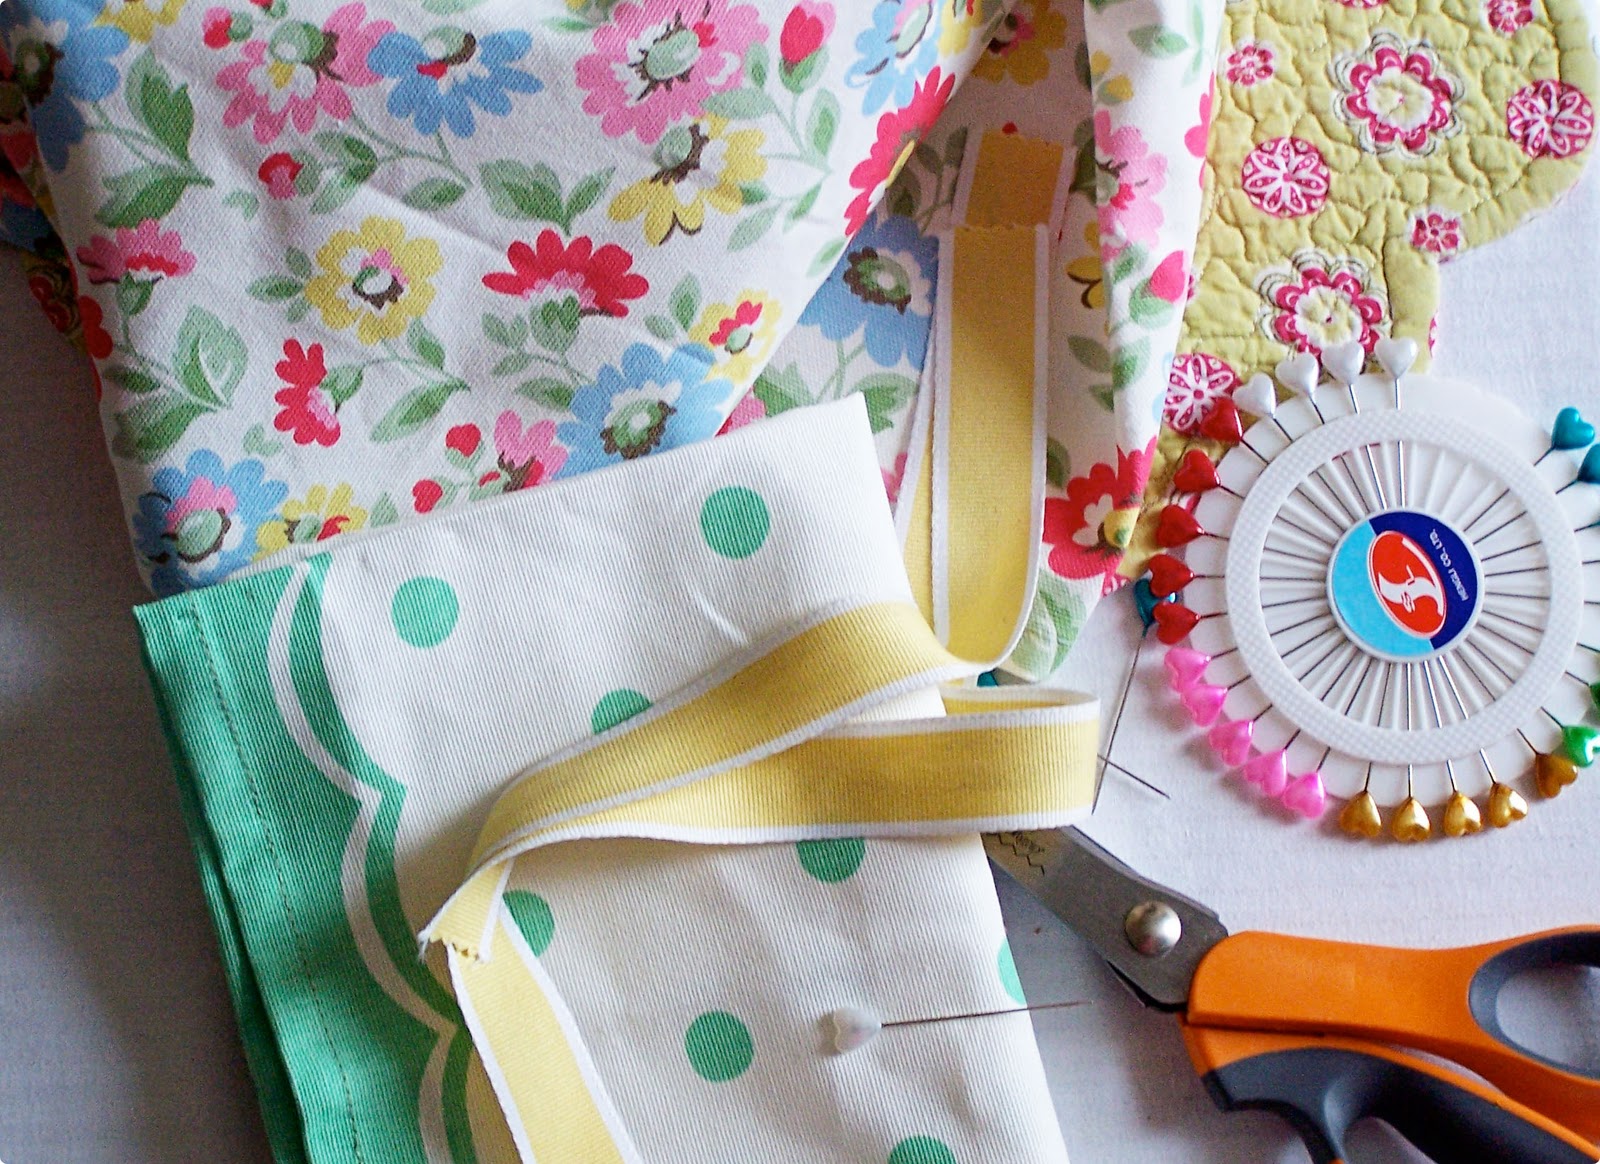
Oilcloth (pattern of your choice)
Scissors
Sewing Machine
Thread
Velcro or a clothespin

Lunch Bag How-To
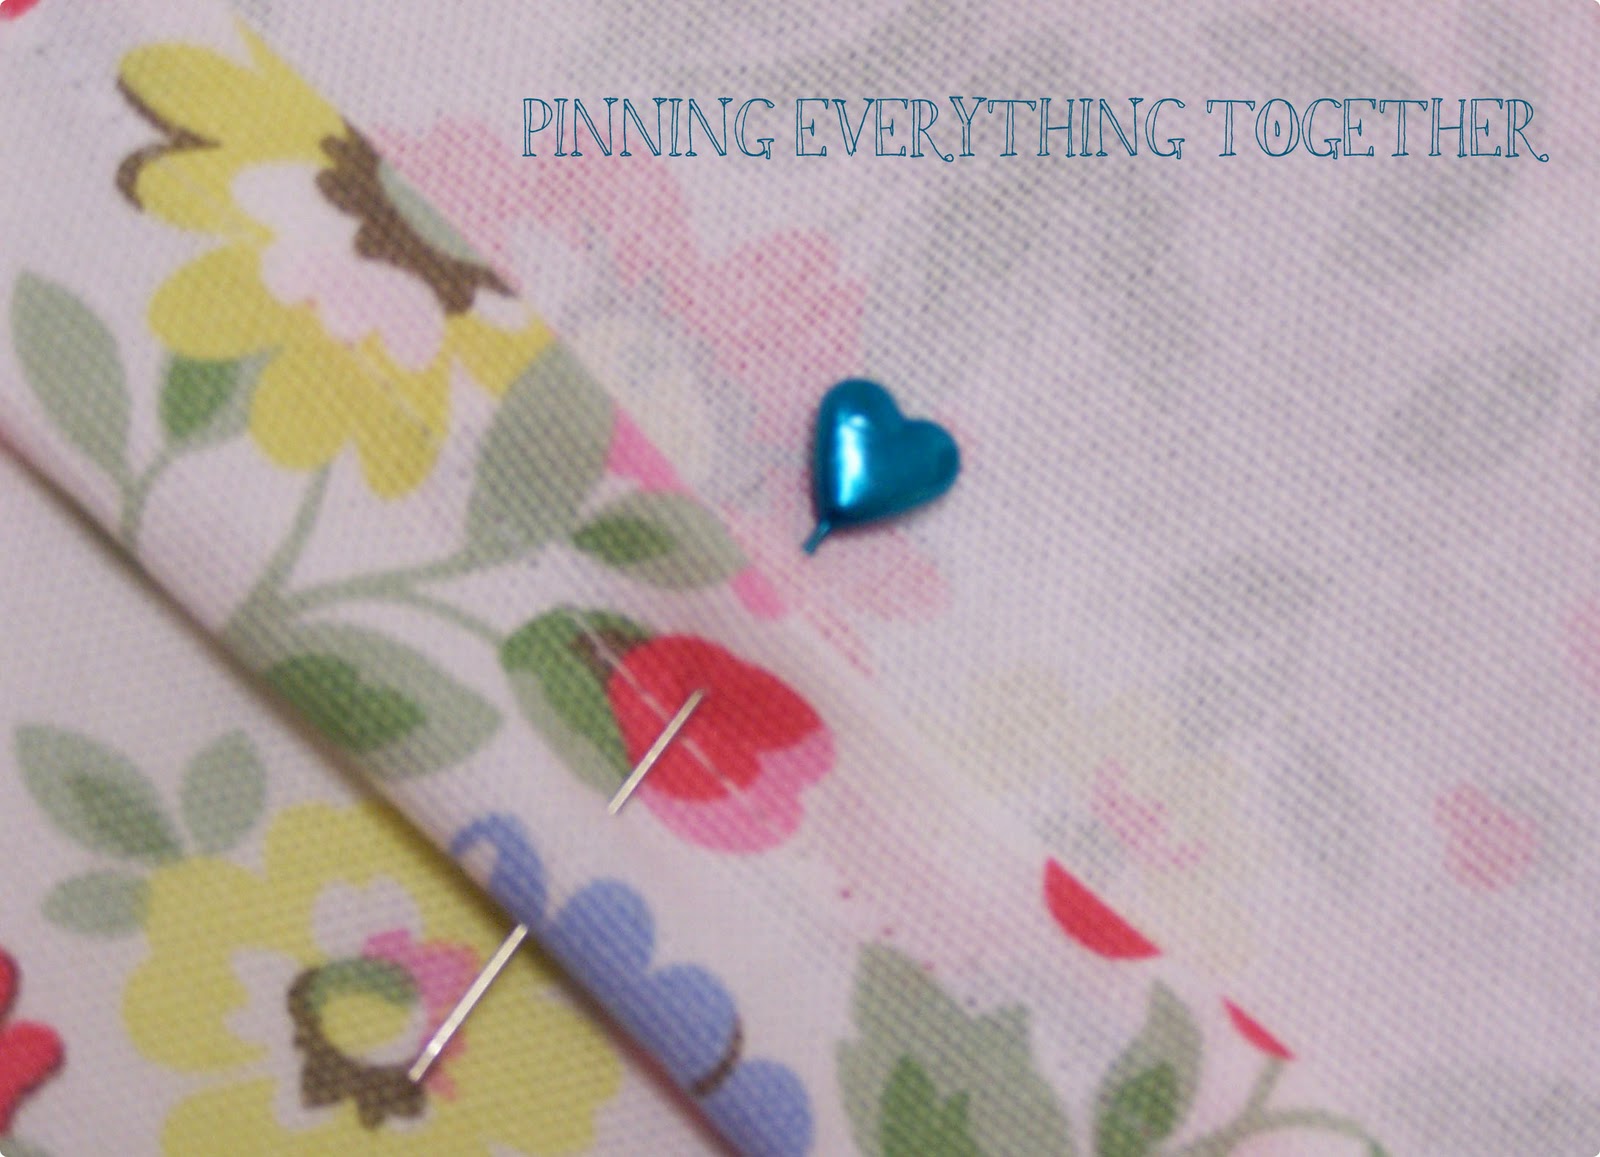
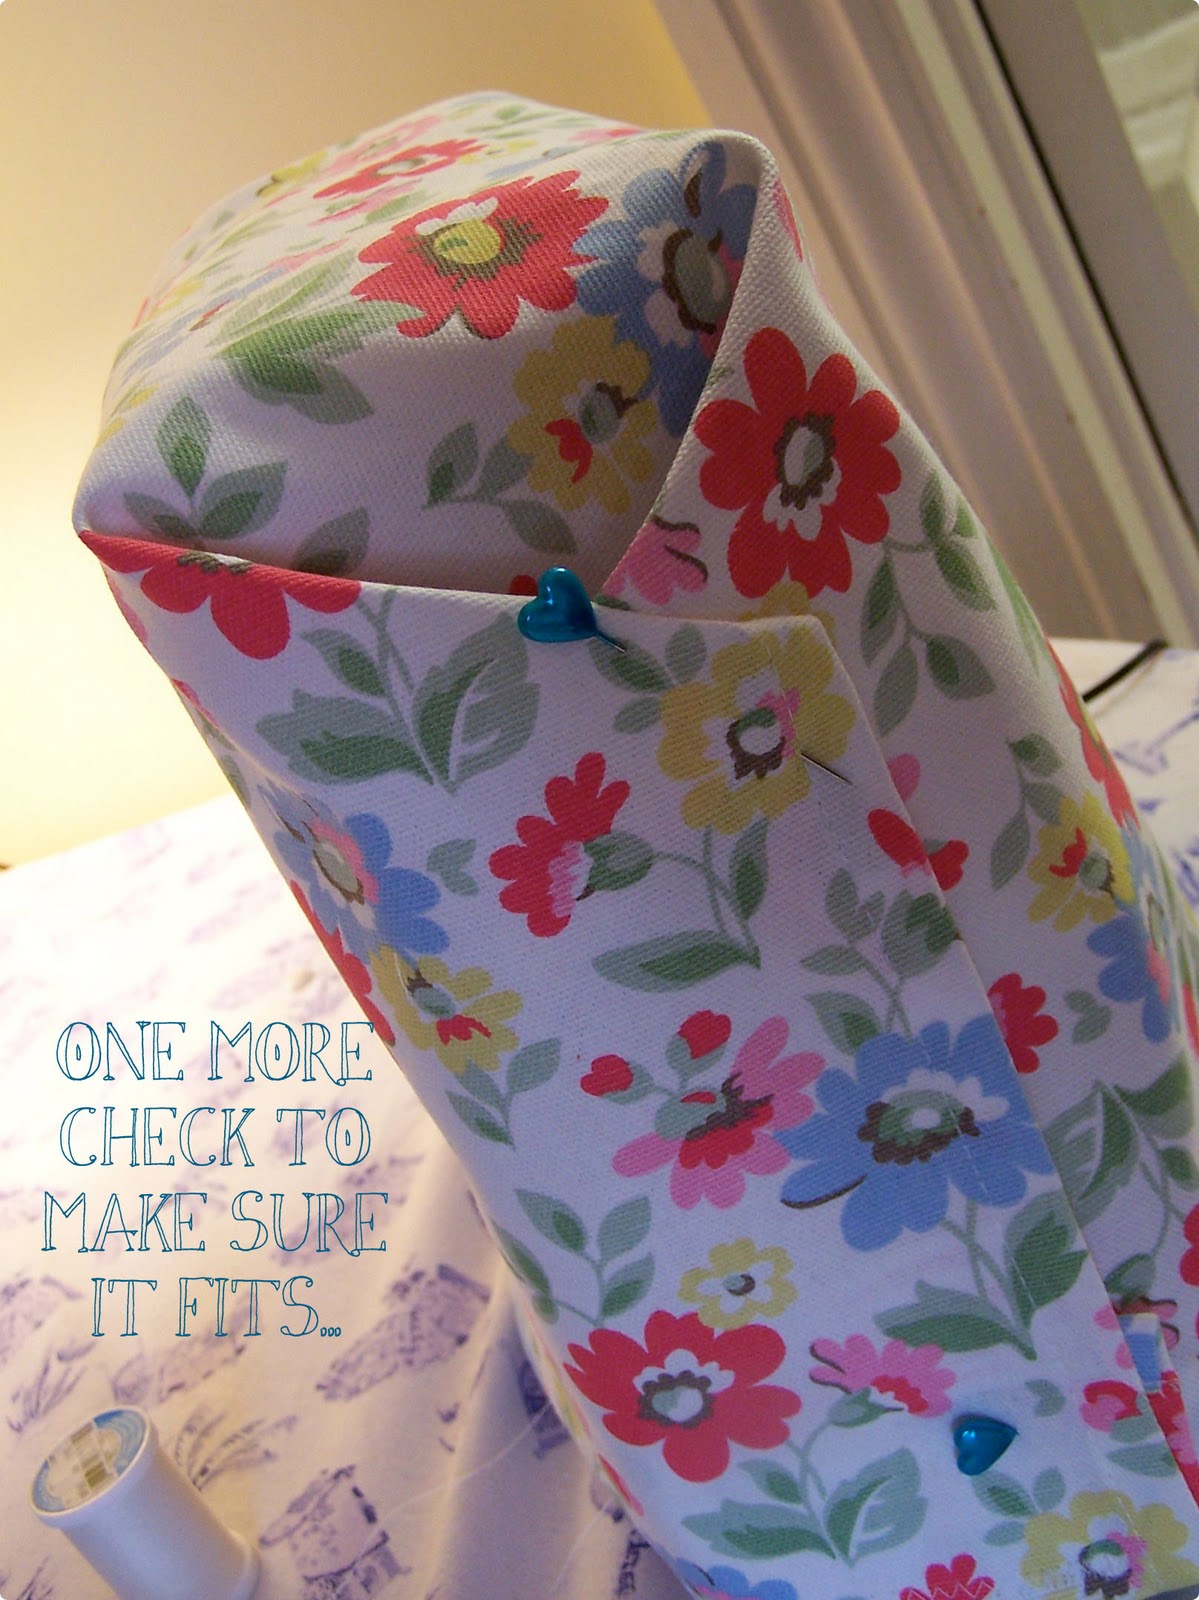
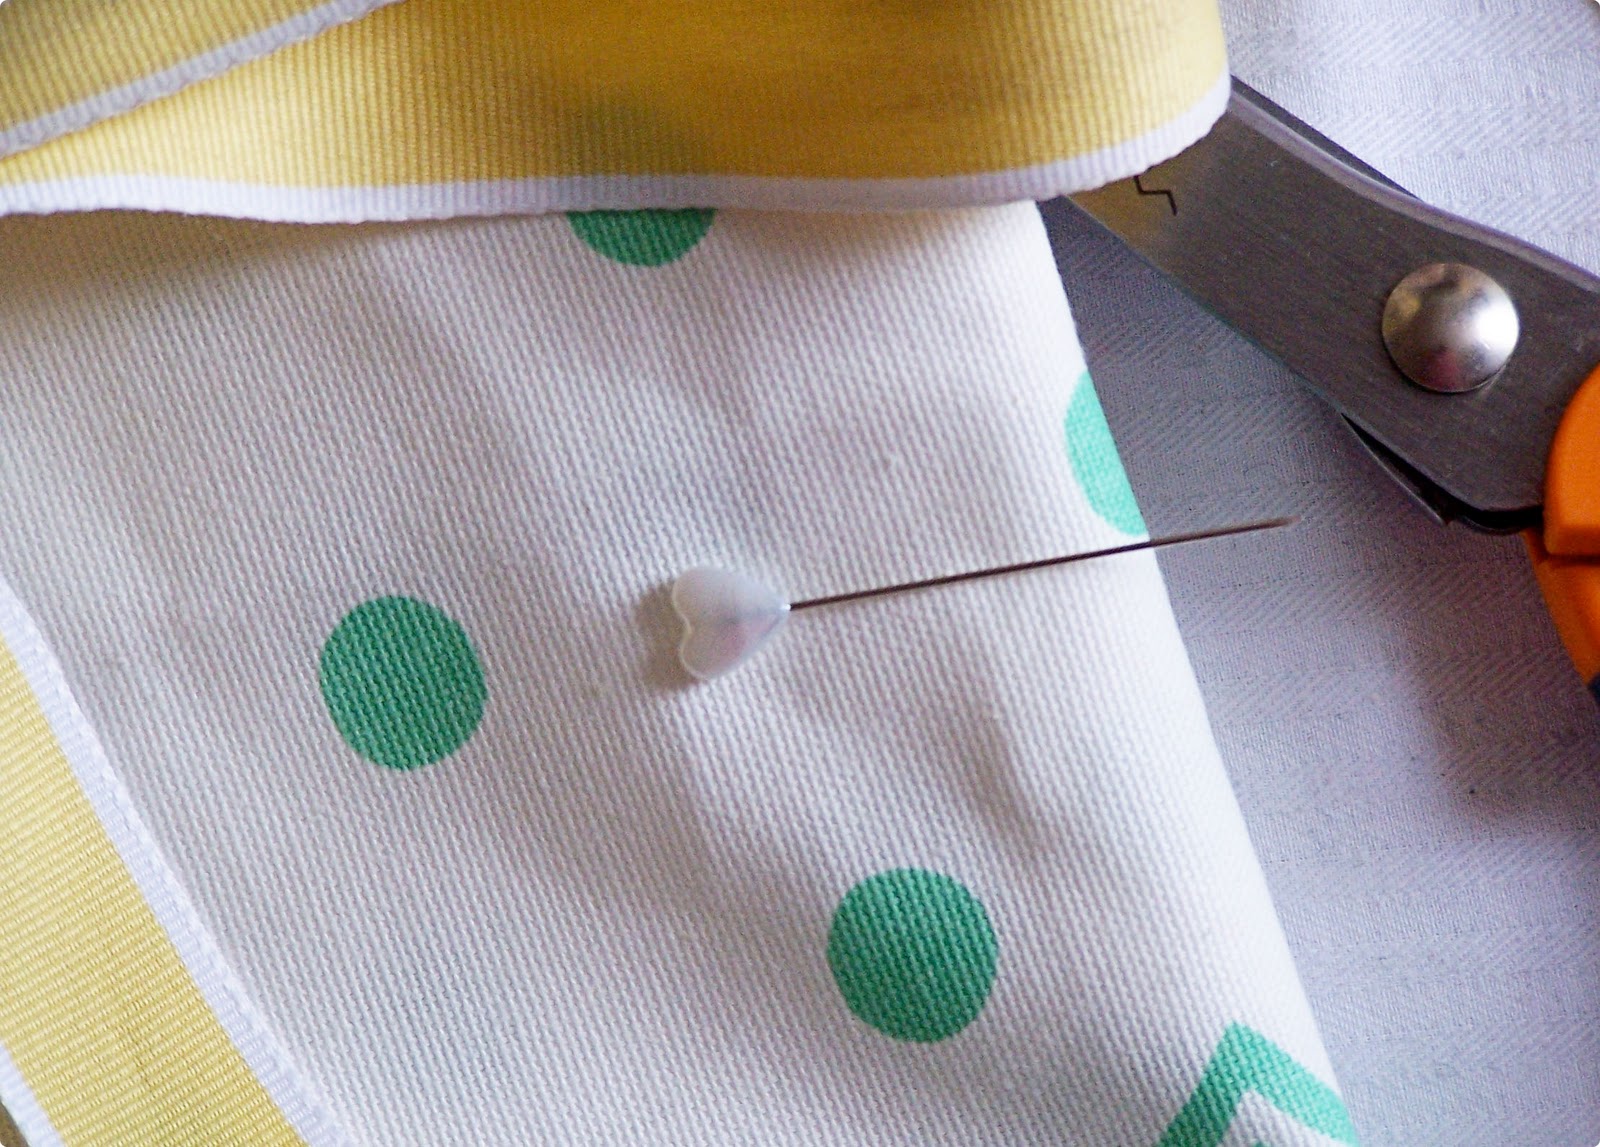
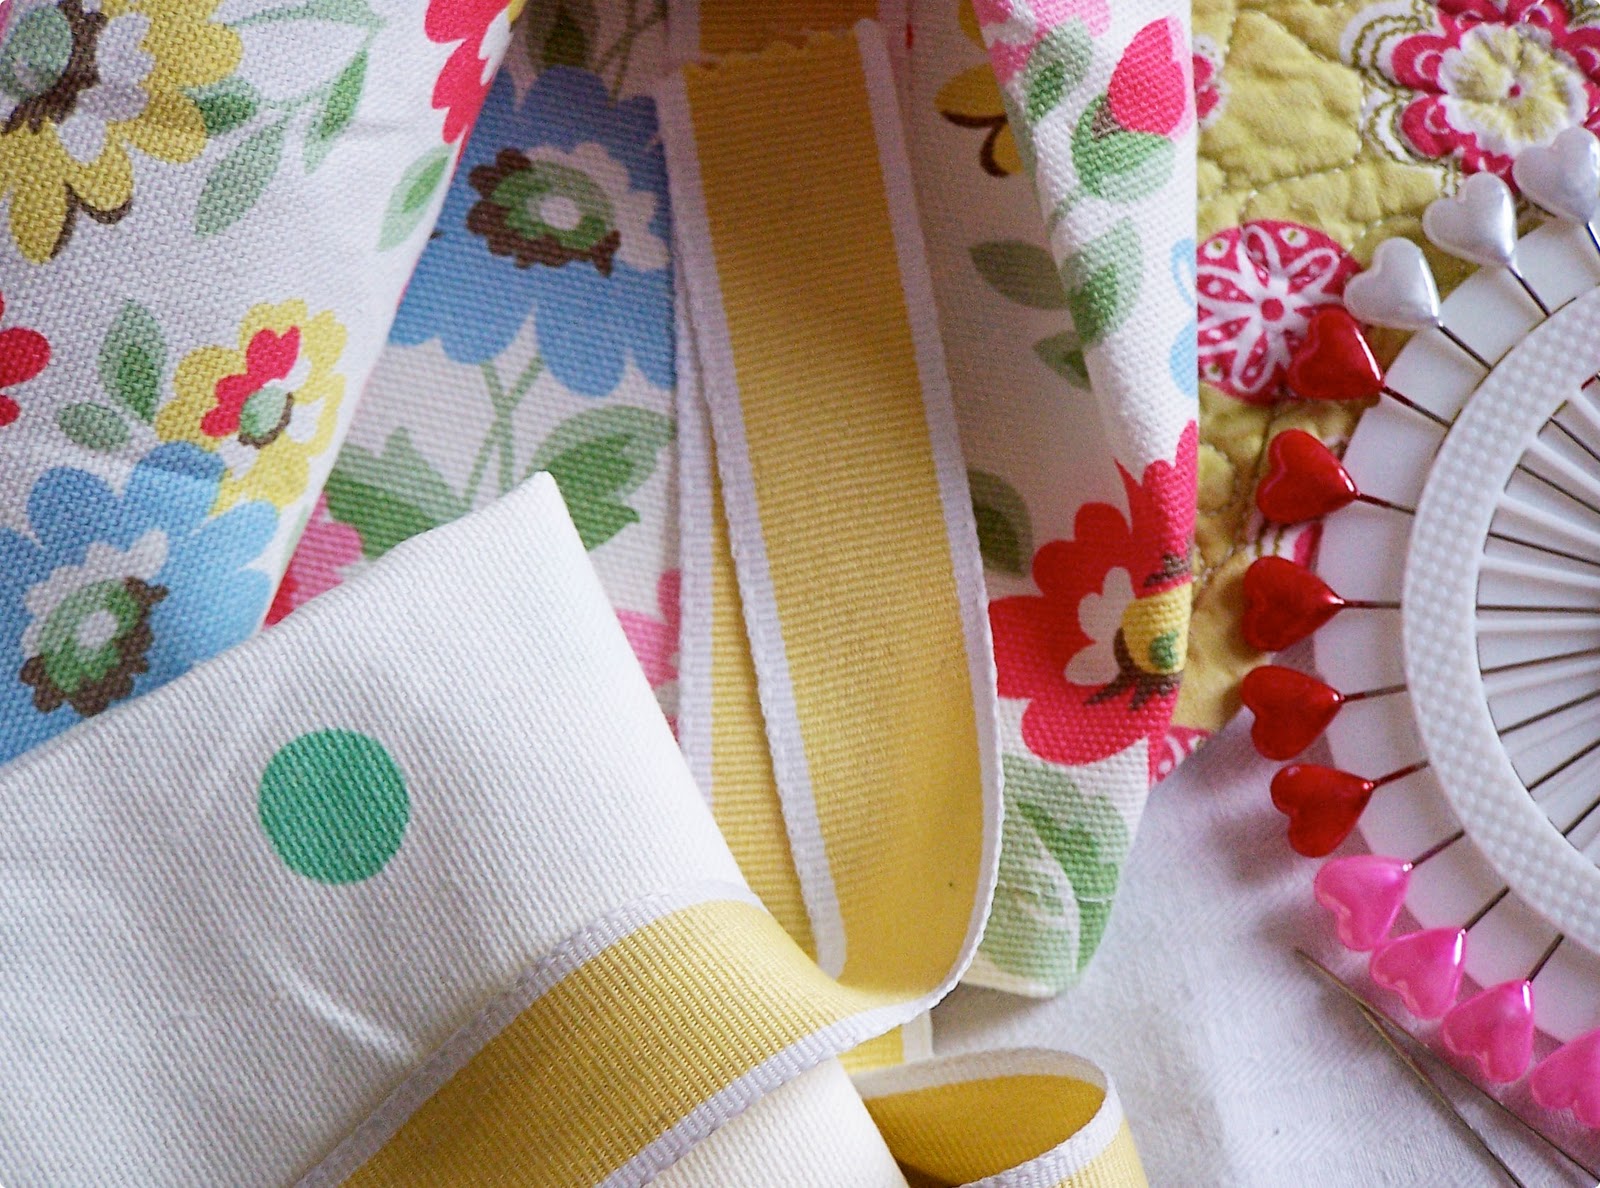
The same oilcloth that covers your kitchen table can transport your children’s lunches — or your own — in leak-free style. These reusable bags will cut back on waste since they can simply be washed with a damp sponge (oilcloth is not washing-machine safe). Use a single print for the whole bag, or cut out complementary patterns or solid colors for side panels. You can attach small Velcro tabs to hold the bags closed, or clip the tops with colorful wooden clothespins.

Cut main piece 29 1/2 by 8 inches and two side panels, each 12 1/4 by 5 inches.
1. Fold long panel, inside out, into U shape with 5-inch bottom.

2. Make 1/4-inch cut at bottom corners of side and middle pieces so bag folds smoothly. Sew-in side panels, leaving 1/4-inch seam allowance.

3. Turn right side out and top-stitch all around, 1/8 inch from edge.

The most important thing to remember while doing this is to use your imagination and just have fun!

I have my eye on some Cath Kidston oilcloth in my beloved “Provence Rose” pattern and as soon as I can get my hands on it, I plan to make my own lunch bag, perhaps with a vintage button to close it with!

(All images and directions are copyright Martha Stewart, for the original article please click here)

The gorgeous Oilcloth.com store are one of my favourite supplies and they have a whole variety of patterns to choose from!

Wee Wonderfuls

A few months ago while reading the lovely Hillary Lang’s site Wee Wonderfuls, I saw this picture:

I was in love. I commented along with many others who were all hoping she would share this adorable pattern with us. She wrote back to tell us, that she would and it would be so much better than just a pattern it was going to be a book:

I was ecstatic and rushed to Amazon UK to see if I would be able to pre-order. I didn’t think I could wait to get it into my hands, after seeing some samples of  the absolute cutest, sweetest, vintagey-est, lovely little things that are held within those pages.  There is a nice old-fashioned feeling to these dolls, like the dolls you played with when you were little. Look at this lady for example:

I see her in my future, sitting on a shelf or a desk, smiling as she watches what I am getting up to. On Friday, Martha Stewart’s Craft site did a small feature on Mrs. Lang and with her permission was kind enough to share a pattern from her book.  The pattern is: The Mermaiden.

And, I can’t wait to try her, I have the perfect fabric in mind for her little tail. Never having tried my hand at free-motion quilting, I am looking forward to giving this project a go.

This is the only pattern I have yet to see in full, unfortunately Amazon UK has not yet received shipment of this wonderful book and so my patience must win out, because it will be another 2-3 weeks before this wee lady has her wee book! In the meantime I can just dream about all the wonderful things held within those pages…

*Click on The Mermaiden image to be taken to the pattern
(All images copyright Hillary Lang, Wee Wonderfuls)

"Beanetta"

I was commissioned last week to make a little bear for a brand new baby. Although, too tiny for the Tooth Fairy, this little bear can stay tucked away in her nursery until she is ready for it.

Affectionately known as “Bean” while she was in the womb, she became known as “Beanetta” once the parents found out they were having a little girl.

She was born July 9th, but still does not have a name that suits her. Welcome to the world Beanetta, I hope you have a name soon!

(Polka Dot border from a Pugly Pixel Freebie)

Shirt & Tie

In lieu of the traditional shirt and tie for Father’s Day, I thought this card was quite cute and could hold tickets to a Summer concert or coupons, good for a day out with Dad.

One more day to go, so if you haven’t gotten something yet, this was just too cute not to share. I am loving the Japanese origami techniques…

Directions:

A shirt and tie are a traditional gift for Dad — a card to match is something new. Use legal-size (8 1/2-by-14-inch) decorative paper.

1. Place paper facedown. Fold in half vertically; unfold. Line up left edge with centerline fold, and crease; repeat with right edge. Unfold, and lay flat.

2. Fold top-left corner in to line up with outermost crease, forming a triangle; repeat on top-right corner. Using index fingers and thumbs, pinch together outside points of each triangle so they meet, and crease.

3. While still pinching triangles, fold down top edge (this will make sleeves).

4. Turn paper upside down, and flip it over. Fold down top edge 3/4 inch.

5. Flip paper over. Fold top left and right corners so tips meet at centerline.

6. Tuck bottom edge under collar, and flatten by creasing. For the tie, cut out an 8-by-1/2-inch strip of decorative paper. Knot paper. Snip close to knot on one side; trim other to a point. Glue to shirt.

(Images and directions copyright Martha Stewart)

Harry

I was asked a few days ago to make two bears, for a new little person named Harry and his big sister, Dora.  The bear design was picked over the bunnies, one pink and one blue, with their names embroidered on the back for them.

They are wrapped up with candy striped tissue paper to go into the post this morning (I should have dressed them in rain coats and wellies with the awful weather we are having!) and I hope they make their new little people very happy! Even though Harry is too teeny for a visit from the Tooth Fairy, I know it will come in handy one day!

Welcome to the World, Harry!

Recycled Vintage

I love the idea of re-using things, even if you are using them for something other than their original intended purpose.

There are a few vintage pieces in our house that are used in a new way, like my Victorian pine cutlery tray; it has become the catch-all “pot” on the table for scissors, tape, pens; an old train box now holds cds and a vintage sweets crate is now the holder of my laundry items…

I have had this little project idea on the back-burner for awhile now, I can’t seem to find the right metal tray, but I know the one for me is out there.

In the mean time I thought I would share the Farm Chicks project idea with you that I want to do. Enjoy!

(Image and directions copyright Country Living Magazine – The Farm Chicks)

Pom Pom Bunny Girl

This elfin sized Pom-Pom Bunny, by the very lovely Jennifer Murphy has been in my little project file for awhile now. I don’t think she is going to be made this Easter, with all the other projects I have on the go at the moment…

But, her vintage sweetness would look very cute on my kitchen table or next to my Easter egg tree. I need the rain to hold off on Saturday so we can go on our twig hunt. Easter is almost here and I haven’t collected twigs yet for my tree, once that is done we can get the eggs out to hang up and really feel like Spring is here.

To make your own Pom-Pom Bunny Girl follow the directions below:

 
Tools and Materials
Yarn
Waxed thread
Scissors
Felt
Felt glue (such as Beacon’s)
Hemostat
Tiny black beads
Pink embroidery floss
Needle
Heavy thread
Chenille stem
Paper cupcake liners
Pinking sheers
Ribbon
Vintage flowers (optional)
Small circle of wood
Off-white paint
Paintbrush
Pink paper

 Pom-Pom Bunny How-To

1. Print Bunny How-To PDF to follow along with when creating the pom-pom bunnies. Make two separate pom-poms of equal size by winding yarn around two fingers. Tie pom-pom tightly in middle with waxed thread.
2. Use scissors to clip loops and create frayed ends. Trim a larger pom-pom into an oval for the body. Trim a smaller pom-pom to create a head.
3. Cut ears out of felt. Fold and glue the bottom of each ear to give it dimension, and hold into place with a hemostat until dry.
4. Glue ears into the head with felt glue.
5. Glue bead eyes into place.
6. String pink embroidery floss through the space where the nose should be. Trim.
7. Knot a double-threaded needle with heavy thread; pull through and clip long for whiskers.
8. Open a space in the body for the arms and legs made of chenille stems. Glue chenille stem into pom-pom body.
9. Fold chenille stem in half so cut end gets hidden inside the pom-pom for both the arms and legs. Fold legs vertically, and arms horizontally. For the legs, fold them so the bunny becomes the desired height.
10. Glue head onto body.
11. To make the bunny’s skirt, cut the circular bottoms of two paper cupcake liners with pinking sheers.
12. Glue the two pieces together at the waist.
13. Tie a bow around bunny’s neck using ribbon.
14. With glue, tack the skirt onto the bunny on the front, back, and under each arm. Dab small dots of glue around the top of the skirt and attach.
15. Bend the bunny’s arms. Glue on vintage flowers for decoration.
16. To create a base, paint a small circle of wood off-white. Trace the circle on pink paper.
17. Cut just inside line with pinking sheers and glue onto the wooden base.
18. Bend the bunny’s feet at the ankle. Glue feet onto the wooden base.
(All images & tutorial text copyright Martha Stewart)

Ta-Daaaa!

We worked hard over the weekend, planting a few more flowers in the pots and cleaning up our little garden. It is amazing how many leaves and things get tucked between a planter and a wall over the winter, so the planters were moved and the leaves were swept out!

I also got to finish the project I started on Friday, living in a little cottage things can get dusty fast and there is not always enough space to keep everything tucked away, so with the inspiration of a Martha Stewart How-To I saw ages ago, I devised a plan.

With a simple tea towel, I reworked the pattern to fit my doll house sized treasure, creating almost origami styled folds, but making sure to leave enough room to get around all the parts:

Did you guess what it is? Your right, a new sewing machine cover to keep it dust free and sitting pretty!

(Vintage circus image from the Circus ABC by Kathryn Jackson, found on the Golden Gems Blogspot, embellished by Jennifer Michie)

What Will it Be?

Just working on a few sewing projects today, what will some of this fabric become?

The possibilities are endless, but I have something particular in mind. I think I will use the Cath Kidston Pairie fabric for this project, I can’t seem to get enough of those happy flowers lately.

What will it be? You’ll just have to wait and see….

Blanket Statement

This morning the sun is shining yet again, the little pot of bulbs by my front door are ready to pop open and a rap at my racing green door was opened to find my jolly postman waiting for me with a parcel in his hands.

What was in my delicious parcel? This:

It was written by the lovely Vicki Haninger, who runs the Turkey Feathers Blog and the Pattern Bee web shop where she sells wonderful vintage and retro embroidery designs.

I have been desiring this little book ever since I saw her cute elephant doll, sweetly dressed for a party with a heart bejeweled crown on her head. But you could not get it in England and I could never find it when I went home to visit. So, thank goodness you can now get it through Amazon UK, that makes me 1 very happy camper!

So, sitting down with a steaming cup of tea, I tore into this package like a child on Christmas morning and I flipped through, oohed and aaghed and then I flipped through again and oohed and aaghed some more.

What a sweet treasure this book is and the other ideas it has already started spawning in my head… it is really adorable!

If you can’t wait to get your hands on your own copy, you can already begin making a project from her book. She offers this darling little lambkin pattern on her website. It looks like something straight out of a vintage shop. I can just see the 1950’s little girl it belonged to in her pink coat and matching bonnet with this little lamb tucked under her arm.

I can’t wait to get started making some of the projects out of here. But, first there are bears and bunnies to be made for RosaBlue, so I am busy happily stitching away!

Click on the Lambkin for a pattern and directions: