Tag: tutorial (page 1 of 2)

Getting Crafty

As soon as we finish the mammoth task of organizing our pantry, I have a few projects up my sleeves for this half term. But, I have to clean up one mess before I make a new one.  If you are in the mood to do a little crafting this week, check out my “Getting Crafty” board on Pinterest.

Here are just a few things I have pinned {click the images for the tutorials}:

As always Molly’s Sketchbook on the Purl Bee site is filled with sweet ideas. A bunny just in time for Spring:

Liberty fabric lap blankets to keep you cozy in the still gray days of winter:

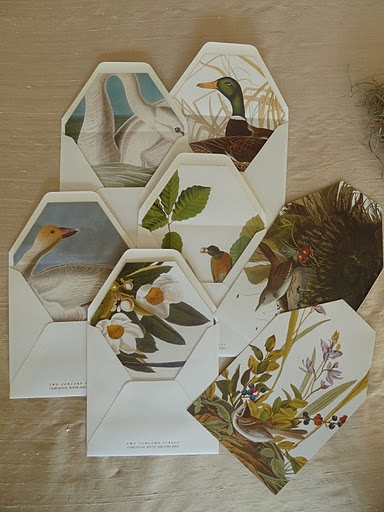
Send mail the old-fashioned way, but jazz up your envelopes with beautiful paper:

Any paper leftover? Use it to make these cute pinwheels:

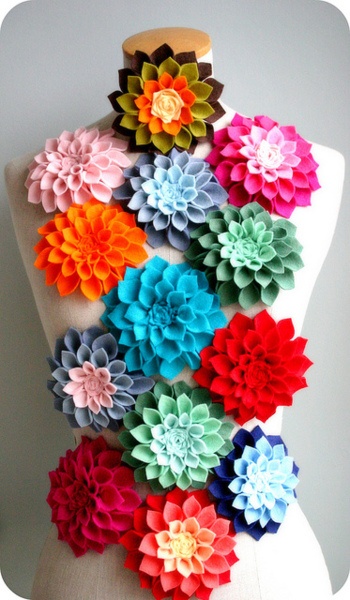
Not Martha offers a cute and stylish brooch to brighten up your coat:

Have fun!

{all images copyright their respective blog}

Bonjour!

I was getting caught up with my Google Reader account yesterday and seeing this made me smile.

A mini “Bonjour! “marquee sign. Wouldn’t it be cute to do a little Christmas version? I think I just might do it!

Tutorial from Oh Happy Day

Sugar & Meringue

I missed it! I have been so busy with School these past few weeks, somehow in my GoogleReader, I missed this post from Sugar & Meringue! Her annual “National Sugar Cookie Day” publication. Last year’s was adorably presented, as was this year’s.

It is full of sweet recipes, how-to images and ideas. She has also posted an adorable tutorial on how to make “granny-square” decorated cookies. And, since making granny-squares for a blanket is on my to-do list this Summer, I am smitten with this idea. Enjoy!

(All images and publications copyright Sugar & Meringue)

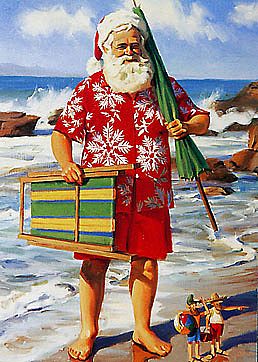
Christmas in July

I know, I have written about this before on my blog, but in the States, it is a big thing to have “Christmas in July” sales and events. This is not the case in England, where people look at you, as if you are half mad to even mention such a thing. As school is shortly coming to a close for us (tomorrow is our last day, Yipee!), I thought this would be a good time to use a bit of the Summer break to begin working on a few Christmas/winter-y projects.

One, being my crocheted granny blanket, which I have yet to have the chance to begin, with all the craziness of school going on around us. But, also to possibly start a few Christmas projects early. Here were a few things I came across and I might just try to make some of these, or at the very least be inspired by them, especially the sock monkey coffee cup wrap, he has personality!

Do you begin your Christmas making projects early, or are you a last minute kinda gal (or guy)? Enjoy!

Now is a good time to start collecting vintage cookie cutters at thrift stores and yard sales. These “frames” would be gorgeous to have up all year round!

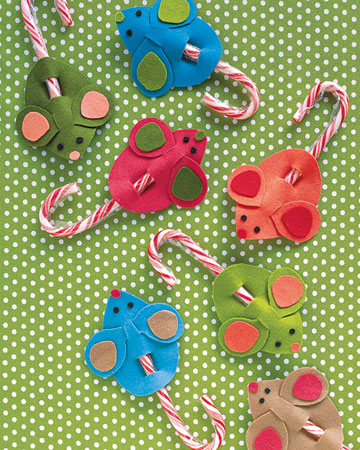
These mice would make perfect teacher’s presents or classroom gifts. If you changed the colors they would even be cute for an Alice in Wonderland Themed Birthday Tea Party.

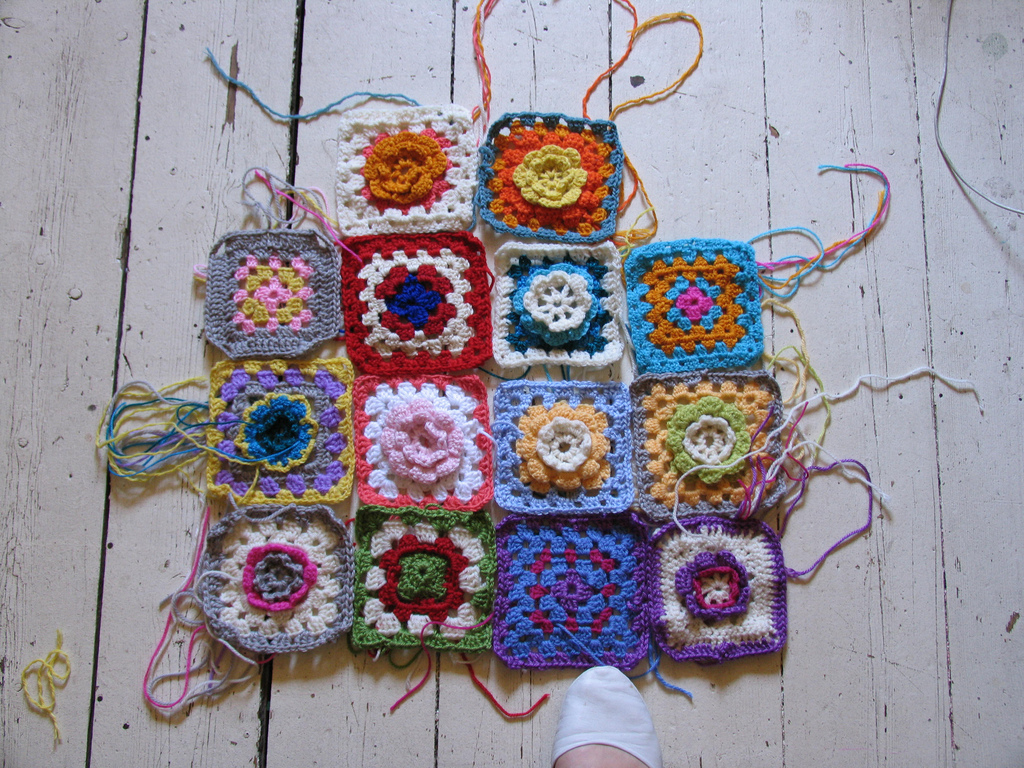
Want to make your own granny square blanket to stay cozy with when the weather turns frosty, go to Meet me at Mike’s for a granny square tutorial.

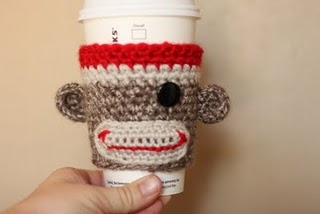
This sock monkey coffee cup wrap is too cute. Perfect for your coffee lovers, any time of year.

(All images copyright their respective blogs)

Tents

We have ONE week left to go of school and I am so ready for it to be over! This last term has felt as if it has gone on forever. It feels too long to still be in school, I am ready to enjoy a little bit of a Summer break.

Summer meant a lot of things and happy memories in my house growing up. One such memory in particular was the summertime rituals my sister and I always did. We played outside, creating bike “roads” out of chalk on our drive way. We went swimming, we went to the library and signed-up for the summertime reading list.

We ate ice-cream and fresh peaches from the farm. We played an endless game of monopoly that we made span the entire length of our Summer break and we built tents. We built huge tents with old blankets and sheets, sometimes encompassing a table and chair and part of a couch in our giant fortress.

We played underneath it, hung out, read, watched movies through our special “spy” hole aimed at the tv, we just had FUN. When I saw this tent tutorial, I just loved it. It brought back all of those little memories. This is a lot fancier than what we built, but I think just as magical.

What a fun summertime project for you and your little ones. I can just see it strung with fairy lights, filled with cozy blankets and pillows and the perfect place to lay down and read a book on a rainy day, falling asleep to the gentle pitter-patter of the rain, with the magical glow of the twinkling lights overhead.

For the how-to click here.

All images are courtesy of Grosgrain Fabulous. Original Post from Cakies.

Danny Brito

Danny Brito is an artist I discovered ages ago, through Danielle Thompson’s blog. He is someone whose work I have come to appreciate it. Especially his curly whirly whipped ice-cream beehived hairdo clad women!

This is a little video he made on making a handmade book and I liked his process, so I thought I would share it with you, I can’t wait to try making one of my own on my little dollhouse sized machine! Enjoy:

(All images and video copyright Danny Brito)

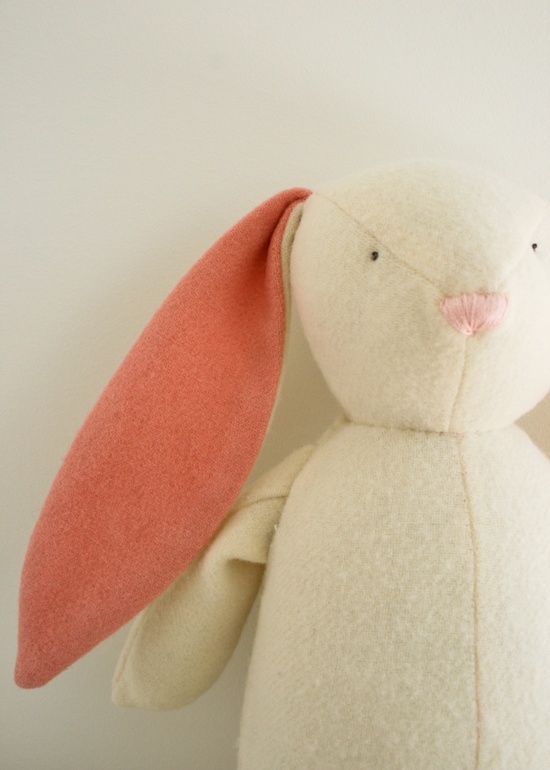
Some Bunny Loves You

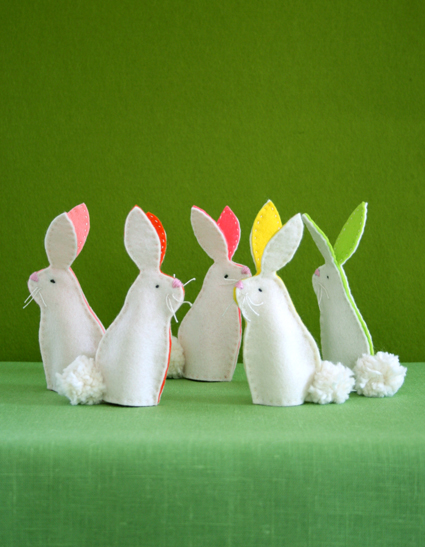
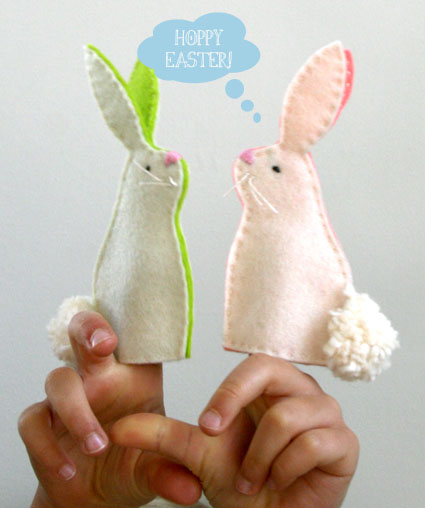
These bunnies are too cute for words! I saw them this weekend posted at The Purl Bee blog. They would be adorable set around a child’s place setting at an Easter table (or for grown-up kids too). I would love one at mine!

I come from a very large family of extended aunts, uncles & cousins. Both of my parents are 1 of 8 children and it doesn’t matter how old I am, or how long I have been married, I am still at the children’s table when we go to my grandparent’s house for family events. But, hey, you have more fun with those little people anyway, and with these little finger puppets we would be having a ball!

These bunnies would even be cute tucked in an Easter basket as a surprise from the Easter Bunny, you just have to have one small fun thing hidden amongst all the jelly beans and peeps and chocolate placed in the Easter grass of your basket!

To make your own little bunny Fu-Fu finger puppets follow the directions here:

(Images copyright The Purl Bee, embellishments, Jennifer Michie)

Pom Pom Bunny Girl

This elfin sized Pom-Pom Bunny, by the very lovely Jennifer Murphy has been in my little project file for awhile now. I don’t think she is going to be made this Easter, with all the other projects I have on the go at the moment…

But, her vintage sweetness would look very cute on my kitchen table or next to my Easter egg tree. I need the rain to hold off on Saturday so we can go on our twig hunt. Easter is almost here and I haven’t collected twigs yet for my tree, once that is done we can get the eggs out to hang up and really feel like Spring is here.

To make your own Pom-Pom Bunny Girl follow the directions below:

 
Tools and Materials
Yarn
Waxed thread
Scissors
Felt
Felt glue (such as Beacon’s)
Hemostat
Tiny black beads
Pink embroidery floss
Needle
Heavy thread
Chenille stem
Paper cupcake liners
Pinking sheers
Ribbon
Vintage flowers (optional)
Small circle of wood
Off-white paint
Paintbrush
Pink paper

 Pom-Pom Bunny How-To

1. Print Bunny How-To PDF to follow along with when creating the pom-pom bunnies. Make two separate pom-poms of equal size by winding yarn around two fingers. Tie pom-pom tightly in middle with waxed thread.
2. Use scissors to clip loops and create frayed ends. Trim a larger pom-pom into an oval for the body. Trim a smaller pom-pom to create a head.
3. Cut ears out of felt. Fold and glue the bottom of each ear to give it dimension, and hold into place with a hemostat until dry.
4. Glue ears into the head with felt glue.
5. Glue bead eyes into place.
6. String pink embroidery floss through the space where the nose should be. Trim.
7. Knot a double-threaded needle with heavy thread; pull through and clip long for whiskers.
8. Open a space in the body for the arms and legs made of chenille stems. Glue chenille stem into pom-pom body.
9. Fold chenille stem in half so cut end gets hidden inside the pom-pom for both the arms and legs. Fold legs vertically, and arms horizontally. For the legs, fold them so the bunny becomes the desired height.
10. Glue head onto body.
11. To make the bunny’s skirt, cut the circular bottoms of two paper cupcake liners with pinking sheers.
12. Glue the two pieces together at the waist.
13. Tie a bow around bunny’s neck using ribbon.
14. With glue, tack the skirt onto the bunny on the front, back, and under each arm. Dab small dots of glue around the top of the skirt and attach.
15. Bend the bunny’s arms. Glue on vintage flowers for decoration.
16. To create a base, paint a small circle of wood off-white. Trace the circle on pink paper.
17. Cut just inside line with pinking sheers and glue onto the wooden base.
18. Bend the bunny’s feet at the ankle. Glue feet onto the wooden base.
(All images & tutorial text copyright Martha Stewart)

Shamrock Boutonnieres

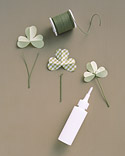
St. Patrick’s Day is tomorrow and in case you need to make some last minute St. Patty’s Day crafts these sweet boutonnieres are on the Martha Stewart website.

They are absolutely adorable and would work well as something cute on your lapel to take you through Spring. You could even add a little ladybug on a leaf for extra luck, if you can find one tiny enough.

Tools and Materials:
Cotton fabric
Waxed paper
Paintbrush
Liquid starch
Iron
Scissors
Pencil
Floral wire
Craft glue
Green ribbon
Corsage pins

1. On waxed paper, use a paintbrush to coat both sides of a cotton swatch with liquid starch. Let it dry. Iron the fabric to flatten it.

2. Photocopy shamrock templates to desired sizes. Cut them out, and trace them on fabric; then cut out fabric shamrocks. Crease each leaf in half lengthwise.

3. To make a stem, cut a 4-inch piece of floral wire; fold it in half, and twist it until the ends form a tiny V. Bend the V forward slightly and attach it to the back of each shamrock with a small dab of craft glue. Tie a bow around one stem or a bunch of shamrocks. Use a corsage pin to fasten to your clothing.

Click here to get the full set of directions from the Martha Stewart website.

(All images and direction text, copyright Martha Stewart Living)