Tag: spring (page 14 of 14)

Pom Pom Bunny Girl

This elfin sized Pom-Pom Bunny, by the very lovely Jennifer Murphy has been in my little project file for awhile now. I don’t think she is going to be made this Easter, with all the other projects I have on the go at the moment…

But, her vintage sweetness would look very cute on my kitchen table or next to my Easter egg tree. I need the rain to hold off on Saturday so we can go on our twig hunt. Easter is almost here and I haven’t collected twigs yet for my tree, once that is done we can get the eggs out to hang up and really feel like Spring is here.

To make your own Pom-Pom Bunny Girl follow the directions below:

 
Tools and Materials
Yarn
Waxed thread
Scissors
Felt
Felt glue (such as Beacon’s)
Hemostat
Tiny black beads
Pink embroidery floss
Needle
Heavy thread
Chenille stem
Paper cupcake liners
Pinking sheers
Ribbon
Vintage flowers (optional)
Small circle of wood
Off-white paint
Paintbrush
Pink paper

 Pom-Pom Bunny How-To

1. Print Bunny How-To PDF to follow along with when creating the pom-pom bunnies. Make two separate pom-poms of equal size by winding yarn around two fingers. Tie pom-pom tightly in middle with waxed thread.
2. Use scissors to clip loops and create frayed ends. Trim a larger pom-pom into an oval for the body. Trim a smaller pom-pom to create a head.
3. Cut ears out of felt. Fold and glue the bottom of each ear to give it dimension, and hold into place with a hemostat until dry.
4. Glue ears into the head with felt glue.
5. Glue bead eyes into place.
6. String pink embroidery floss through the space where the nose should be. Trim.
7. Knot a double-threaded needle with heavy thread; pull through and clip long for whiskers.
8. Open a space in the body for the arms and legs made of chenille stems. Glue chenille stem into pom-pom body.
9. Fold chenille stem in half so cut end gets hidden inside the pom-pom for both the arms and legs. Fold legs vertically, and arms horizontally. For the legs, fold them so the bunny becomes the desired height.
10. Glue head onto body.
11. To make the bunny’s skirt, cut the circular bottoms of two paper cupcake liners with pinking sheers.
12. Glue the two pieces together at the waist.
13. Tie a bow around bunny’s neck using ribbon.
14. With glue, tack the skirt onto the bunny on the front, back, and under each arm. Dab small dots of glue around the top of the skirt and attach.
15. Bend the bunny’s arms. Glue on vintage flowers for decoration.
16. To create a base, paint a small circle of wood off-white. Trace the circle on pink paper.
17. Cut just inside line with pinking sheers and glue onto the wooden base.
18. Bend the bunny’s feet at the ankle. Glue feet onto the wooden base.
(All images & tutorial text copyright Martha Stewart)
Rain

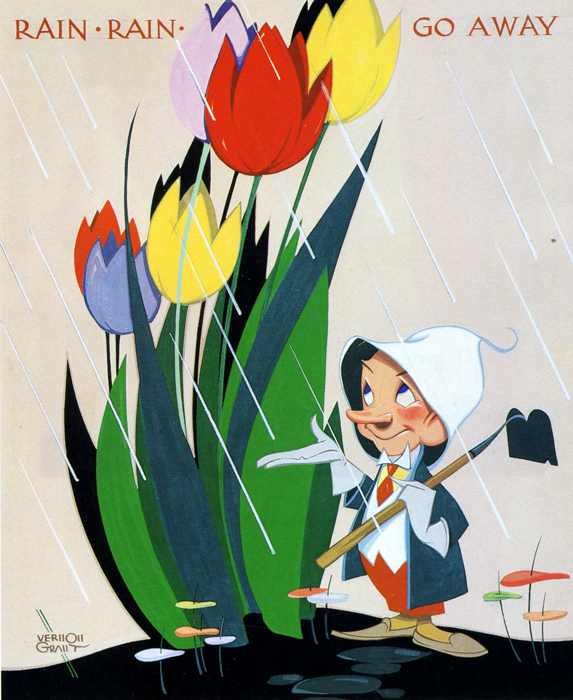
16 RainRainGoAwayRain, Rain, Go Away! Come Again Another Day…

It is going to rain all week, at least my newly planted primroses will be happy, but I wouldn’t mind a ray of sunshine and I know my plants wouldn’t either… At least rain means more time for indoor projects since I am not being beckoned by Spring to go outside, although the woods are always pretty in the rain.

Who knows though? This is England and you can have 4 seasons in one day even in the middle of July!

(Image from Vernon Grant’s Mother Goose)

Ta-Daaaa!

We worked hard over the weekend, planting a few more flowers in the pots and cleaning up our little garden. It is amazing how many leaves and things get tucked between a planter and a wall over the winter, so the planters were moved and the leaves were swept out!

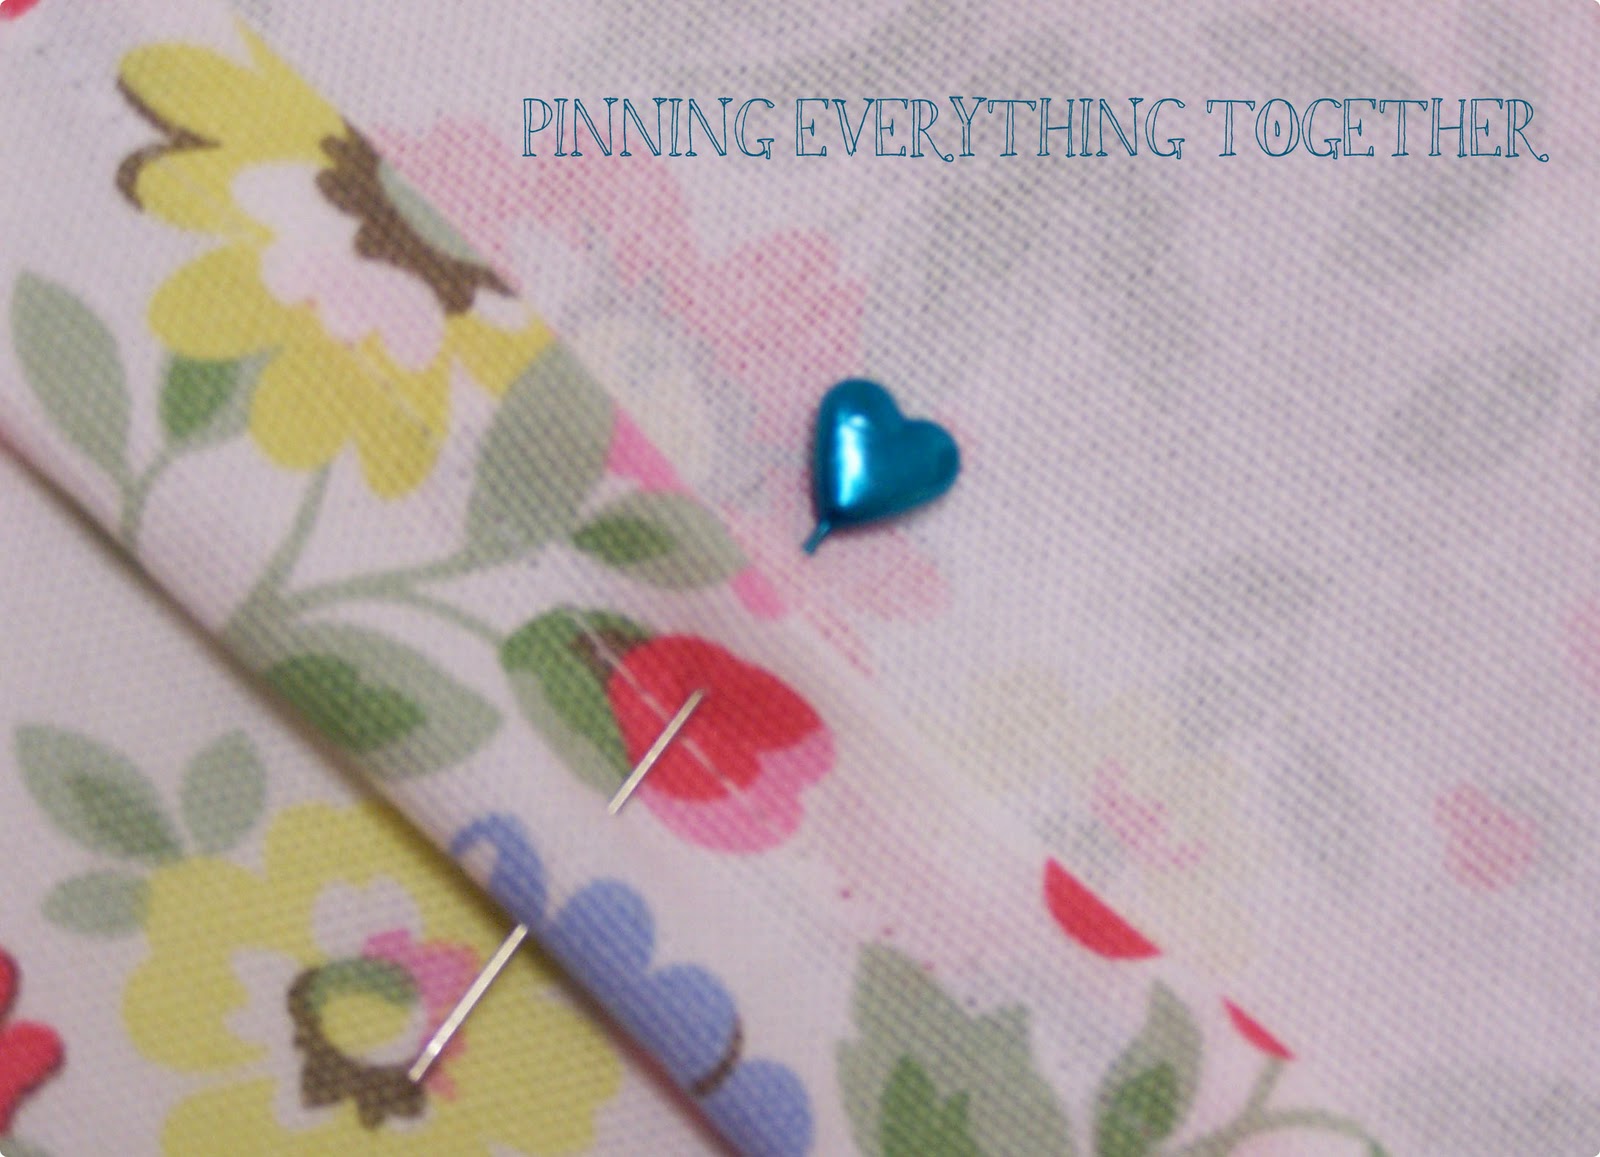
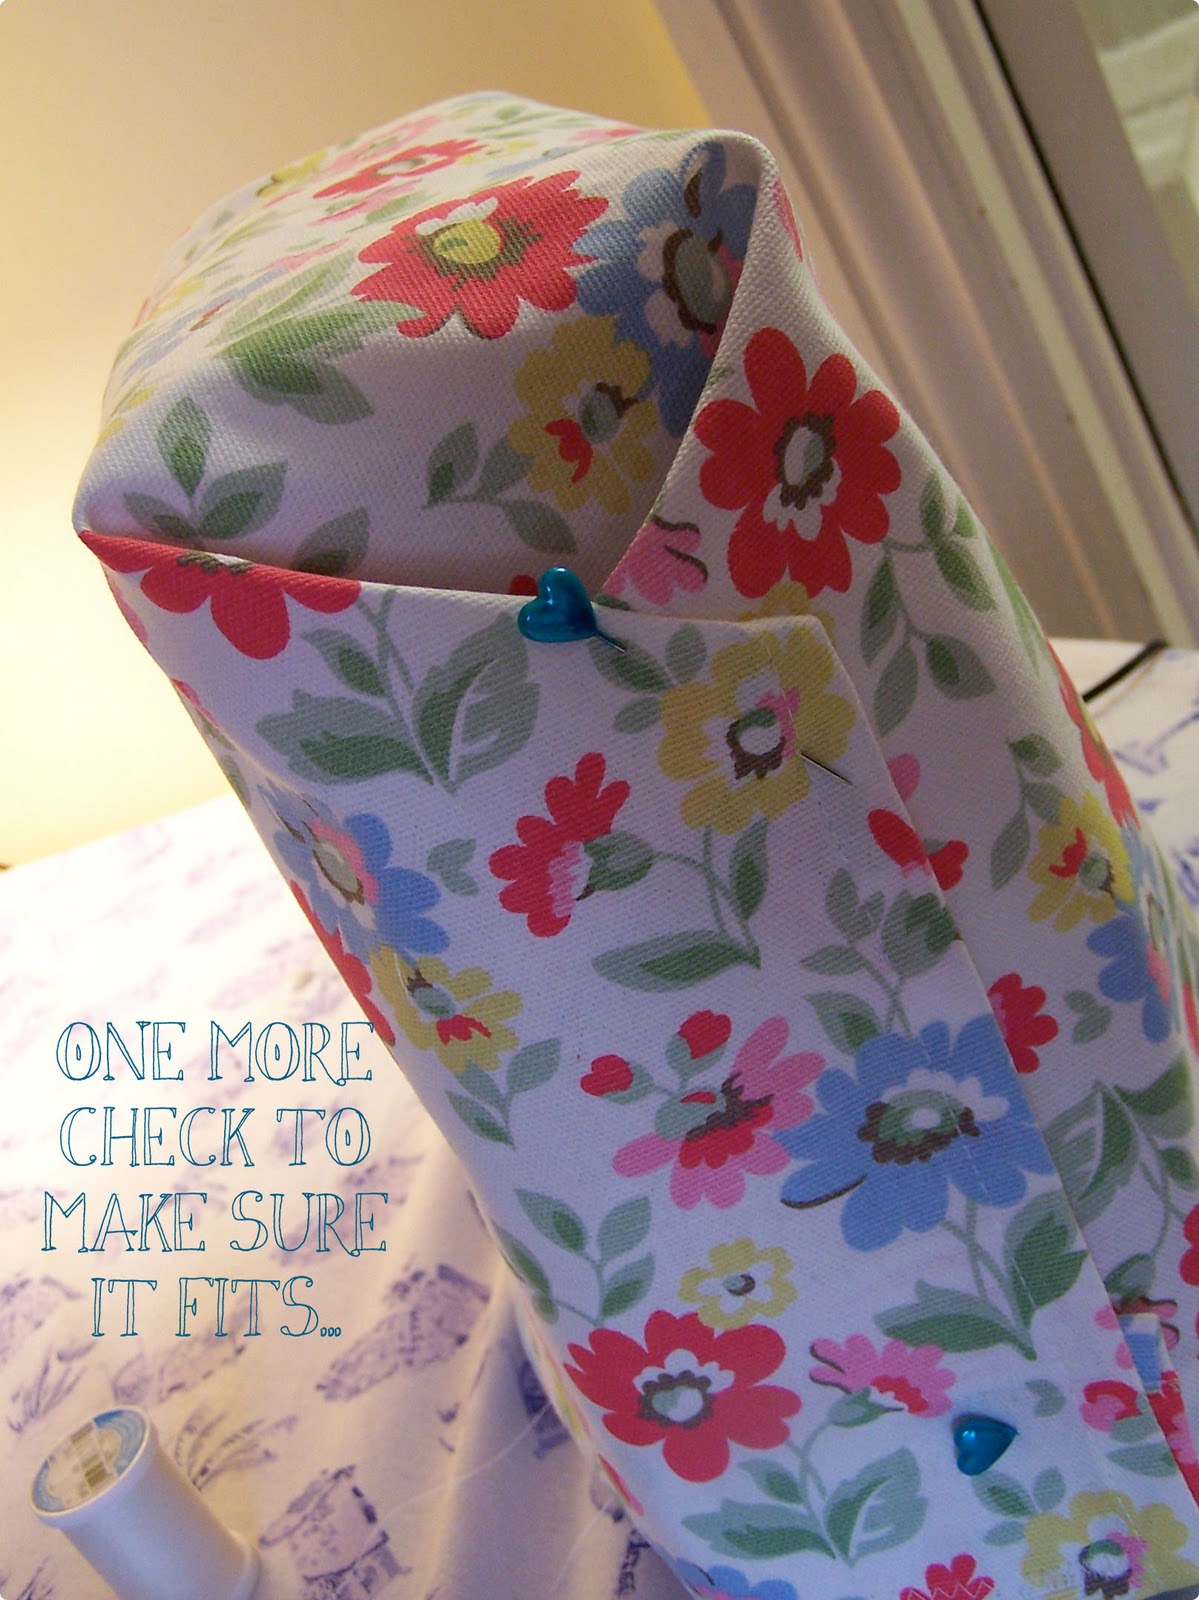
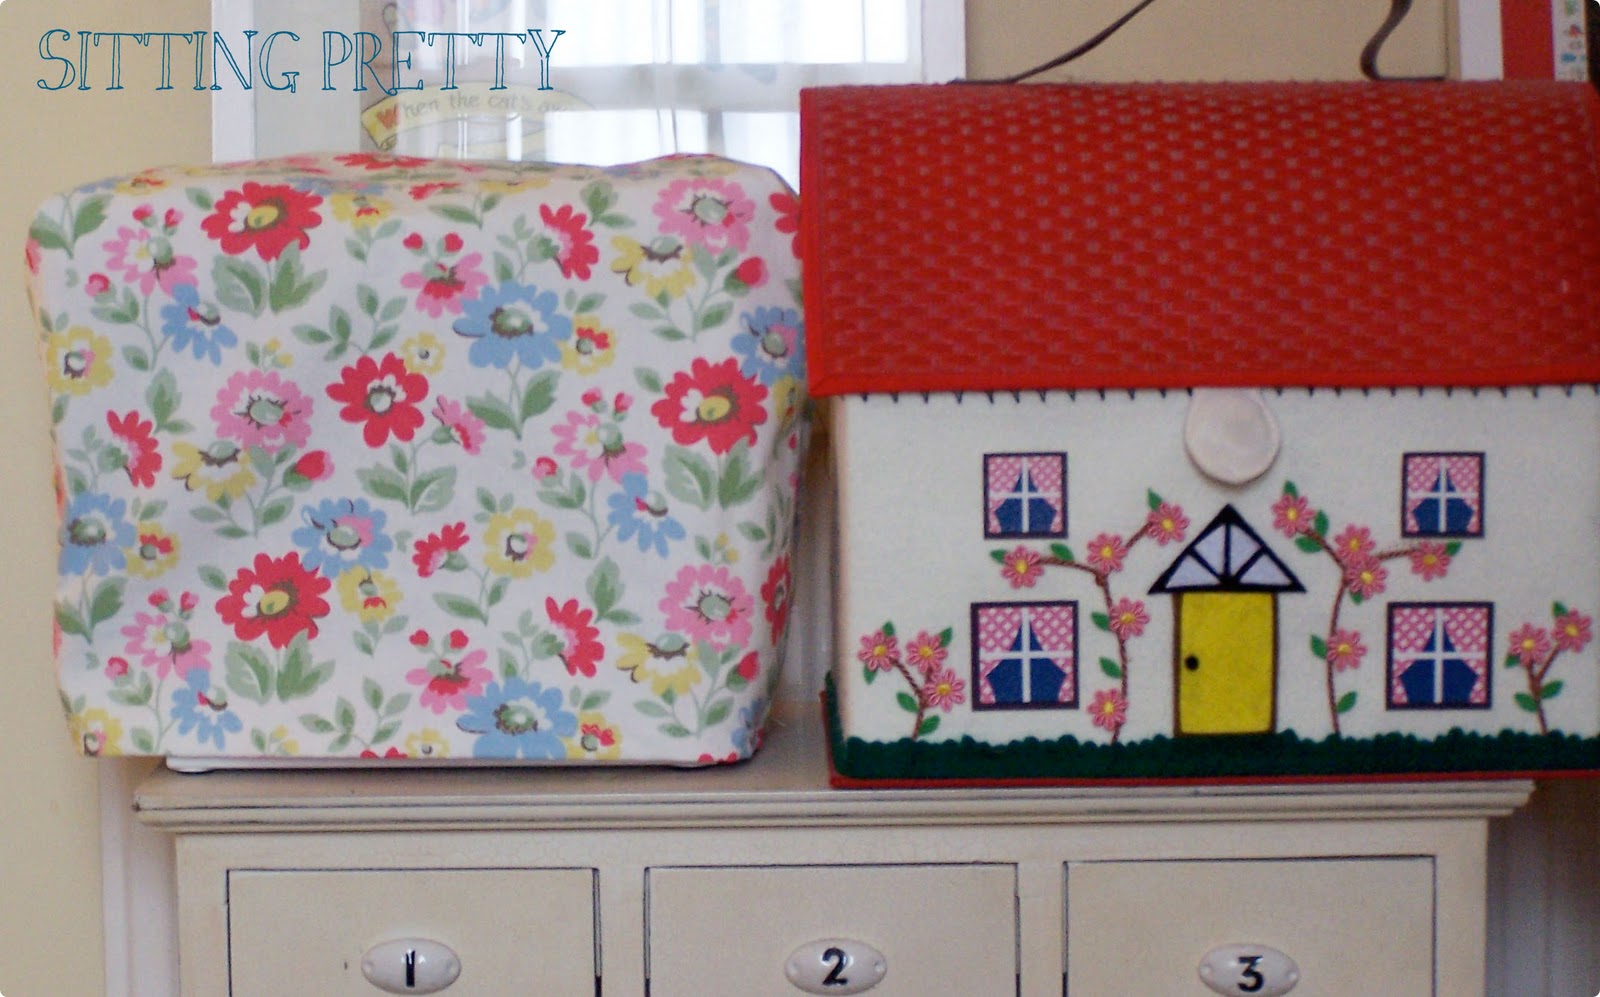
I also got to finish the project I started on Friday, living in a little cottage things can get dusty fast and there is not always enough space to keep everything tucked away, so with the inspiration of a Martha Stewart How-To I saw ages ago, I devised a plan.

With a simple tea towel, I reworked the pattern to fit my doll house sized treasure, creating almost origami styled folds, but making sure to leave enough room to get around all the parts:

Did you guess what it is? Your right, a new sewing machine cover to keep it dust free and sitting pretty!

(Vintage circus image from the Circus ABC by Kathryn Jackson, found on the Golden Gems Blogspot, embellished by Jennifer Michie)

Shamrock Boutonnieres

St. Patrick’s Day is tomorrow and in case you need to make some last minute St. Patty’s Day crafts these sweet boutonnieres are on the Martha Stewart website.

They are absolutely adorable and would work well as something cute on your lapel to take you through Spring. You could even add a little ladybug on a leaf for extra luck, if you can find one tiny enough.

Tools and Materials:
Cotton fabric
Waxed paper
Paintbrush
Liquid starch
Iron
Scissors
Pencil
Floral wire
Craft glue
Green ribbon
Corsage pins

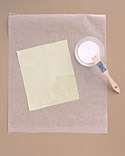
1. On waxed paper, use a paintbrush to coat both sides of a cotton swatch with liquid starch. Let it dry. Iron the fabric to flatten it.

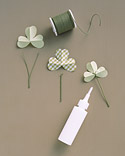
2. Photocopy shamrock templates to desired sizes. Cut them out, and trace them on fabric; then cut out fabric shamrocks. Crease each leaf in half lengthwise.

3. To make a stem, cut a 4-inch piece of floral wire; fold it in half, and twist it until the ends form a tiny V. Bend the V forward slightly and attach it to the back of each shamrock with a small dab of craft glue. Tie a bow around one stem or a bunch of shamrocks. Use a corsage pin to fasten to your clothing.

Click here to get the full set of directions from the Martha Stewart website.

(All images and direction text, copyright Martha Stewart Living)

Put the Kettle On…

Put the kettle on, I’m making scones this morning. I am making The Pioneer Woman’s delicious scones today. However, I have made a few adaptations, there are some things that I can’t get at my local grocery store in Jolly Ole’ England, so when in Rome…

The house smells like a cozy tea room and makes me yearn for the little cottage we stayed at in Cornwall with the sun shining so brightly today it would be perfect for a walk down the coastal path and a stop at Daisy’s for a doorstop sandwich and then some cake and tea.

Oh, I hear my kettle whistling, I wish you were here, you could join me for a spot of tea and a pecan scone….

Let the Wild Rumpus Begin!

I feel like Max this morning from “Where the Wild things Are” and I am ready for the wild rumpus of a weekend to start. There are still bears and bunnies to finish, Mother’s Day gifts to buy (they celebrate Mother’s Day early here) and my sweetie pie wants to see the new “Alice in Wonderland” film.

I loved reading the book as a child, what I loved most was that when I finished the first book, I had to turn it upside down to read the 2nd, “Alice Through the Looking Glass”. I am going into this film with my 3D glasses on and an open mind, I am not so sure about, it looks almost too out there, which my cute ginger argues with me is the point, so we shall see.

There is also a menu to be plan. My friends laugh at me, but I plan my menus for two weeks, we don’t have a large grocery store in our town, so it is a ride down the rails for groceries with my hessian bags and red granny cart in hand.  I buy a few things to get us through locally as we need them, milk, bread, salad…

I am far from frugal, we eat very well and for the most part very healthy in our house, I don’t cook junk; I just don’t understand how they can randomly walk into a store and just see what they happen to find. One of my friends goes grocery shopping every morning and spends about £30-40 each time, that is insane!! I plan some meals for one nights, some will be leftovers some will have something entirely new made with their leftovers.

There will be a menu discussion in the house tonight, so far Aioli is on the menu one of my favorite pasta dishes and so simple, with oil and garlic and parsley; a mexican night with homemade bean burritoes, queso sauce and homemade guacamole; it is still very cold here so probably a stew maybe with dumplings and mashed potatoes on the side or just a hearty bowl with some buttermilk biscuits. Since we have had our first taste of spring, I really feel like either some homemade banana pudding or Nigella Lawson’s “Old Fashioned Chocolate Cake”.  This cake is a favorite in our house, it has been made for many a birthday. Although I do make a few changes, I half the required dark chocolate for the icing and mix it with milk or use all milk chocolate, since I found the dark at times became too bitter. (click on the photo to get the recipe)

But in all this sewing, movie watching, grocery shopping crazy filled weekend we will have, I want to make sure that we carve out a little bit of time to just be. I know sometimes I am guilty of trying to do too much in the space of 48 hours, I just need to remember to sit back and breathe!

What are you doing for your weekend?

(Alice in Wonderland image by: Katogi Mari)

Danse avec Moi!

I love this print by Sarah Jane Studios. I have been staring at it for awhile now. Trying to justify its purchase, you know, the wants vs. the needs. But, this print just makes me happy!

Today on the 1st day of March the sun is shining, the sky is a robin’s egg blue, there a few clouds floating by, the air is fresh and as I gazed out this morning, I thought of this print.

We dance a lot in our house, randomly breaking out into dance while cooking dinner, while listening to good music. It is like living in a good 80’s movie. It is just happiness. Even on our first date, taking my hand in his, my husband waltzed me across the street under the moonlight.

So, tonight as we welcome in what feels like the beginning of Spring, even if it is just a teaser, I am going to ask him: “danse moi dans le printemps!” (dance me into spring) and laughing, I know he will oblige me, and taking my hand we will dance.

Visit Sarah Jane’s Blog here:

SARAH-JANE-HEADER-blog