Tag: martha stewart (page 3 of 4)

When Life Gives You Lemons…

When life gives you lemons, MAKE LEMONADE! My Mama has a cross stitch sampler of this saying hanging in the kitchen and my sister and I just love it. This has been a bit of a lemon week, but thankfully it is coming to an end and the weekend brings with it something very special.

I love lemonade, it was always a sign of summer. We would be playing outside, riding our bikes everywhere (I had my Mom’s old bike, sparkly turqouise with a white banana seat, I loved it!) and you were always about to drop from thirst when you came in from the heat. But, if you could just make it a few more steps into the kitchen there was always a pitcher of fresh lemonade on the counter, be it yellow, pink or green and nothing is more refreshing than a glass of lemonade. Unless, of course it is a glass of sweet tea, or even better 1/2 a glass of sweet tea + 1/2 a glass of lemonade=HEAVEN!

Since lemonade is not always the easiest thing to come by in England, or they way I like it to taste, I thought I would share a recipe with you courtesy of Martha Stewart. Enjoy! And, remember when life gives you lemons, MAKE LEMONADE!, this is sound advice!

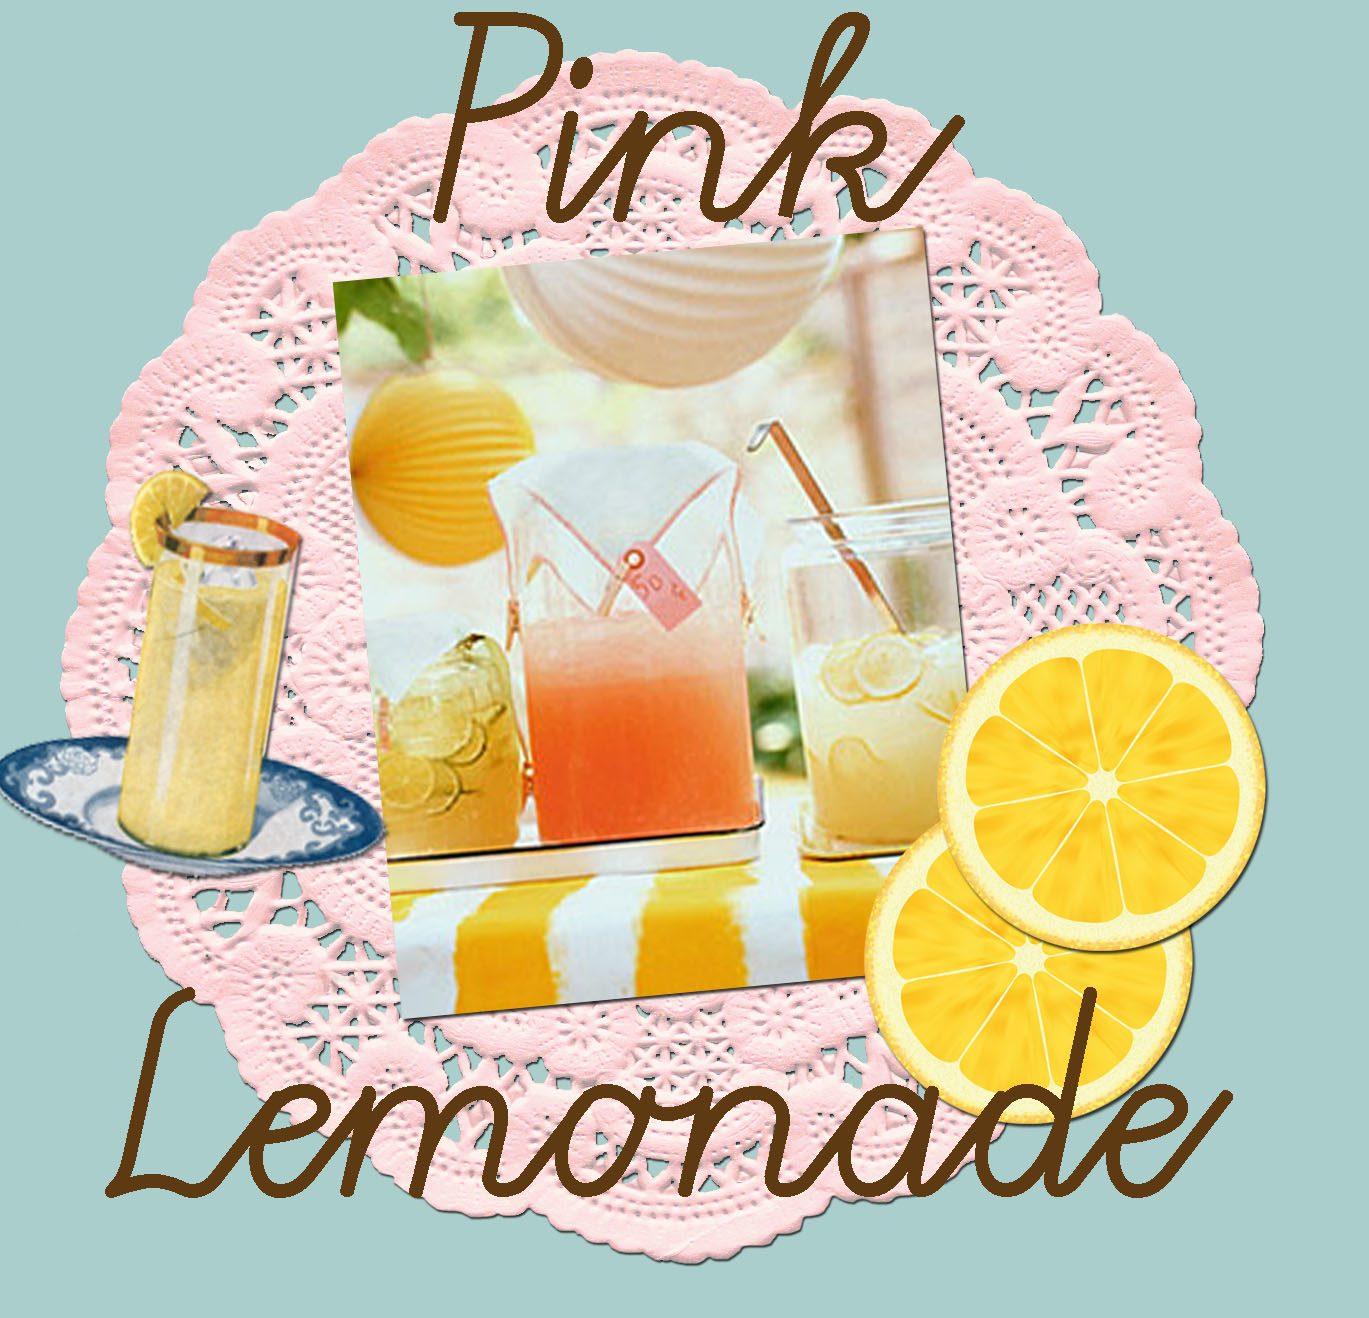
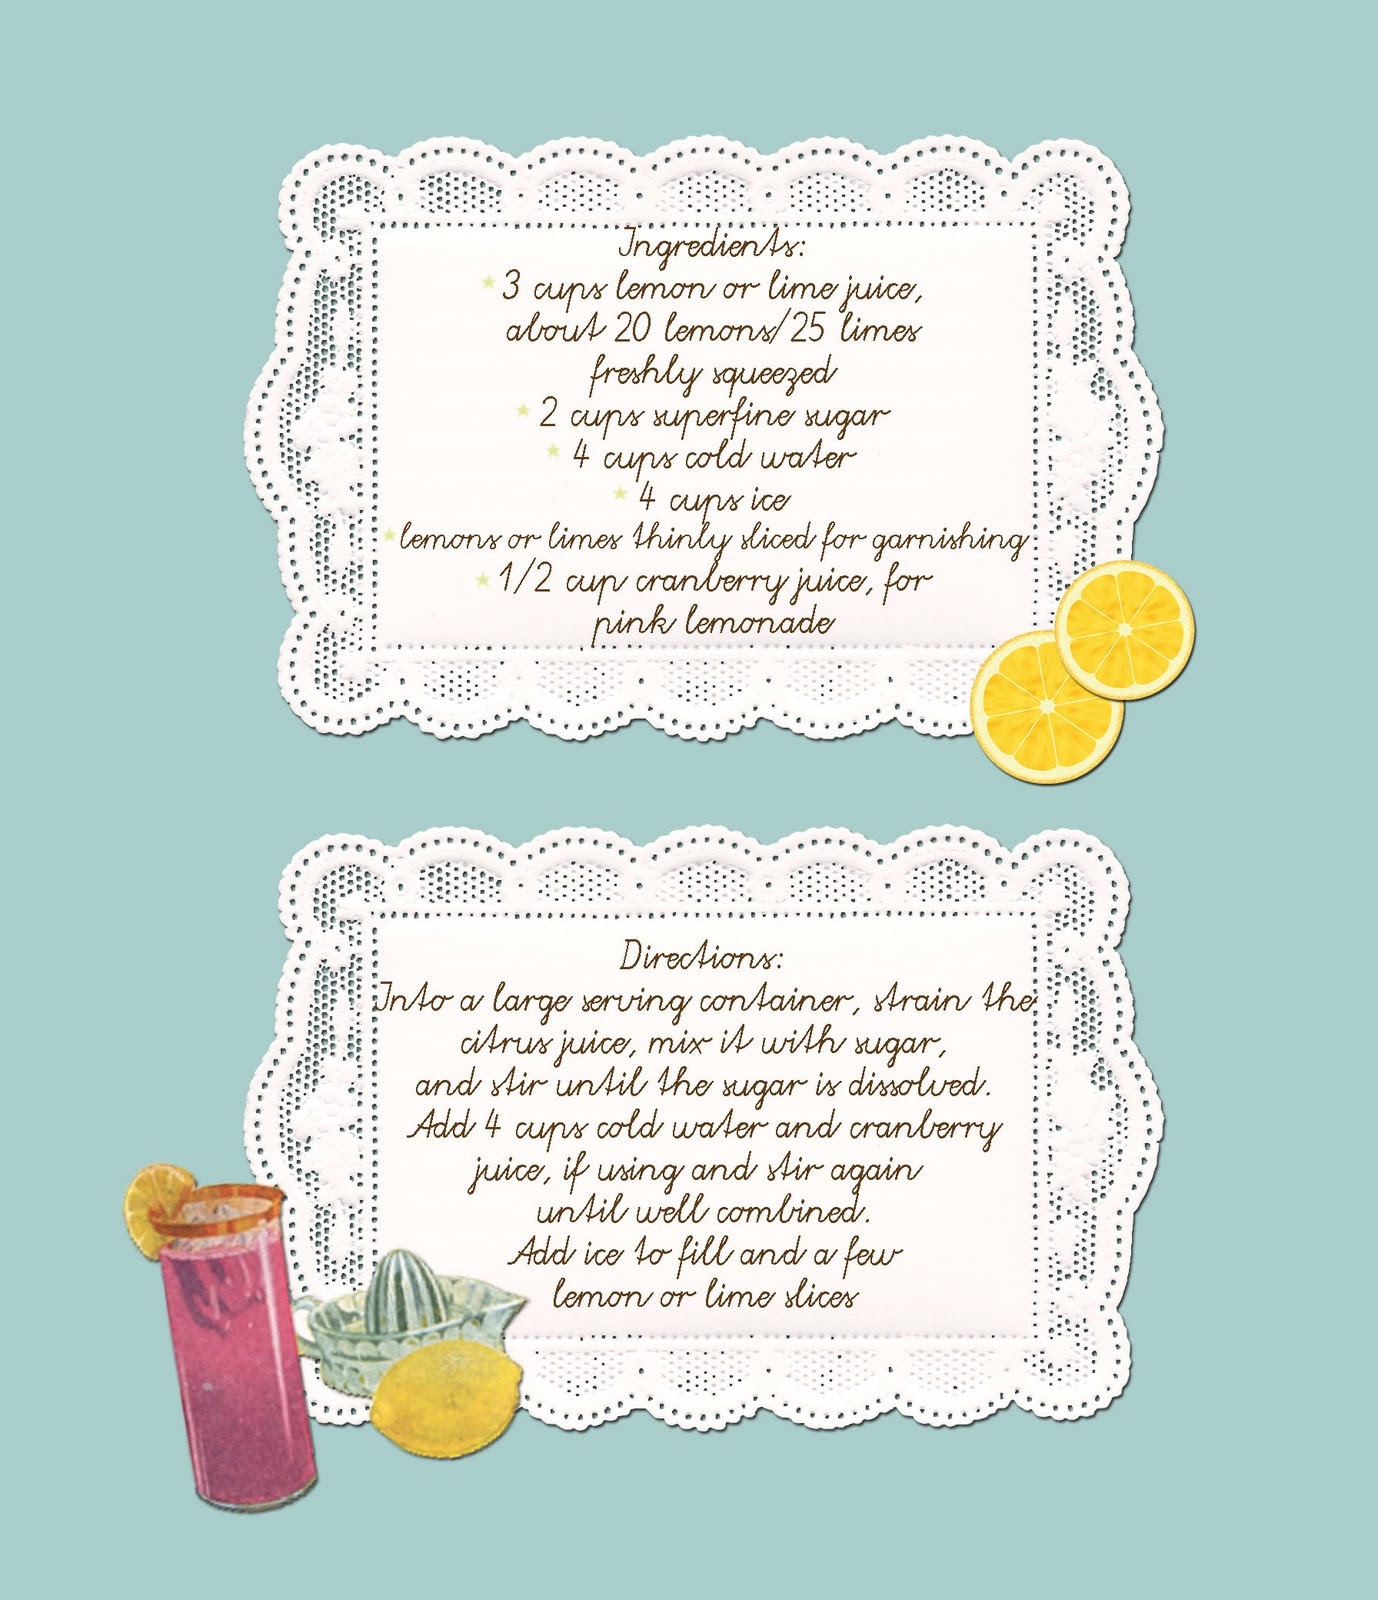
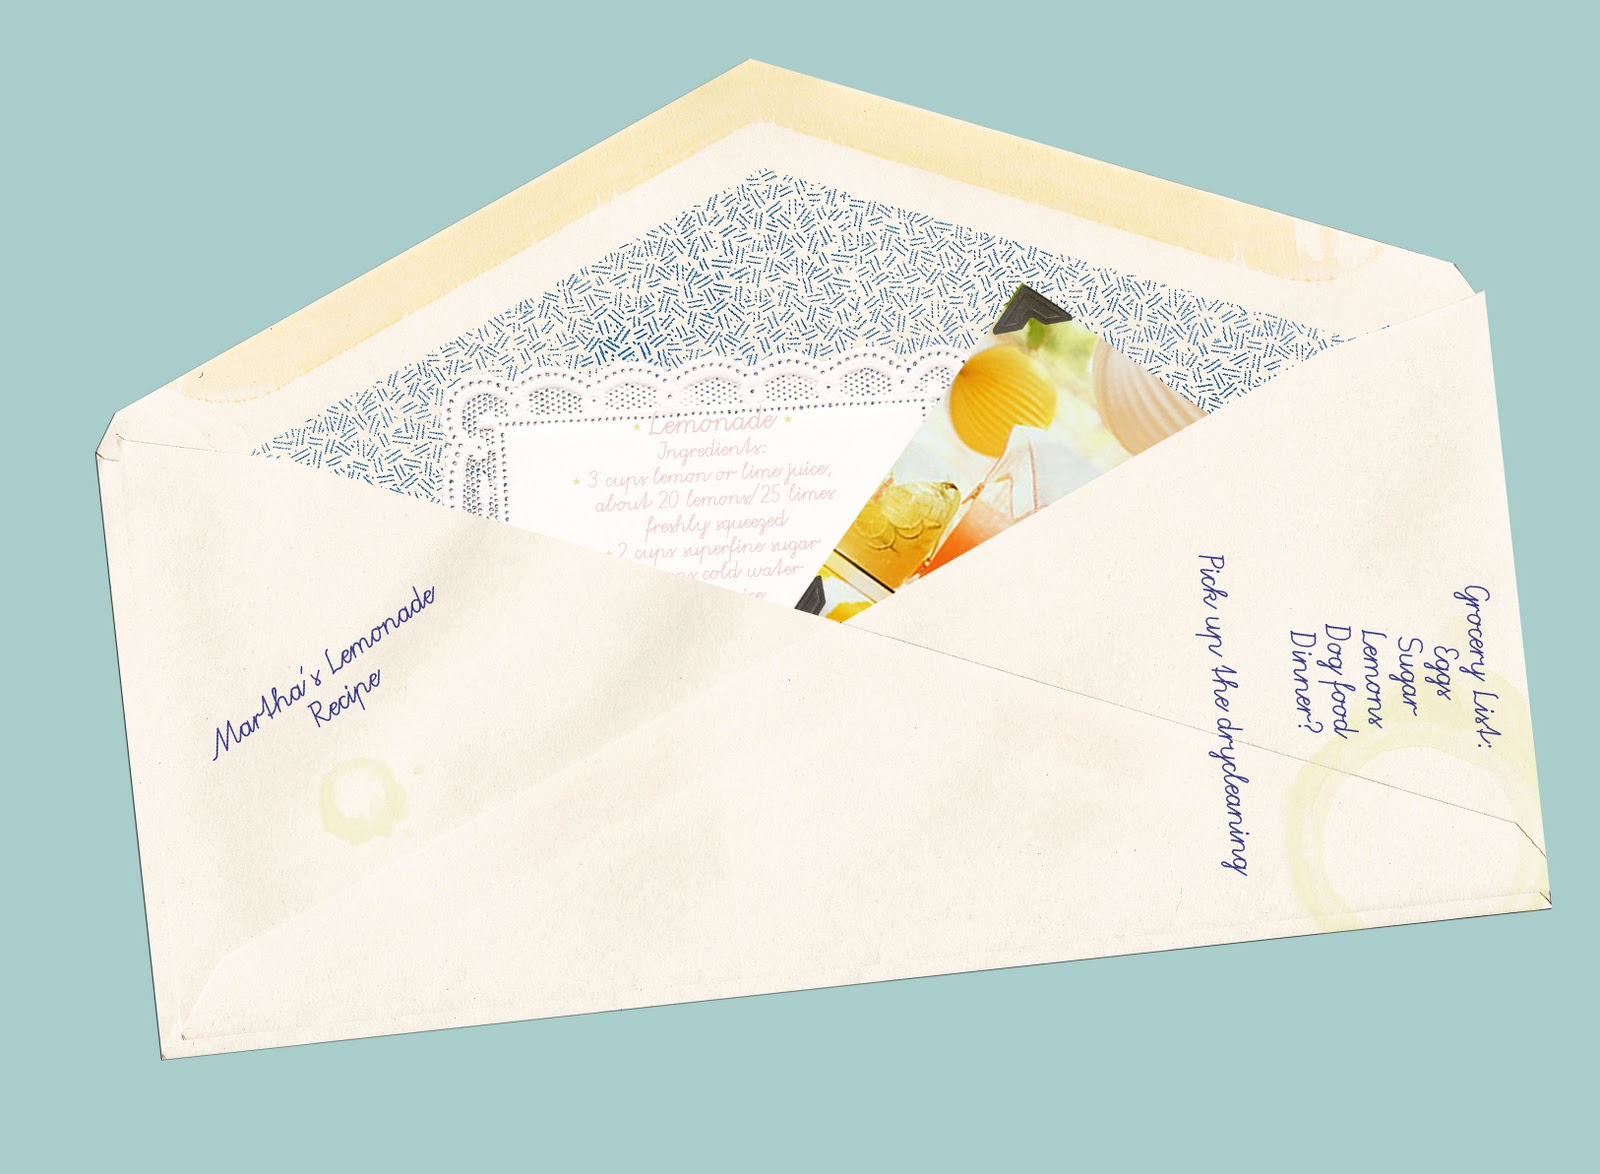
(Recipe and lemonade image copyright Martha Stewart, Envelope and Doily graphics copyright the puglypixel, embellished by J. Michie)

*The Pugly Pixel is wonderful and she has the most delicious freebies, be sure to go to her site and take a peek!

1 Year Blogaversary

Today is my One Year Blogaversary! So put on your party hats! I can’t believe that a year has passed so quickly! I started this blog as a way to keep my creative juices flowing, to write about all the crazy things that flow in and out of my head and to work harder on my goals of getting my children’s books published and start my Etsy shop.

I never thought when I wrote my very first post that I would would meet so many wonderful people over the year and I want to thank all of you for reading and commenting, I never dreamed that I would have followers, readers and commentators, I thought only a few people would find me here and there, and that was ok, I created this Blog for me, and I have enjoyed every minute of it!

I wish we could all be together, I would have a party, a tea party of course since I live in jolly ole’ England. But, we might have to serve some iced sweet tea as well, I have not forgotten my Southern roots! If I was having a party I would serve this cake:

It just made me smile, and it looks perfect for a fun garden party. It also made me think of Burl Ives’ Lollipop Tree song, I had this record when I was little and my sister and I would dance around to this song. Oh if only there could be a real lollipop tree, I would quite enjoy that!

Keep reading, I have so much more to come, so much more to write and share, so much is happening at the moment, I am on the rollercoaster of life and not the merry-go-round and I am prepared to be surprised!

(vintage party children copyright The Baby Gardner)
* Obviously tea parties are floating around my head at the moment, since I wanted to have one on Monday as well…
**The actual Martha Stewart Lollipop Cake is a carrot cake with a cream cheese frosting, but I love the recipe for the Ruffle Tower Cake so I chose to use that one instead; you can find both on her site.
***Happy Cinco de Mayo

Tea Party

We went shopping this weekend and I came across these silicone tea cups:

Unfortunately, the store was out of stock, they just had an empty display box, stating more stock would be in soon. I thought that this would be an adorable idea for a children’s tea party, or even a grown-ups tea party for that matter. To have delicious cupcakes baked in these pipped with twirly-whirly swirls of icing in a rainbow of colors and sprinkles.

And you could serve them alongside these yummy lemon raspberry sandwich cookies:

These little ham & cheese thumbprints:

Mini cucumber sandwiches made with my Mom’s mouth-watering cucumber and carrot spread and a selection of delicious vegetables with a homemade buttermilk ranch dip. I am getting hungry just thinking about it!

The day started out rainy this morning, but now has gone sunny and deliciously cool, the perfect tea party day, for bunting strung in trees, white tableclothes billowing in the breeze, good music floating through the garden and a group of friends to enjoy the afternoon with as day slips into night.

When these get back in stock, they might just jump into my hands, because I think this is a truly cute idea!

(Click on the cookie and thumbprints pictures to be taken directly to the recipe, tea party girl by Belle & Boo)

1,2,3

Today is beautiful and sunny here in our little London burb. The air is slightly warm but there is still a chill in it. It is the perfect day to throw on a hat and light scarf, grab a coffee and go sit by the pond. We might just do that!

It would be a wonderful picnic day, those perfect days when you feel the seasons slipping into the next. There is always a magic in the air at this time. Maybe a cupcake will jump into my hands while I pick up my coffee.

These Martha Stewart ladybug cupcakes would be perfect to bring with us, and have a “ladybug picnic”! However, I know I won’t be able to find these in my town today, I will just have to face the hardship of settling for a decadently rich chocolate cupcake with a rocky-road topping, or maybe a vanilla cupcake filled with raspberry jam and a swirl of raspberry buttercream and tiny hearts on top. It will be difficult to bring myself to have to eat one of these instead, but I will suffer through and do my best! (he he he)

Wish you were here, you could enjoy a cupcake with me too!

(Ladybug Cupcake image copyright Martha Stewart-click on the image to get her recipe for these cute cakes)

Pom Pom Bunny Girl

This elfin sized Pom-Pom Bunny, by the very lovely Jennifer Murphy has been in my little project file for awhile now. I don’t think she is going to be made this Easter, with all the other projects I have on the go at the moment…

But, her vintage sweetness would look very cute on my kitchen table or next to my Easter egg tree. I need the rain to hold off on Saturday so we can go on our twig hunt. Easter is almost here and I haven’t collected twigs yet for my tree, once that is done we can get the eggs out to hang up and really feel like Spring is here.

To make your own Pom-Pom Bunny Girl follow the directions below:

 
Tools and Materials
Yarn
Waxed thread
Scissors
Felt
Felt glue (such as Beacon’s)
Hemostat
Tiny black beads
Pink embroidery floss
Needle
Heavy thread
Chenille stem
Paper cupcake liners
Pinking sheers
Ribbon
Vintage flowers (optional)
Small circle of wood
Off-white paint
Paintbrush
Pink paper

 Pom-Pom Bunny How-To

1. Print Bunny How-To PDF to follow along with when creating the pom-pom bunnies. Make two separate pom-poms of equal size by winding yarn around two fingers. Tie pom-pom tightly in middle with waxed thread.
2. Use scissors to clip loops and create frayed ends. Trim a larger pom-pom into an oval for the body. Trim a smaller pom-pom to create a head.
3. Cut ears out of felt. Fold and glue the bottom of each ear to give it dimension, and hold into place with a hemostat until dry.
4. Glue ears into the head with felt glue.
5. Glue bead eyes into place.
6. String pink embroidery floss through the space where the nose should be. Trim.
7. Knot a double-threaded needle with heavy thread; pull through and clip long for whiskers.
8. Open a space in the body for the arms and legs made of chenille stems. Glue chenille stem into pom-pom body.
9. Fold chenille stem in half so cut end gets hidden inside the pom-pom for both the arms and legs. Fold legs vertically, and arms horizontally. For the legs, fold them so the bunny becomes the desired height.
10. Glue head onto body.
11. To make the bunny’s skirt, cut the circular bottoms of two paper cupcake liners with pinking sheers.
12. Glue the two pieces together at the waist.
13. Tie a bow around bunny’s neck using ribbon.
14. With glue, tack the skirt onto the bunny on the front, back, and under each arm. Dab small dots of glue around the top of the skirt and attach.
15. Bend the bunny’s arms. Glue on vintage flowers for decoration.
16. To create a base, paint a small circle of wood off-white. Trace the circle on pink paper.
17. Cut just inside line with pinking sheers and glue onto the wooden base.
18. Bend the bunny’s feet at the ankle. Glue feet onto the wooden base.
(All images & tutorial text copyright Martha Stewart)

Ta-Daaaa!

We worked hard over the weekend, planting a few more flowers in the pots and cleaning up our little garden. It is amazing how many leaves and things get tucked between a planter and a wall over the winter, so the planters were moved and the leaves were swept out!

I also got to finish the project I started on Friday, living in a little cottage things can get dusty fast and there is not always enough space to keep everything tucked away, so with the inspiration of a Martha Stewart How-To I saw ages ago, I devised a plan.

With a simple tea towel, I reworked the pattern to fit my doll house sized treasure, creating almost origami styled folds, but making sure to leave enough room to get around all the parts:

Did you guess what it is? Your right, a new sewing machine cover to keep it dust free and sitting pretty!

(Vintage circus image from the Circus ABC by Kathryn Jackson, found on the Golden Gems Blogspot, embellished by Jennifer Michie)

Shamrock Boutonnieres

St. Patrick’s Day is tomorrow and in case you need to make some last minute St. Patty’s Day crafts these sweet boutonnieres are on the Martha Stewart website.

They are absolutely adorable and would work well as something cute on your lapel to take you through Spring. You could even add a little ladybug on a leaf for extra luck, if you can find one tiny enough.

Tools and Materials:
Cotton fabric
Waxed paper
Paintbrush
Liquid starch
Iron
Scissors
Pencil
Floral wire
Craft glue
Green ribbon
Corsage pins

1. On waxed paper, use a paintbrush to coat both sides of a cotton swatch with liquid starch. Let it dry. Iron the fabric to flatten it.

2. Photocopy shamrock templates to desired sizes. Cut them out, and trace them on fabric; then cut out fabric shamrocks. Crease each leaf in half lengthwise.

3. To make a stem, cut a 4-inch piece of floral wire; fold it in half, and twist it until the ends form a tiny V. Bend the V forward slightly and attach it to the back of each shamrock with a small dab of craft glue. Tie a bow around one stem or a bunch of shamrocks. Use a corsage pin to fasten to your clothing.

Click here to get the full set of directions from the Martha Stewart website.

(All images and direction text, copyright Martha Stewart Living)

I Wanna Hold Your Hand!

Aren’t these Valentine’s from Martha Stewart adorable? They made me think of being little when my art teacher would have us make all kinds of things out of our hands; turkeys for Thanksgiving and Rudolphs for Christmas.  This is a cute carry on from that. You would even make them more grown-up looking by adding on jewels for rings and bracelets if you were giving them to grown-up girlfriends.

Another sweet idea I saw were these Valentine’s matchboxes on Inchmark.  They are too cute and if you combined them with the new lace paper cutters from Martha you could really dress these up, by cutting out trim in a Valentine’s themed craft paper and wrapping them around your matchbox “gift” boxes.

Speaking of Valentine’s gifts, one of the little projects I mentioned I was working on, I finished yesterday morning. It has taken me a bit of time to complete, I have had to steal away time when my Valentine hasn’t been around. I am going to tie it to his Valentine’s surprises! Shhh! Its a secret!

To make your own Valentine Hand Cards click here:

To make your own Valentine’s matchboxes click here:

Chocolate, Hearts & Roses

Look what fell into my hands this morning as I ran to the store to get a pint of milk… Oh happiness is! I have already had a sneak peek flip through of pages filled with pink hearts and a chocolate lover’s heaven.

I am so happy today is Friday, because when I finish all my little jobs today, I am curling up on the couch with this in one hand and a good cup of hot chocolate in the other.  Until then, I am using the beautiful cover (I love the meringue hearts!) to spur me on in my projects.

I am just about finished with a small Valentine’s bear order….

Purl One, Knit One

I am an old soul, there are times when I think I have been born in the wrong time period! I am a nerd amongst my friends and quite happy to be one! I taught myself to knit two years ago and little by little I have been expanding my knitting pattern knowledge. This past year I taught myself to crochet (my Nana had taught me when I was younger, but I definitely needed a refresher!) and when I was at home this Christmas I went yarn hunting with my mom and picked out the colors for the Granny Square blanket I intend to make, with her discerning interior decorator’s eyes at my side!

I have a few stores I buy yarn from here in England, one of my favorite being a little gem on Carnaby Street, or in Kingly Court, I should say.  My yarn tends to come from all over, I go for the feel and the color of it, I am sure I should think about ply and weight first, but right or wrong I go right for the textural and visual side of it.

I have used Lion Brand online as a resource tool when I am stuck on a particular stitch, they also have a wonderful supply of free patterns online too.  I have knitted with their yarn for some projects before and this was the yarn I chose when I was at home. I wanted something colorful, yet rich, warm, yet happy and a reasonable price for a project I was going to be experimenting with; so I selected a variety of colors to work from(an ebony black, a warming charcoal, a rich red, a deep purple, a soft cream and a velvety green-sounds odd, but trust me they all work together).

Sitting in the airport, the Saturday after New Years Day, sad to be leaving my family and watching the snow fall from the window, my adorable husband appeared with a cheering up gift in his hands from the magazine store.  A copy of the January 2010 issue of Martha Stewart. As I flipped through the pages I discovered inside an entire article on Lion Brand yarn (which he had already flipped through and seen and that was his entire reason for buying it, isn’t that thoughtful? What a cutie!), and now I dream of walking in through those doors of the flagship store in New York, sad I know! I love the fact that there is a sampling wall to try out yarn and you can take yarn home with you to try out, there is a place where you can just sit and stitch and play, like a toy store for grown-ups!!

I want to take that lion in the window home with me, I love his twisted yarn mane, he is like a giant yarn made Aslan, guarding the store and all who step over the threshold.  I wanted to share some of the pictures from this article here.  Knitting is like yoga or gardening for me, it is therapeutic and on cold nights here it is something to keep my hands warm. I am looking forward to starting my blanket, this will be my first project that will be able to keep me warm as I go, I can’t wait to get to the stage of it being so big it covers my lap as I work, but now, I am getting ahead of myself….

(All images copyright Martha Stewart Magazine)