Tag: cute (page 3 of 7)

Thank You Mr. Postman

My Jolly Postman rapped at my door a few mornings ago now with his cherry red bike in one hand and this in the other:

And what was inside this adorably wrapped tube? It was this:

My sweetie surprised me and had ordered this print I had been pining away for on Etsy.  It is by the very sweetly named Katie Daisy.

I believe very much in this quote, I am wandering, I think I might have found a new path (more to come on that), but I never felt lost.

Go look at her gorgeous page and her other wonderful designs. I love this one:

And this one:

And so many more…

Click on the image below to be taken her to Etsy page:

(images of mailing tube and business cards by J. Michie, all other images copyright Katie Daisy)

New Blog Header

I have put a new blog header up. After a year with the same one, I was itching for something different to be up there! I have been playing around with this new design for a few weeks and I think I have finally tweaked it (with a bit of help from my adorable red-head)!

So I have gone from this:

to this:

I LOVE it! Especially the gnome….

I have also created a new button:

you’ll find it further down on my sidebar under everyone I love, so grab it and spread the ♥!

Button Mushrooms

I found this adorable recipe on the Bake it Pretty Blog and I thought I would share. I love making shortbread, usually I just mould it into a pie shape and then cut it into thick wedges to have alongside a nice cup of tea. These would be perfect for a “Gnome Tea Party”, with Bake it Pretty’s gnome or mushroom sprig cake toppers placed on cupcakes and their gnome or snail shaped cookie cutters used for sugar cookies or to shape tea sandwiches. The possibilities are endless and I know I am already getting carried away with the ideas buzzing around in my head…

The use of a beer bottle dusted with cocoa powder is a fantastic idea to create that sweet squat mushroom stem. How inventive! Since I am in a shortbread baking kind of mood this weekend I thought about trying this recipe if we can squeeze it in to the crazy weekend that will be happening…

I have included their recipe if you want to try it for yourself:

Ingredients:

Preheat oven at 350 degrees  –  yields approx. 42 cookies
1 – 1/2 cups all purpose flour
1/2 cup cornstarch
1/2 cup powdered sugar
1 cup (two sticks) unsalted butter, softened
1 teaspoon vanilla extract
1/8 teaspoon table salt
One empty soda or beer bottle (cleaned and dried)
Cocoa powder (about 1/4 cup)
Water

Recipe:

Sift together flour, cornstarch, powdered sugar and salt.  Add softened butter and vanilla, and mix thoroughly until a thick but light dough is formed.  It should be soft but not too sticky, and easy to handle.

Roll the dough into 1″ balls and place about 1″ apart on baking sheets lined with parchment paper or silpat mats.  Place about 1/4 cup of cocoa powder into a small bowl, and about 1/4 cup water in to a separate small bowl.

Dip the top of the soda/beer bottle into water and shake off any excess.  Dip the bottle into the cocoa powder and tap the side to shake if any excess.  Gently press the bottle straight into one of your dough balls, pressing just barely into the dough, only about 1/4″ inch, then pull the bottle away.

Continue with the rest of your cookies, dipping your bottle into the cocoa between each pressing.  If it gets too light, do another water-dip then keep going.

Bake the cookies for 8-10 minutes in a 350 degree oven.  Take them out when they are just done, and barely the tiniest bit brown on the bottom.  Let cool on a wire rack for 30 minutes.

*Details:

– You can substitute flour for the cornstarch if you like, it will make the cookies a little more dense and toothsome.  I definitely reccomend using the cornstarch if possible, it really adds to the delicate and crumbly nature of the cookies.

(All images and recipe text copyright Bake it Pretty, cookie cutter image embellished by J. Michie)

1 Year Blogaversary

Today is my One Year Blogaversary! So put on your party hats! I can’t believe that a year has passed so quickly! I started this blog as a way to keep my creative juices flowing, to write about all the crazy things that flow in and out of my head and to work harder on my goals of getting my children’s books published and start my Etsy shop.

I never thought when I wrote my very first post that I would would meet so many wonderful people over the year and I want to thank all of you for reading and commenting, I never dreamed that I would have followers, readers and commentators, I thought only a few people would find me here and there, and that was ok, I created this Blog for me, and I have enjoyed every minute of it!

I wish we could all be together, I would have a party, a tea party of course since I live in jolly ole’ England. But, we might have to serve some iced sweet tea as well, I have not forgotten my Southern roots! If I was having a party I would serve this cake:

It just made me smile, and it looks perfect for a fun garden party. It also made me think of Burl Ives’ Lollipop Tree song, I had this record when I was little and my sister and I would dance around to this song. Oh if only there could be a real lollipop tree, I would quite enjoy that!

Keep reading, I have so much more to come, so much more to write and share, so much is happening at the moment, I am on the rollercoaster of life and not the merry-go-round and I am prepared to be surprised!

(vintage party children copyright The Baby Gardner)
* Obviously tea parties are floating around my head at the moment, since I wanted to have one on Monday as well…
**The actual Martha Stewart Lollipop Cake is a carrot cake with a cream cheese frosting, but I love the recipe for the Ruffle Tower Cake so I chose to use that one instead; you can find both on her site.
***Happy Cinco de Mayo

Some Bunny Loves You

These bunnies are too cute for words! I saw them this weekend posted at The Purl Bee blog. They would be adorable set around a child’s place setting at an Easter table (or for grown-up kids too). I would love one at mine!

I come from a very large family of extended aunts, uncles & cousins. Both of my parents are 1 of 8 children and it doesn’t matter how old I am, or how long I have been married, I am still at the children’s table when we go to my grandparent’s house for family events. But, hey, you have more fun with those little people anyway, and with these little finger puppets we would be having a ball!

These bunnies would even be cute tucked in an Easter basket as a surprise from the Easter Bunny, you just have to have one small fun thing hidden amongst all the jelly beans and peeps and chocolate placed in the Easter grass of your basket!

To make your own little bunny Fu-Fu finger puppets follow the directions here:

(Images copyright The Purl Bee, embellishments, Jennifer Michie)

Pom Pom Bunny Girl

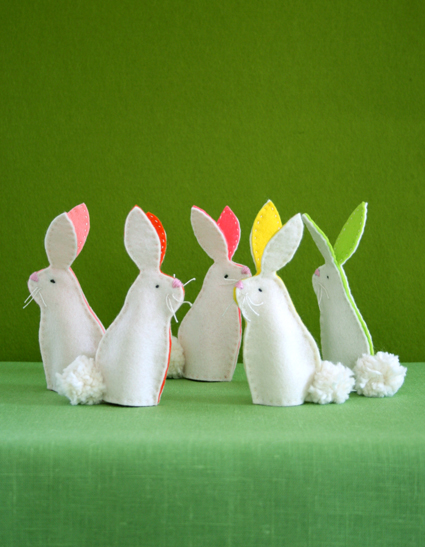
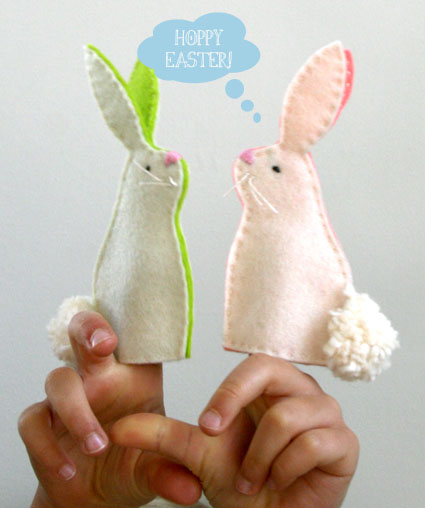
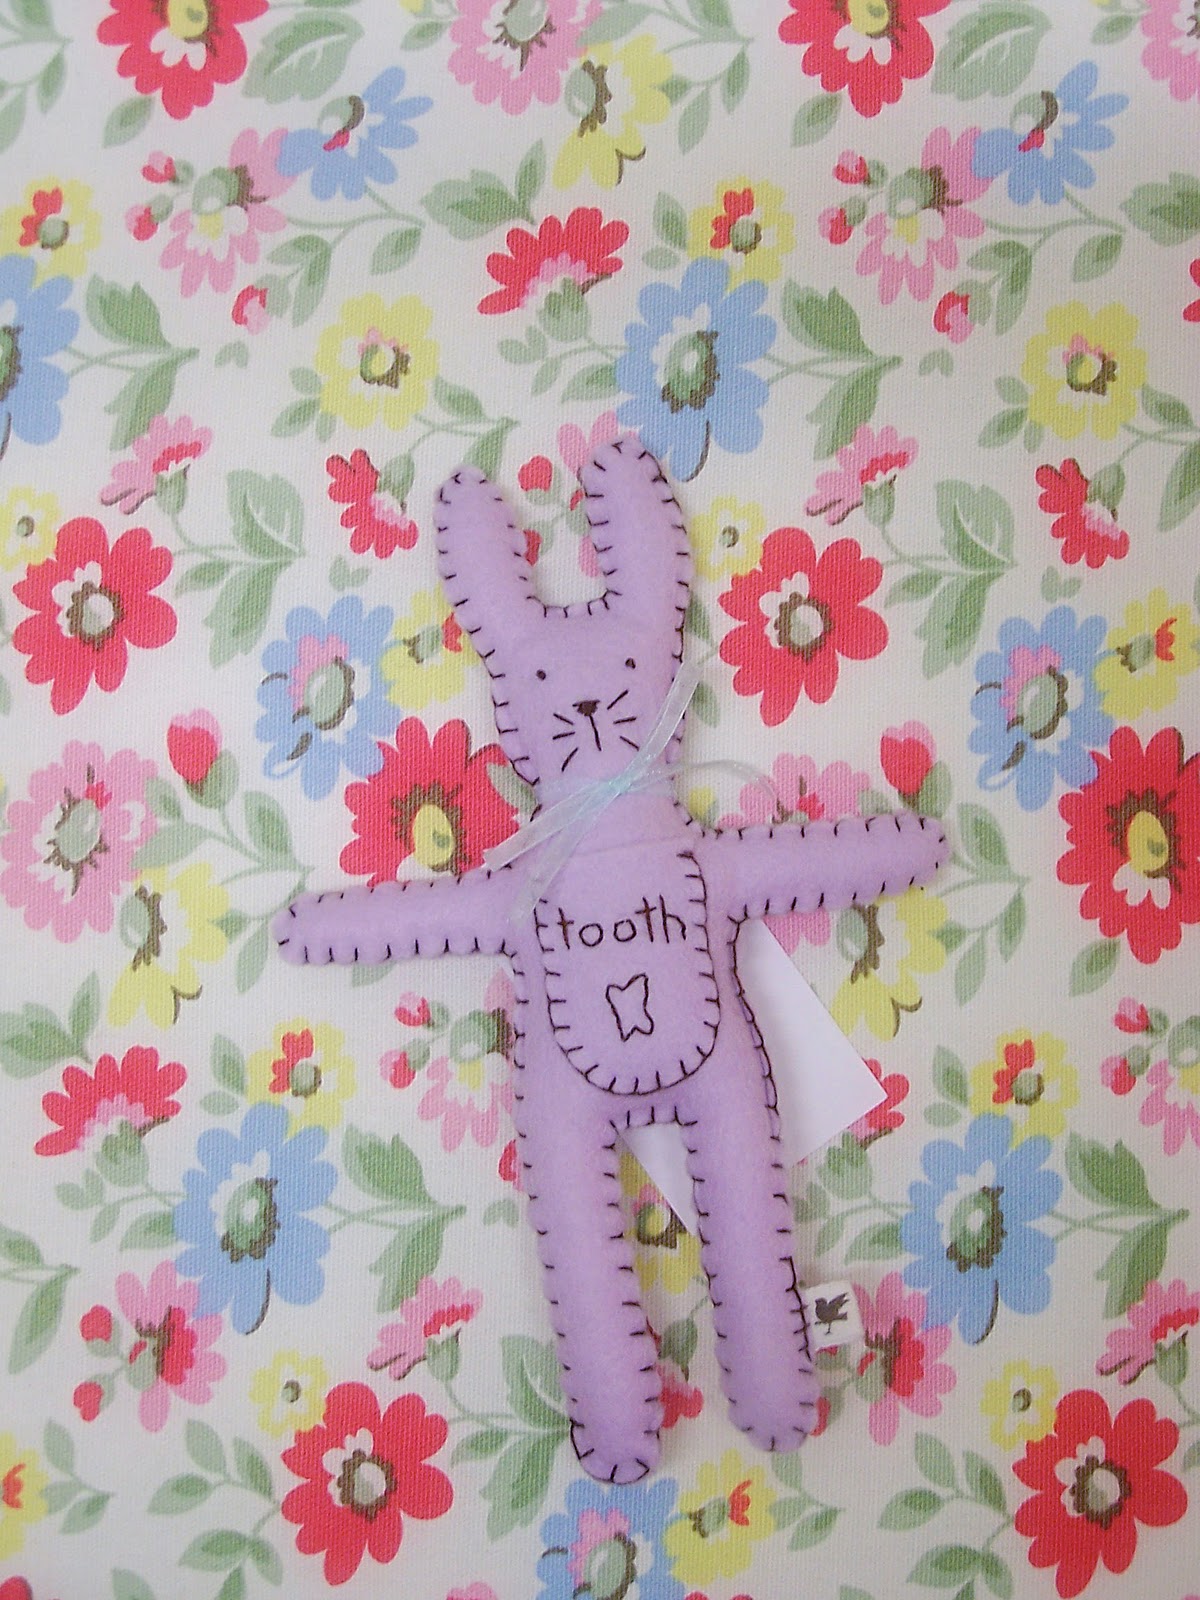
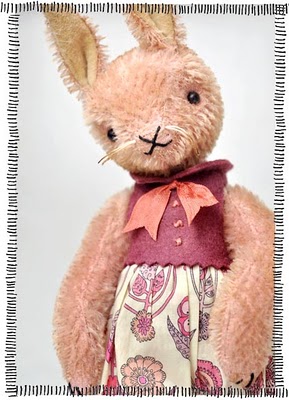
This elfin sized Pom-Pom Bunny, by the very lovely Jennifer Murphy has been in my little project file for awhile now. I don’t think she is going to be made this Easter, with all the other projects I have on the go at the moment…

But, her vintage sweetness would look very cute on my kitchen table or next to my Easter egg tree. I need the rain to hold off on Saturday so we can go on our twig hunt. Easter is almost here and I haven’t collected twigs yet for my tree, once that is done we can get the eggs out to hang up and really feel like Spring is here.

To make your own Pom-Pom Bunny Girl follow the directions below:

 
Tools and Materials
Yarn
Waxed thread
Scissors
Felt
Felt glue (such as Beacon’s)
Hemostat
Tiny black beads
Pink embroidery floss
Needle
Heavy thread
Chenille stem
Paper cupcake liners
Pinking sheers
Ribbon
Vintage flowers (optional)
Small circle of wood
Off-white paint
Paintbrush
Pink paper

 Pom-Pom Bunny How-To

1. Print Bunny How-To PDF to follow along with when creating the pom-pom bunnies. Make two separate pom-poms of equal size by winding yarn around two fingers. Tie pom-pom tightly in middle with waxed thread.
2. Use scissors to clip loops and create frayed ends. Trim a larger pom-pom into an oval for the body. Trim a smaller pom-pom to create a head.
3. Cut ears out of felt. Fold and glue the bottom of each ear to give it dimension, and hold into place with a hemostat until dry.
4. Glue ears into the head with felt glue.
5. Glue bead eyes into place.
6. String pink embroidery floss through the space where the nose should be. Trim.
7. Knot a double-threaded needle with heavy thread; pull through and clip long for whiskers.
8. Open a space in the body for the arms and legs made of chenille stems. Glue chenille stem into pom-pom body.
9. Fold chenille stem in half so cut end gets hidden inside the pom-pom for both the arms and legs. Fold legs vertically, and arms horizontally. For the legs, fold them so the bunny becomes the desired height.
10. Glue head onto body.
11. To make the bunny’s skirt, cut the circular bottoms of two paper cupcake liners with pinking sheers.
12. Glue the two pieces together at the waist.
13. Tie a bow around bunny’s neck using ribbon.
14. With glue, tack the skirt onto the bunny on the front, back, and under each arm. Dab small dots of glue around the top of the skirt and attach.
15. Bend the bunny’s arms. Glue on vintage flowers for decoration.
16. To create a base, paint a small circle of wood off-white. Trace the circle on pink paper.
17. Cut just inside line with pinking sheers and glue onto the wooden base.
18. Bend the bunny’s feet at the ankle. Glue feet onto the wooden base.
(All images & tutorial text copyright Martha Stewart)

Lavender’s Blue

Lavender’s blue, dilly dilly, lavender’s green,
When I am king, dilly, dilly, you shall be queen.
Who told you so, dilly, dilly, who told you so?
‘Twas my own heart, dilly, dilly, that told me so.
Lavender’s green, dilly, dilly, Lavender’s blue,
If you love me, dilly, dilly, I will love you.
Let the birds sing, dilly, dilly, And the lambs play;
We shall be safe, dilly, dilly, out of harm’s way.

This wee ditty played in my head this morning as I tucked some little lavender colored bunnies into pink striped tissue paper to mail to RosaBlue.

I am sure they would have rather hopped, but with the help of the post they should get there faster and their paws will not be tired, there will be plenty of space to hop around the shop…

Hopping Along

Ooh! I know we are now in the second day of Lent and we should be being good, but, I couldn’t help it! Tonight I ran to the grocery store to pick up some bread and he just jumped right into my basket and hopped home with me!

And, he was delicious!

Last Minute Valentine’s

Just case you still need to get your sweetie a Valentine or you need to make some last minute ones for friends the gorgeous A Field Journal Blog has a very sweet Valentine download.

What could be better than a homemade card? They are adorably retro with all the little hearts, very 80’s. You could dress them up with a sprinkling of white, red or pink glitter.

Like me, she also remembers being little and having fond memories of school days’ Valentine parties and secret message exchanges, munching away on heart shaped candies…

Click  below to go to her site and download your Valentine pack to make cards with or use to decorate a bag of sweets for your sweetie pie!

(All images are copyright to A Field Journal Blog)

I Missed It!

Oh, yet again the gorgeous and creative Jennifer Murphy did a Holiday update and I missed my chance to get a little Valentine person.

Her work is sweet and whimsical, and would easily pass as a vintage piece. The animals have such kind faces, each with their own personality, they are a treasure to behold. I just wanted to share a few pics from her upload to bring a little sunshine into your day; if it is like mine, it is a extremely cold day, although the sun is sprinkling through the patches of clouds and giving the morning a warm glow.

We are getting ready for SNOW, it is supposed to come this weekend, so we might be frosted in for Valentine’s Day…. The Eastern Seaboard blizzard is heading our way, Brrrrr! If, looking at these little figures doesn’t make you feel warm and cozy inside, I don’t know what will?

To visit her adorable Blog and links to her website please click here: