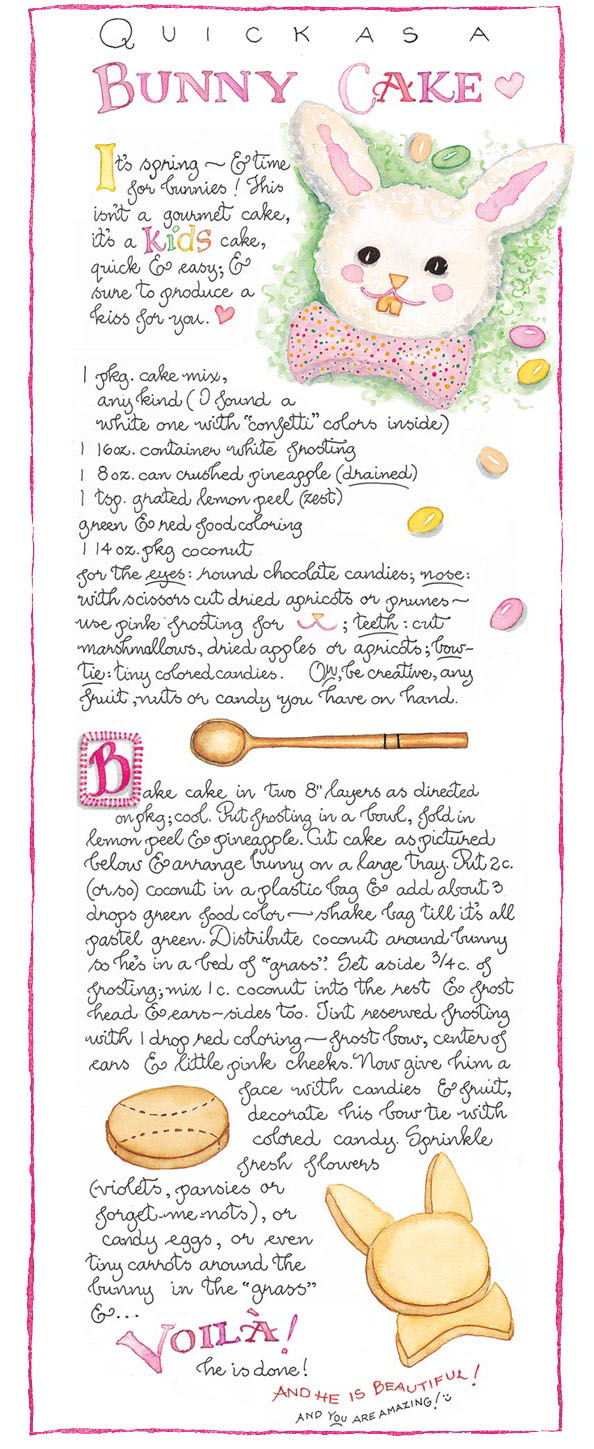
I went to the gorgeous Susan Branch’s website today and saw this bunny cake on her homepage. He is too cute not to share! Wouldn’t he be fun to make for all the little people coming to your Easter party?
(Image copyright Susan Branch)
I went to the gorgeous Susan Branch’s website today and saw this bunny cake on her homepage. He is too cute not to share! Wouldn’t he be fun to make for all the little people coming to your Easter party?
(Image copyright Susan Branch)
 This past weekend we went on our annual twig hunt for the Easter Egg tree. Normally we come back with a selection of different sized branches, but this year we actually found a fallen branch that looked more like a little German Christmas tree. So, home it came with us to be decorated.
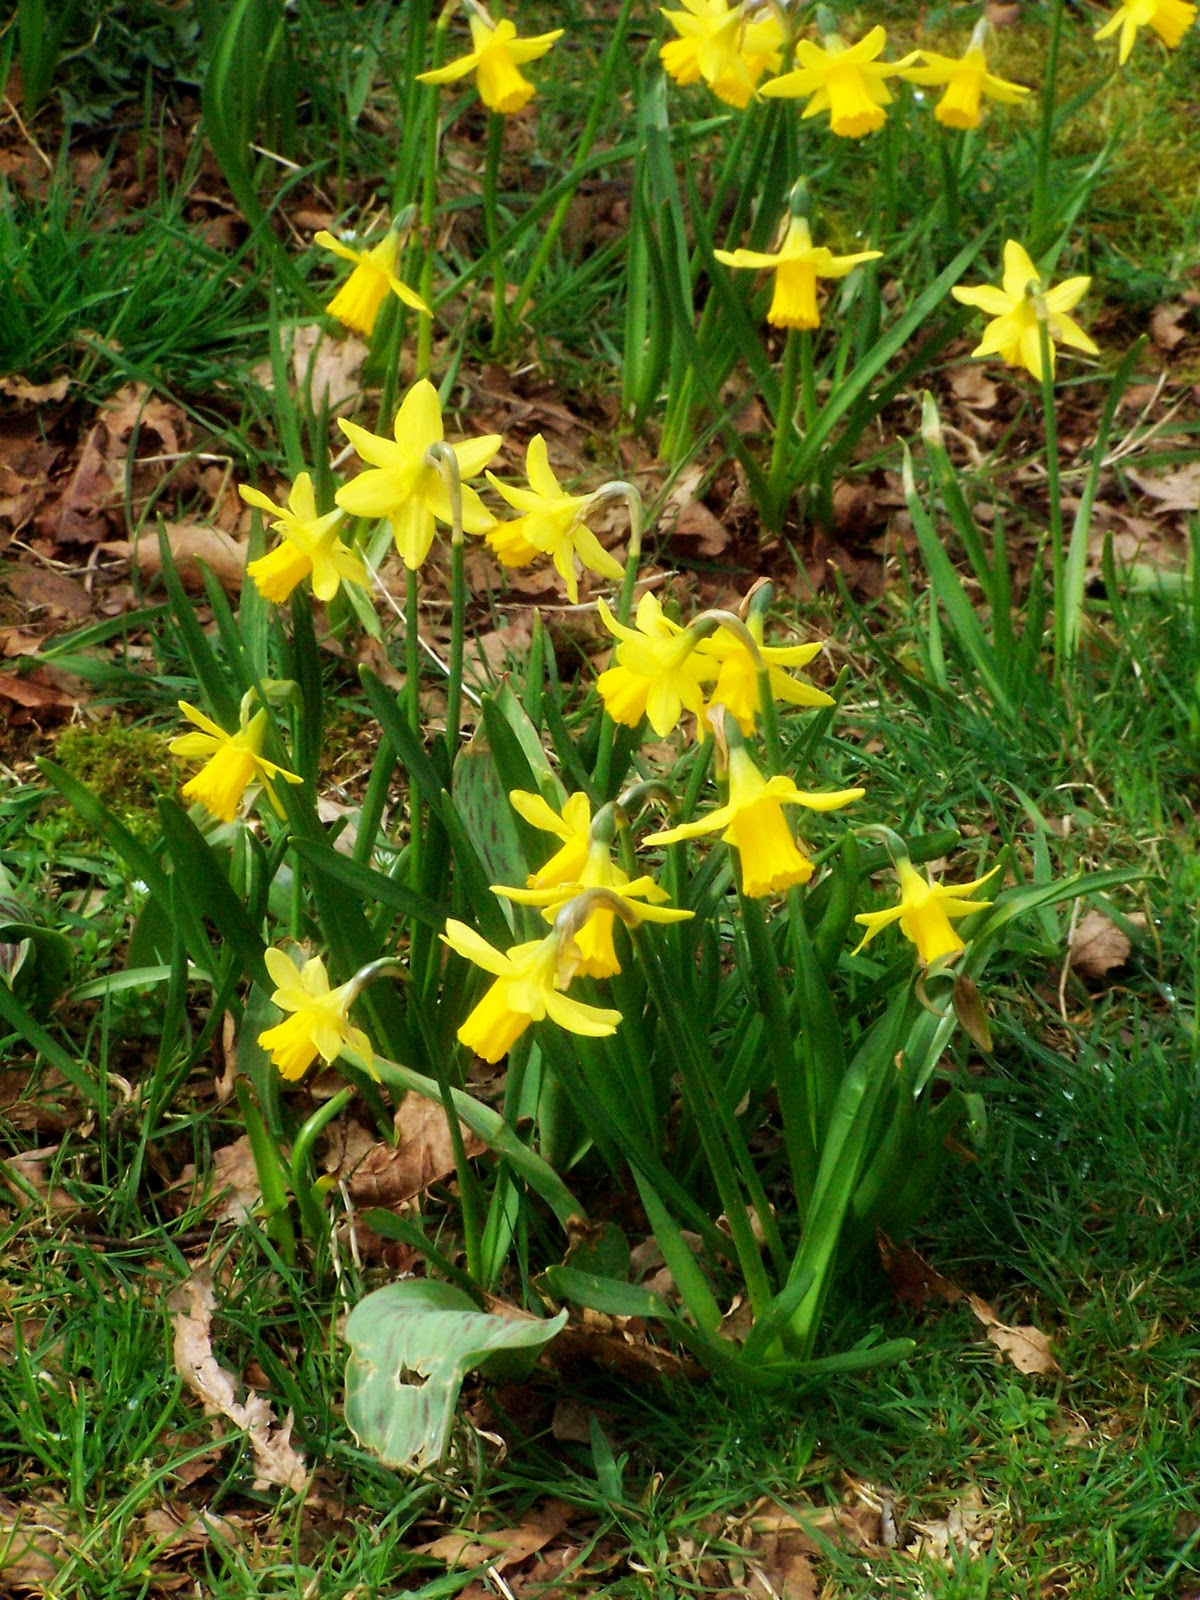
 The woods are very slowly starting to come to life. Daffodils are peaking their crowned heads up, polka dotting everywhere with sunshine yellow. We came across 2 muntjacs who were making their way down to the pond to drink, they saw us and leaped and bounded in the other direction. The smaller one, however, stopped behind a tree and just watched us for a little while as we watched him.
 It was cold on Sunday, so even though we were bundled up we didn’t last long in the woods the damp just oozed in to your pores. But the smell of fresh earth and clean air was so nice after a winter of not being able to walk in the woods, it wasn’t too long though before we headed home to decorate our tree.
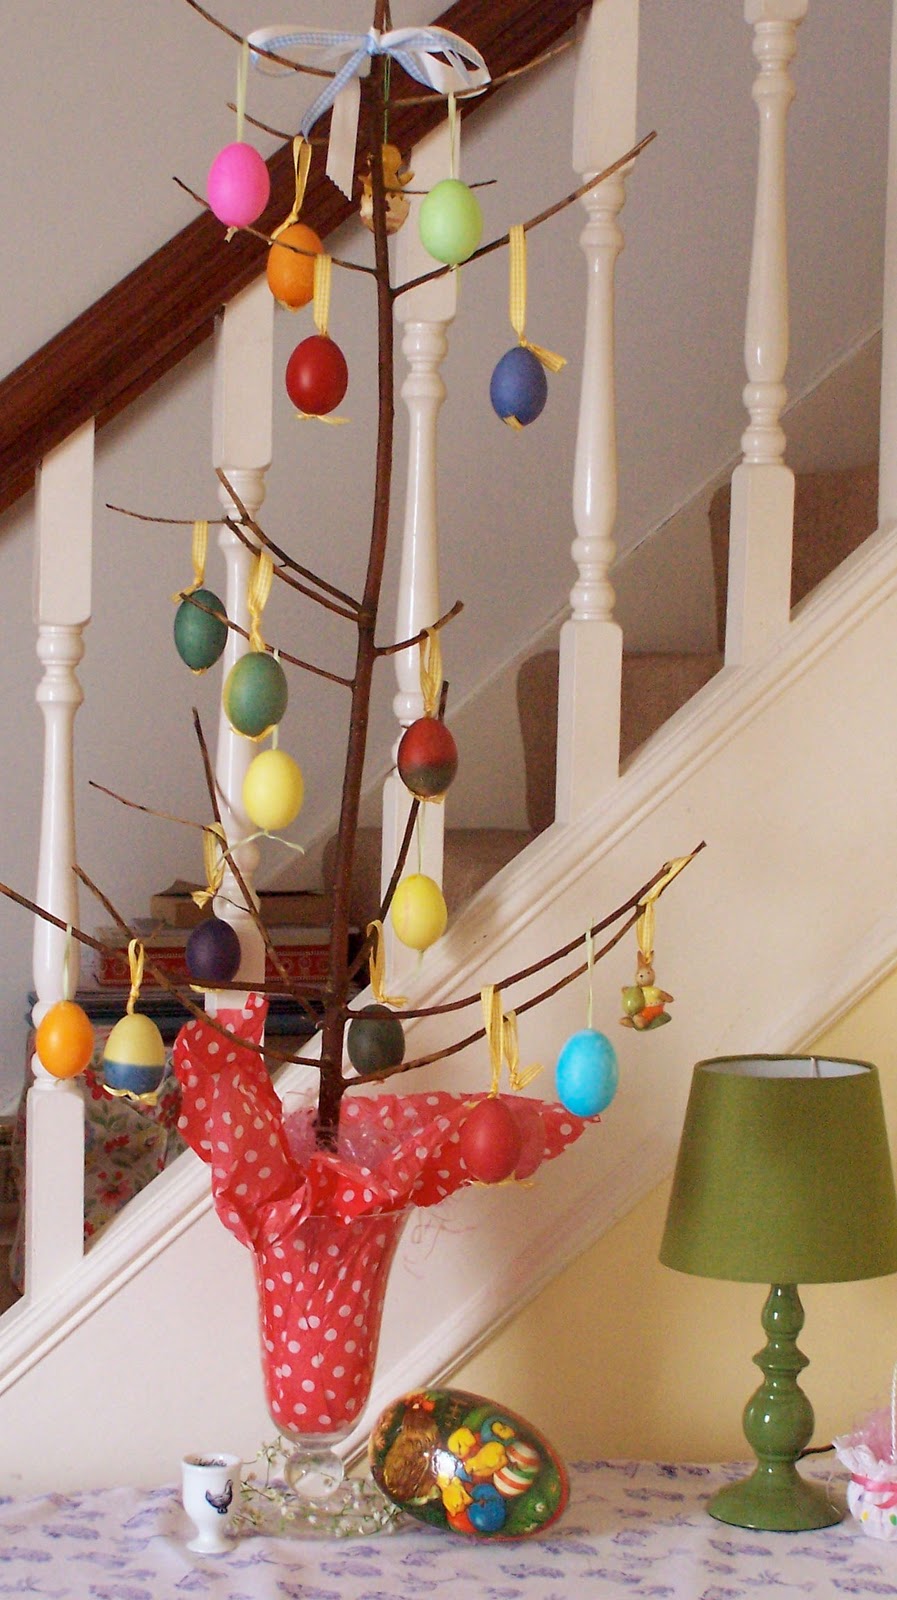
It was bigger than we thought! The scale of the woods made our little branch look “little“. It wasn’t until we got home and tried to get it through the door we realized we had a problem!
After some laughing and cutting down the longer branches and trimming away some of the bottom we finally got it up. It is my first bit of Easter and there will be more to come this week. If the sunshine won’t be outside, I can at least bring it inside!
My husband loves to hang the eggs on the tree. The first year we were married I found a German Easter Egg kit to dye eggs with. We searched and searched for white eggs since the grocery stores here only carry brown. Eventually, we found some lighter colored ones and after carefully blowing them out we spent an afternoon dyeing them.
 He had never dyed an egg before, as this is not a British Easter tradition and it was such a delight to watch his sweet face light up as he hovered over his little pile of eggs making sure they changed to just the hue he wanted. That is how it should be, the simple things should never cease to please us!
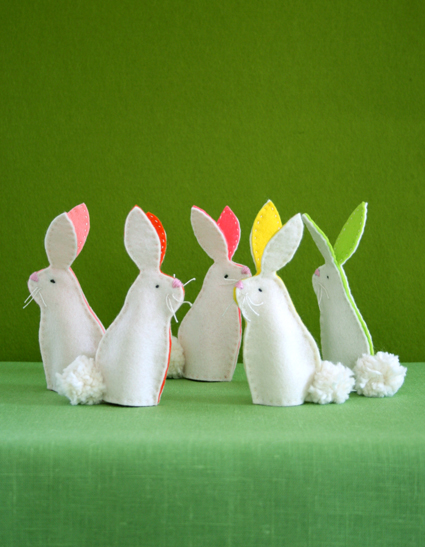
These bunnies are too cute for words! I saw them this weekend posted at The Purl Bee blog. They would be adorable set around a child’s place setting at an Easter table (or for grown-up kids too). I would love one at mine!
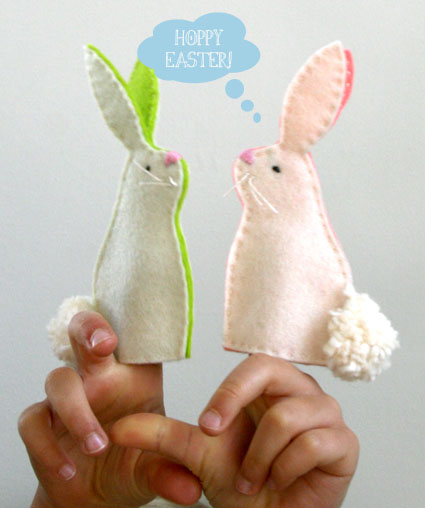 I come from a very large family of extended aunts, uncles & cousins. Both of my parents are 1 of 8 children and it doesn’t matter how old I am, or how long I have been married, I am still at the children’s table when we go to my grandparent’s house for family events. But, hey, you have more fun with those little people anyway, and with these little finger puppets we would be having a ball!
These bunnies would even be cute tucked in an Easter basket as a surprise from the Easter Bunny, you just have to have one small fun thing hidden amongst all the jelly beans and peeps and chocolate placed in the Easter grass of your basket!
To make your own little bunny Fu-Fu finger puppets follow the directions here:
![]()
(Images copyright The Purl Bee, embellishments, Jennifer Michie)
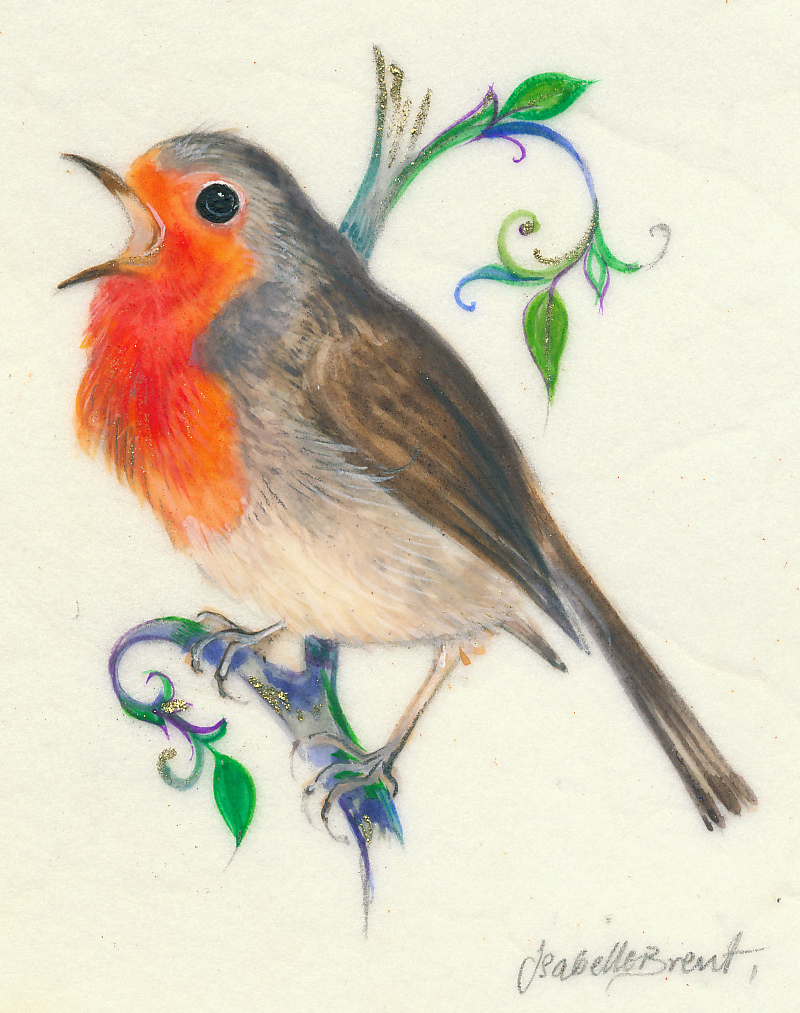
At 4:33 this morning I was awakened by the happy chirps of a little robin. Of all the birds, the English robin is my favorite! The house I first lived in when I moved to London had a very small elfish sized garden in the back and in that garden lived a little robin, or at least one that liked to visit us everyday.
He was very talkative and very opinionated. If there was no food out you would hear a peck-peck-pecking on the french doors and turning from the table you would spy him, standing proudly with his head cocked to the side with a little expression of, “Have you forgotten something? Like my food?”
On a few occasions he would fly in through the open kitchen window and hop about. A game would often ensue of you telling him you were going to open the doors for him to fly out, he would either follow you and go back outside or just stand on the kitchen table looking at you as if to say, “I will go when I am ready!”
So with the cheerful chirping of Mr. Robin this morning, I know Spring is coming, although snow is predicted for Wednesday so Jack Frost might have a little bit of Winter left in him yet!
(Poem excerpt from The Wedding of Robin Redbreast & Jenny Wren, Image by the lovely Isabelle Brent)
 This elfin sized Pom-Pom Bunny, by the very lovely Jennifer Murphy has been in my little project file for awhile now. I don’t think she is going to be made this Easter, with all the other projects I have on the go at the moment…
But, her vintage sweetness would look very cute on my kitchen table or next to my Easter egg tree. I need the rain to hold off on Saturday so we can go on our twig hunt. Easter is almost here and I haven’t collected twigs yet for my tree, once that is done we can get the eggs out to hang up and really feel like Spring is here.
To make your own Pom-Pom Bunny Girl follow the directions below:

Pom-Pom Bunny How-To
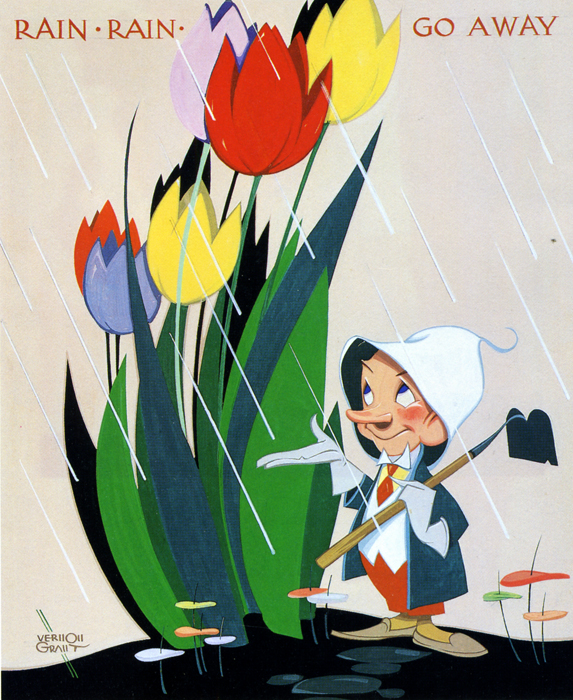 Rain, Rain, Go Away! Come Again Another Day…
It is going to rain all week, at least my newly planted primroses will be happy, but I wouldn’t mind a ray of sunshine and I know my plants wouldn’t either… At least rain means more time for indoor projects since I am not being beckoned by Spring to go outside, although the woods are always pretty in the rain.
Who knows though? This is England and you can have 4 seasons in one day even in the middle of July!
(Image from Vernon Grant’s Mother Goose)

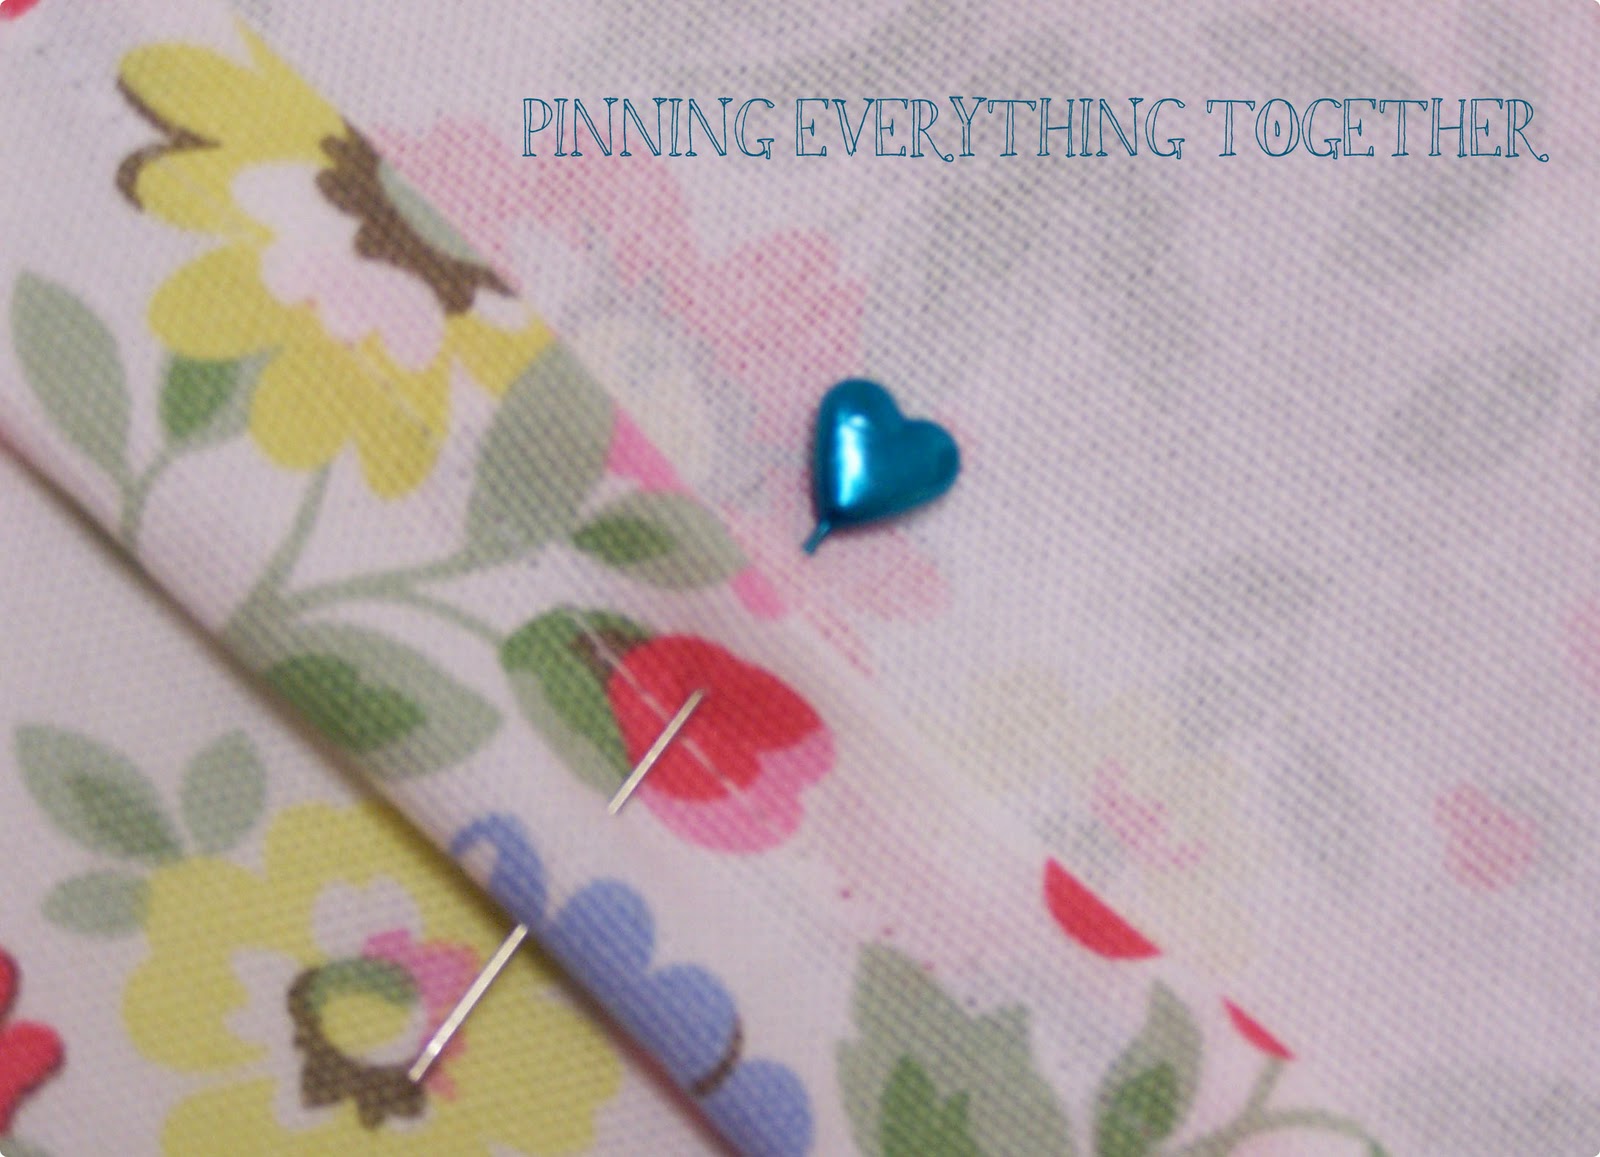
We worked hard over the weekend, planting a few more flowers in the pots and cleaning up our little garden. It is amazing how many leaves and things get tucked between a planter and a wall over the winter, so the planters were moved and the leaves were swept out!
I also got to finish the project I started on Friday, living in a little cottage things can get dusty fast and there is not always enough space to keep everything tucked away, so with the inspiration of a Martha Stewart How-To I saw ages ago, I devised a plan.
With a simple tea towel, I reworked the pattern to fit my doll house sized treasure, creating almost origami styled folds, but making sure to leave enough room to get around all the parts:
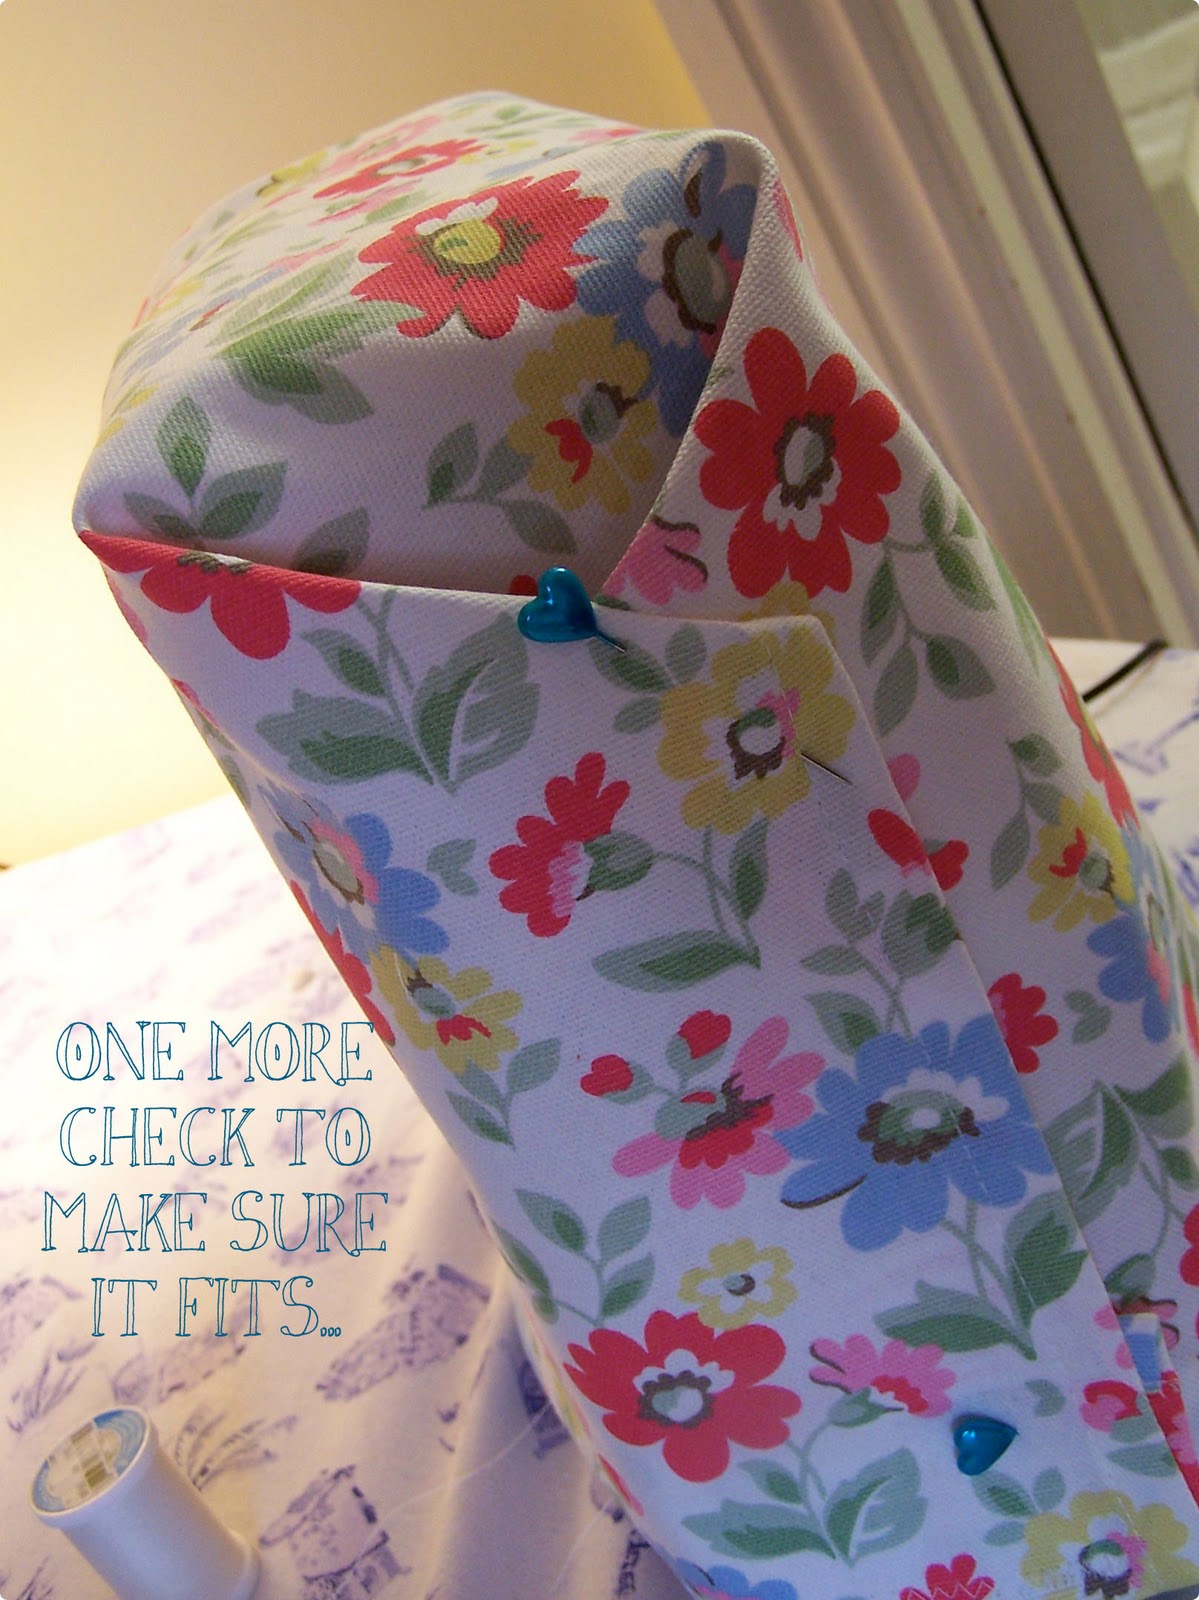
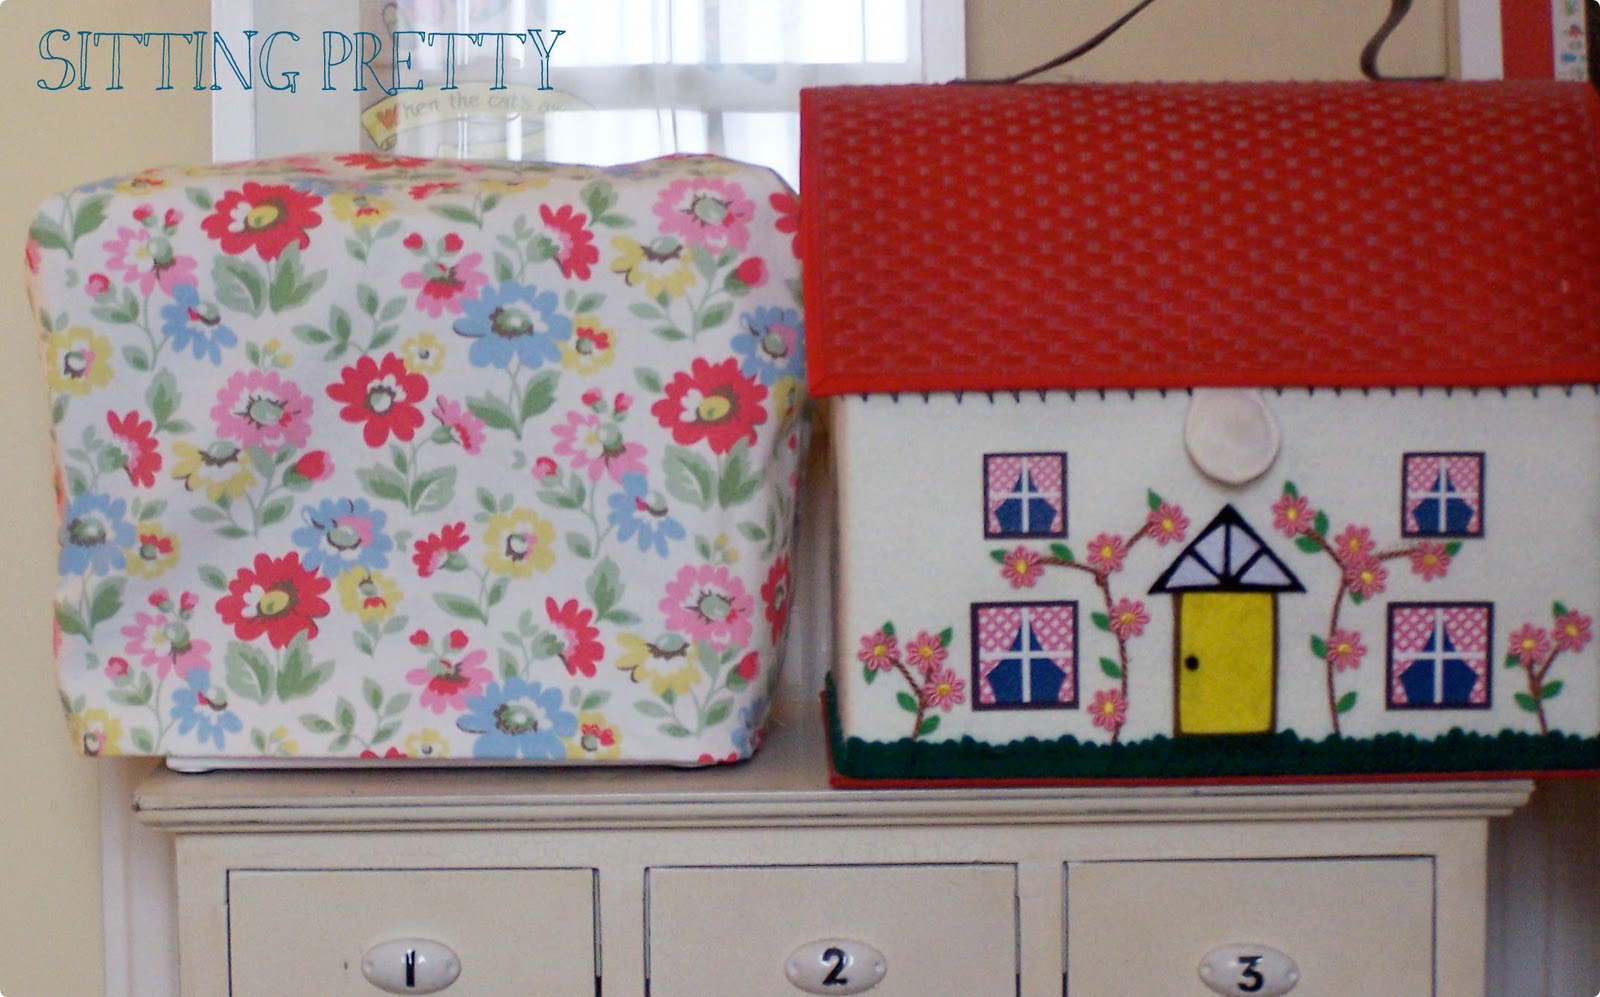
Did you guess what it is? Your right, a new sewing machine cover to keep it dust free and sitting pretty!
(Vintage circus image from the Circus ABC by Kathryn Jackson, found on the Golden Gems Blogspot, embellished by Jennifer Michie)
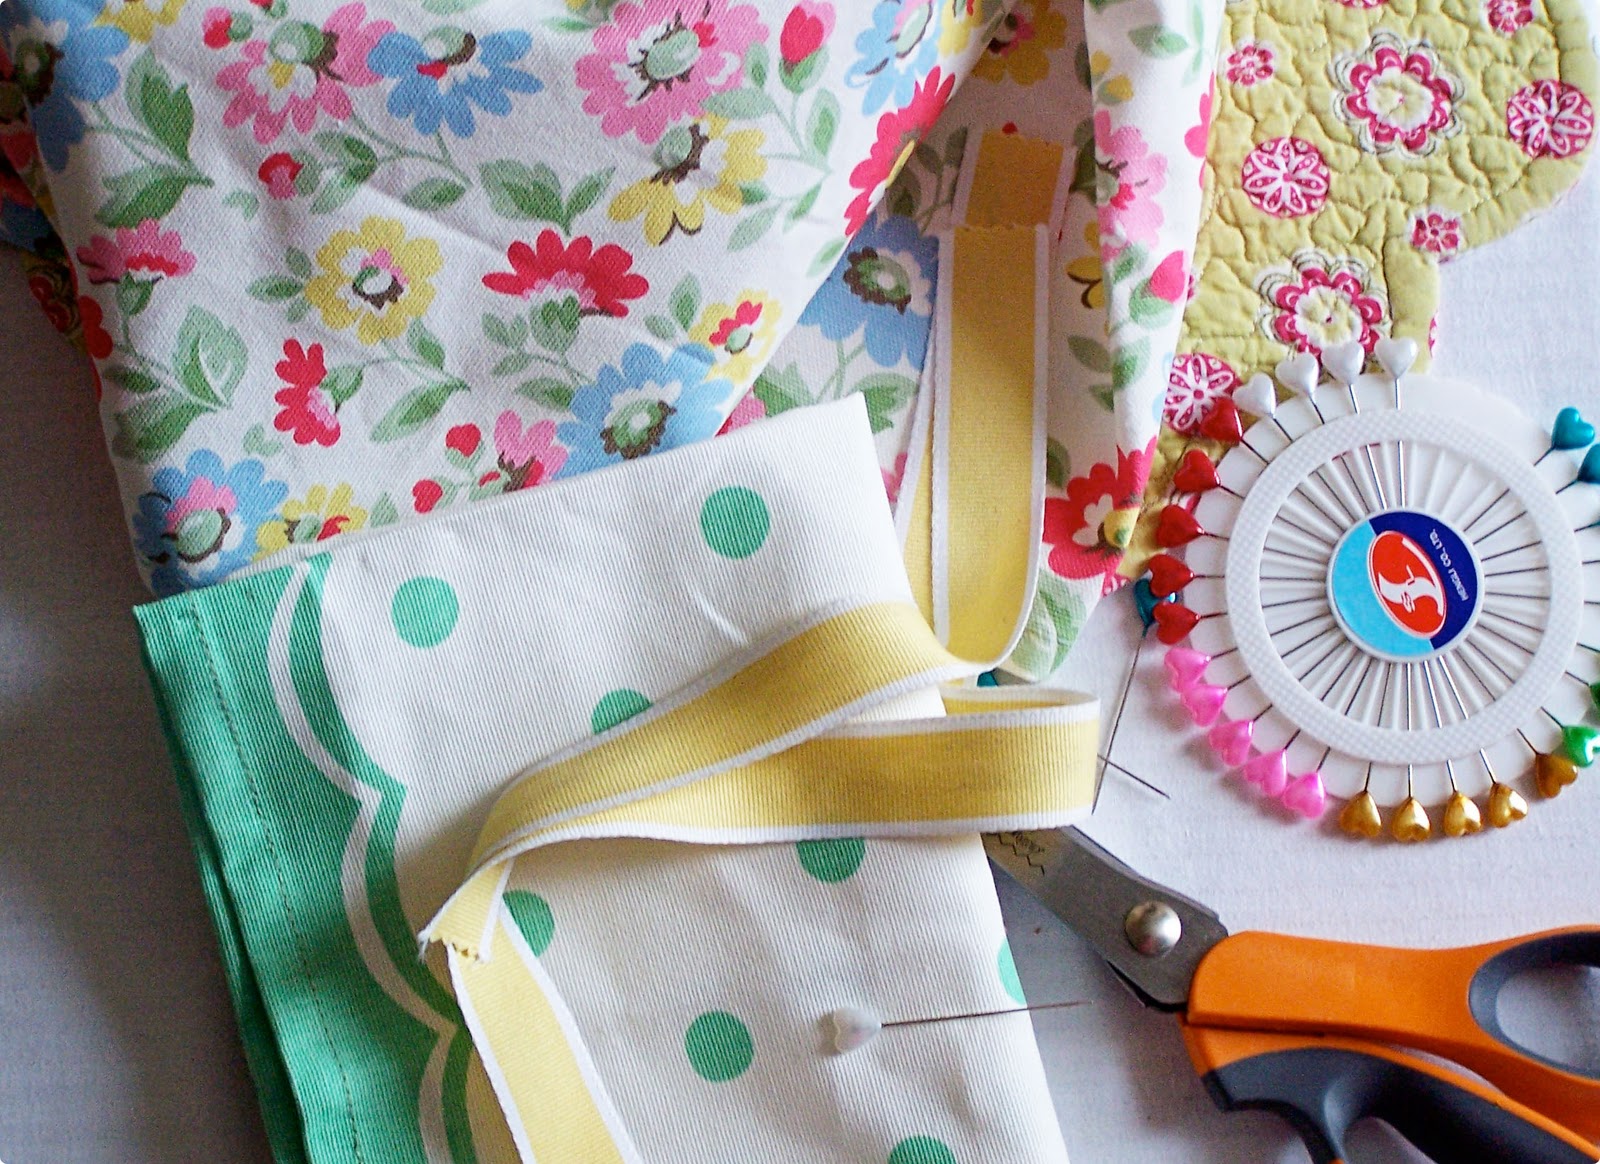
Just working on a few sewing projects today, what will some of this fabric become?
The possibilities are endless, but I have something particular in mind. I think I will use the Cath Kidston Pairie fabric for this project, I can’t seem to get enough of those happy flowers lately.
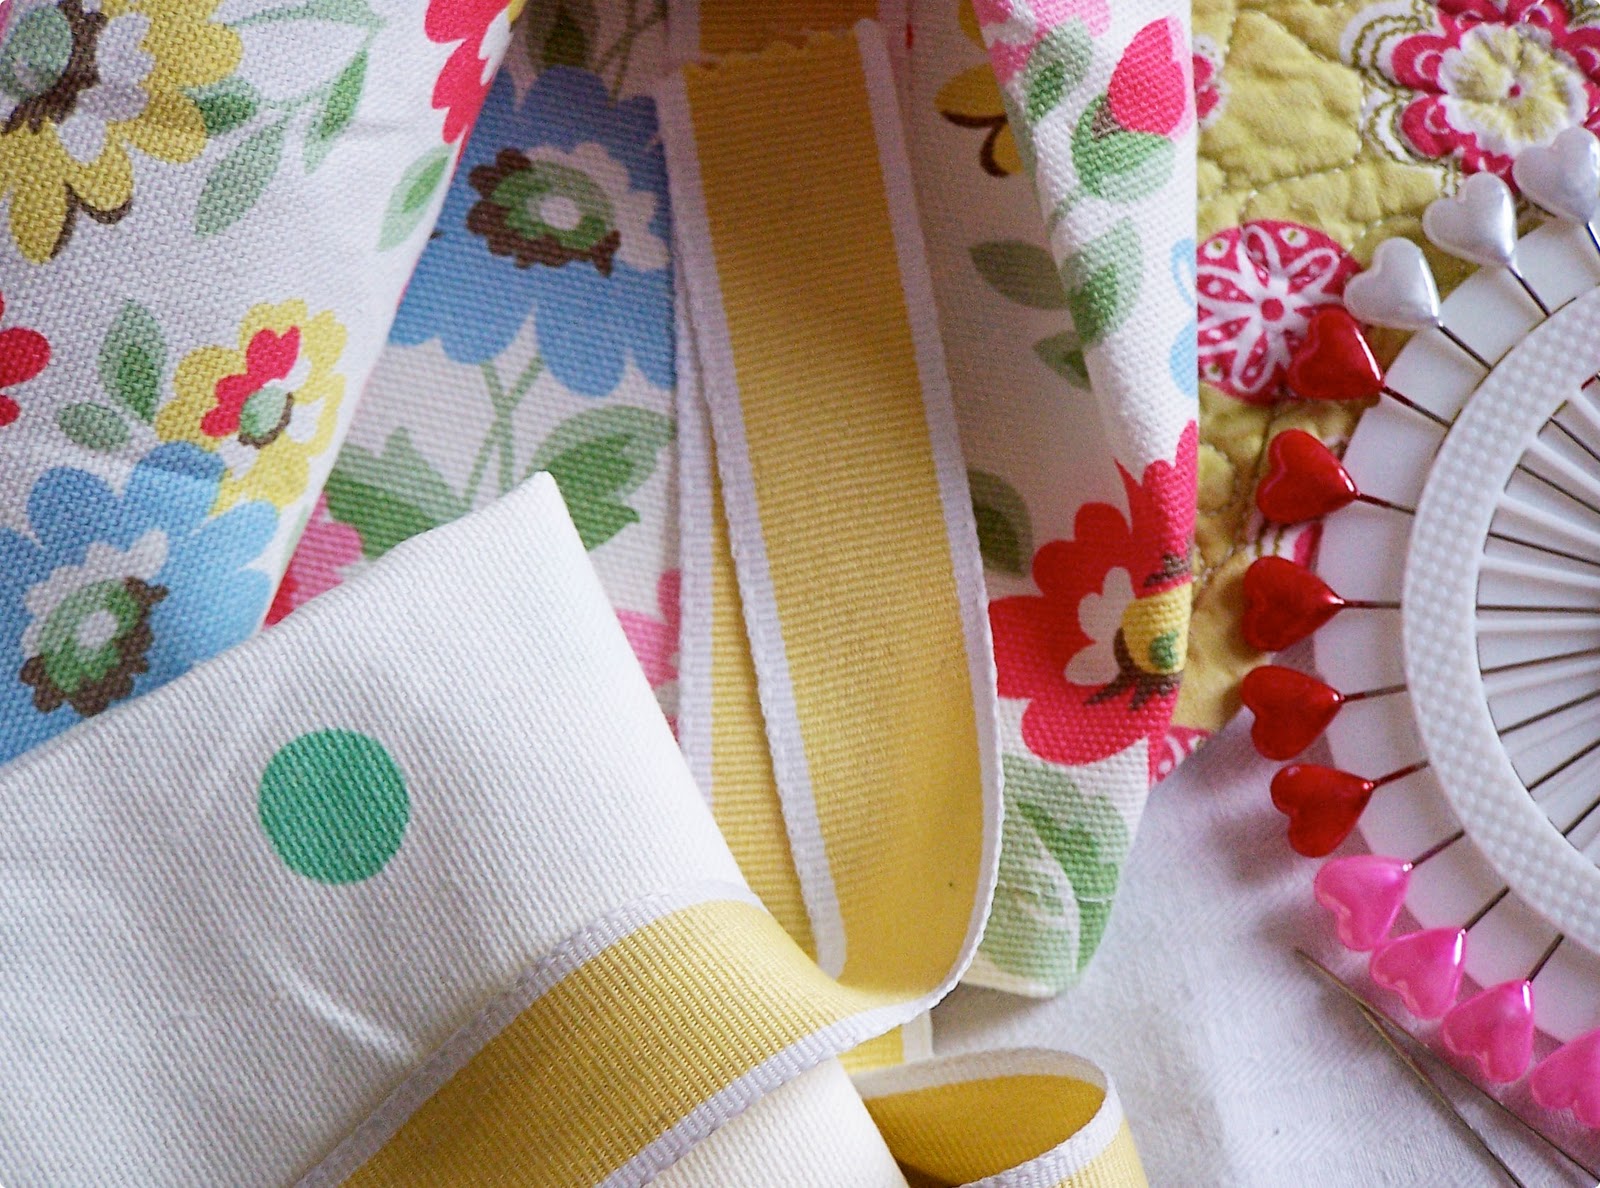
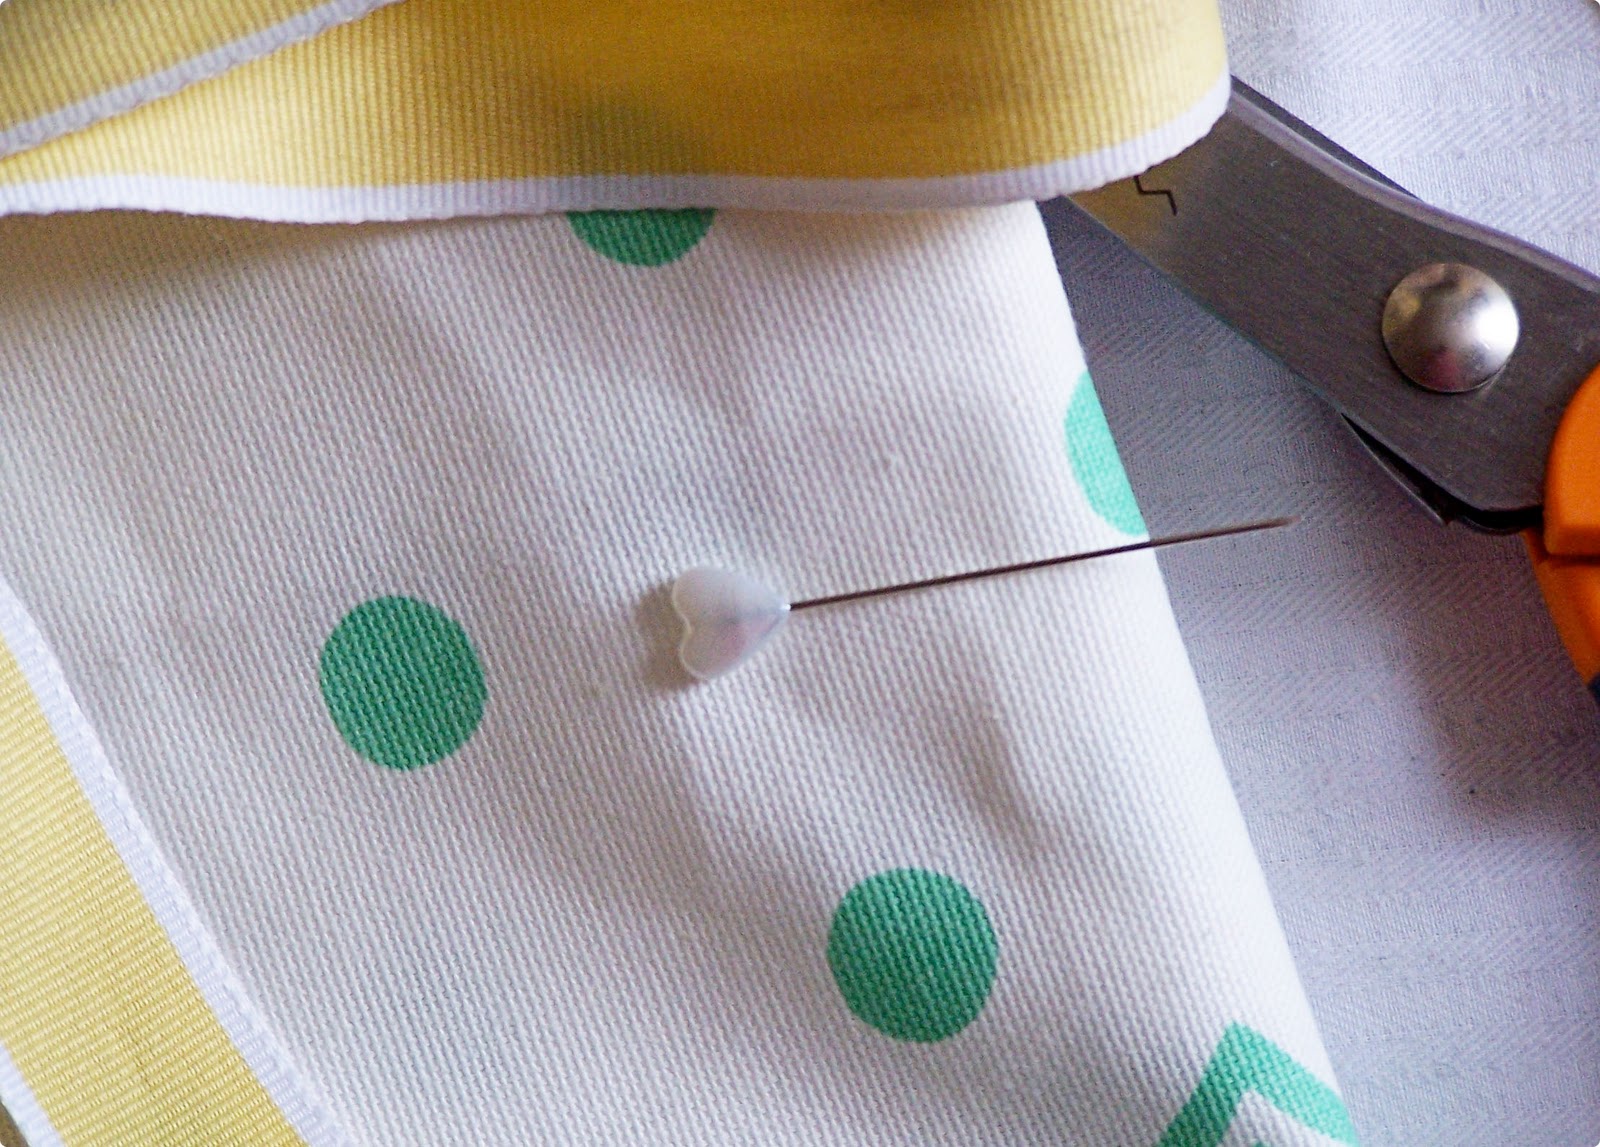 What will it be? You’ll just have to wait and see….

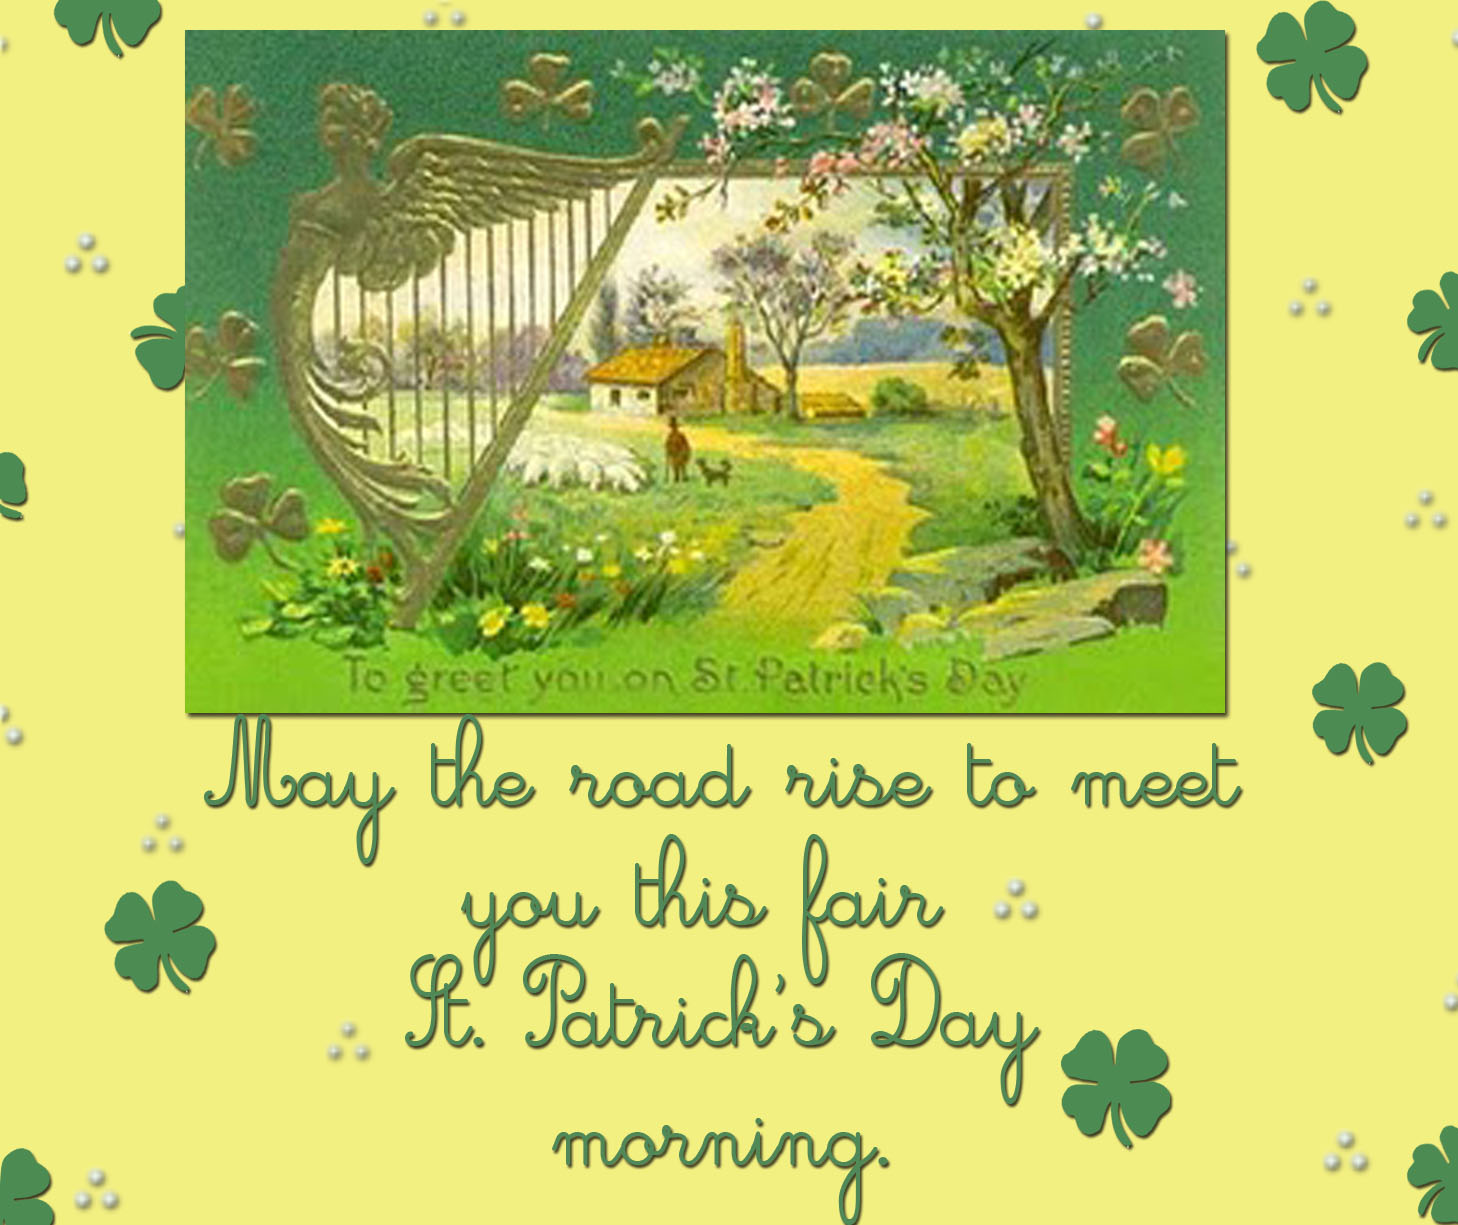
St. Patrick’s Day is tomorrow and in case you need to make some last minute St. Patty’s Day crafts these sweet boutonnieres are on the Martha Stewart website.
They are absolutely adorable and would work well as something cute on your lapel to take you through Spring. You could even add a little ladybug on a leaf for extra luck, if you can find one tiny enough.
1. On waxed paper, use a paintbrush to coat both sides of a cotton swatch with liquid starch. Let it dry. Iron the fabric to flatten it.

2. Photocopy shamrock templates to desired sizes. Cut them out, and trace them on fabric; then cut out fabric shamrocks. Crease each leaf in half lengthwise.

3. To make a stem, cut a 4-inch piece of floral wire; fold it in half, and twist it until the ends form a tiny V. Bend the V forward slightly and attach it to the back of each shamrock with a small dab of craft glue. Tie a bow around one stem or a bunch of shamrocks. Use a corsage pin to fasten to your clothing.
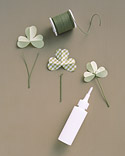
Click here to get the full set of directions from the Martha Stewart website.
(All images and direction text, copyright Martha Stewart Living)